MEASURING DC / AC AMPS
Warning
1.- Connect the red testing point to the jack signaled “A” when
measuring up to 200 mA, and to the jack signaled “10A” when
measuring above and the black testing point to the jack signaled
“COM”.
2.- Set the dial to the mA or 10A setting. Then press DC / AC
button to choose the kind of amps to measure.
3.- Open the circuit and connect the testing points in serial with
the charge where the current must be measured.
4.- Read the current value in the screen. The polarity will be
displayed if we measure the direct current.
When a number “1” is displayed in the screen, it indicates
that exists an over range, please select a higher range.
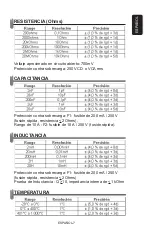
MEASURING RESISTANCE
Warning
Make sure to disconnect the energy and fully discharge the
capacitors, before measure resistances.
1.- Connect the red testing point to the jack signaled “
Ω
” and the
black testing point to the jack signaled “COM”.
2.- Set the dial to Ohms (
Ω
) range.
3.- Connect the testing points to the circuit to be measured.
4.- The resistance value will appear on the LCD screen.
If the resistance to be measured is above 1 Mohm, the
multimeter will take a few seconds to stabilize the reading.
If the resistance exceeds the range, the LCD screen will
display “1”
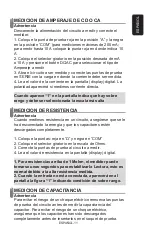
MEASURING CAPACITANCE
Warning
To avoid an electrical shock, remove the testing points from the
circuit before to measure capacitances.
Make sure to fully discharge the capacitors before to put them
into the capacitor jack.
1.- Connect the capacitor jack to the meter.
2.- Set the dial to the “nF” range. Then press L/C.
3.- Before inserting the capacitor in the capacitor jack, make sure
that it has been completely discharged and make sure to respect
When a number “1” is displayed in the screen, it indicates
that exists an over range, please select a higher range.
If the resistance to be measured is above 1 Mohm, the
multimeter will take a few seconds to stabilize the reading.
If the resistance exceeds the range, the LCD screen will
display “1”
ENGLISH
ENGLISH-10


