4 / 4
4
3
Fabricant/Producer:
Stäubli Electrical Connectors AG
Stockbrunnenrain 8
4123 Allschwil/Switzerland
Tel.
+41 61 306 55 55
Fax
+41 61 306 55 56
mail [email protected]
www.staubli.com/electrical
© by S
täubli Electrical Connect
ors A
G, Switz
erland – MA419 – 07.2020, Inde
x a
, Mark
eting Communications – Modifications sous r
éser
ve / Subject t
o alt
er
ations
(ill. 3)
Insérer le fût à sertir dans la pince� Fermer et fixer�
(ill. 3)
Insert the crimping sleeve into the pliers� Close until fixed�
(ill. 4)
■
Introduire axialement le conducteur dans le fût à sertir jusqu’en
butée�
(ill. 4)
■
Insert the wire in the crimping sleeve as far as possible
Remarque :
(Pour les contacts de Ø nominal de 1 mm, 1,5 mm et
3 mm)� Le conducteur doit être visible dans l’orifice de contrôle
avant et après le sertissage�
Note:
(For contacts with nominal Ø 1 mm, 1,5 mm and 3 mm)�
Inserted wires must be visible through the sight hole, before and
after crimping�
■
Fermer complètement la pince�
■
La pince se relâche automatiquement�
■
Close the pliers completely�
■
The pliers release automatically�
Remarque :
Lorsque le processus de sertissage a commencé, il ne peut
pas être interrompu� La pince à sertir ne peut être relâchée
qu’une fois le processus de sertissage terminé�
Note:
Once the crimping process has started, it cannot be in-
terrupted� The crimping pliers can only be released once the
crimping process is complete�
Remarque :
Fermer délicatement la pince pour la verrouiller�
Note:
Slightly close the pliers to lock!
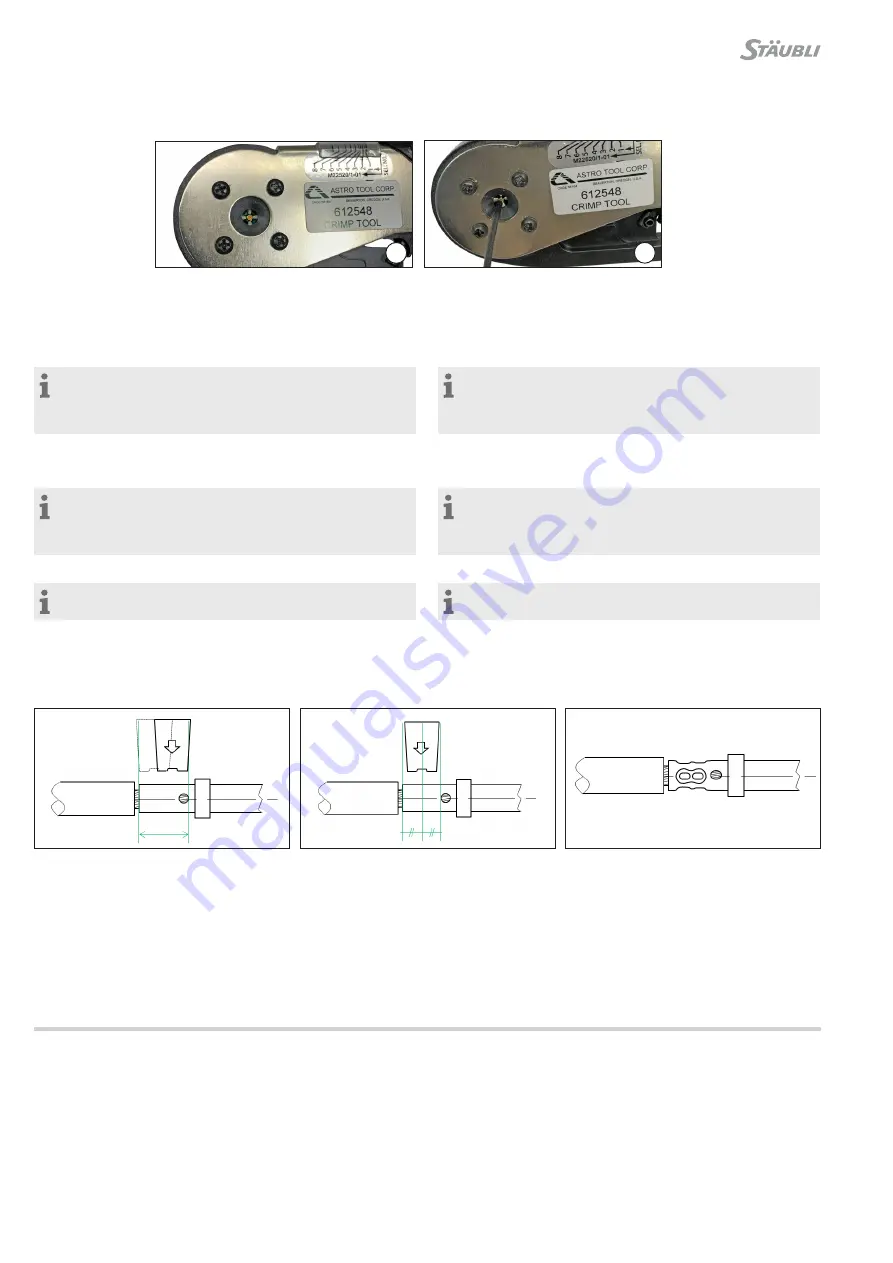
Positionnement de la pince à sertir indent 4/8 (fût
de sertissage fermé) :
Positioning of the 4/8 indent crimping pliers
(closed crimp barrel):
L’indent doit être placé entre le bord du fût de sertissage et l’ex-
trémité du regard� Le positionnement optimal consiste à installer
l’indent entre le bord du fût de sertissage et l’ouverture du regard�
The indent must be placed between the edge of the crimp barrel
and the end of the sight hole� The optimal positioning is centered
between the edge of the crimp barrel and the beginning of the
sight hole�
Pour plus d’informations et des consignes de maintenance, voir
également les instructions du fabricant�
For information and maintenance, see also the manufacturer
instructions�


