45
WatchLock Cube User Guide
5. Testing
It is important to test the device connection to the network, the correct GPS
location, the device status and inputs response before installing the device. To
do this, you need to perform the following steps.
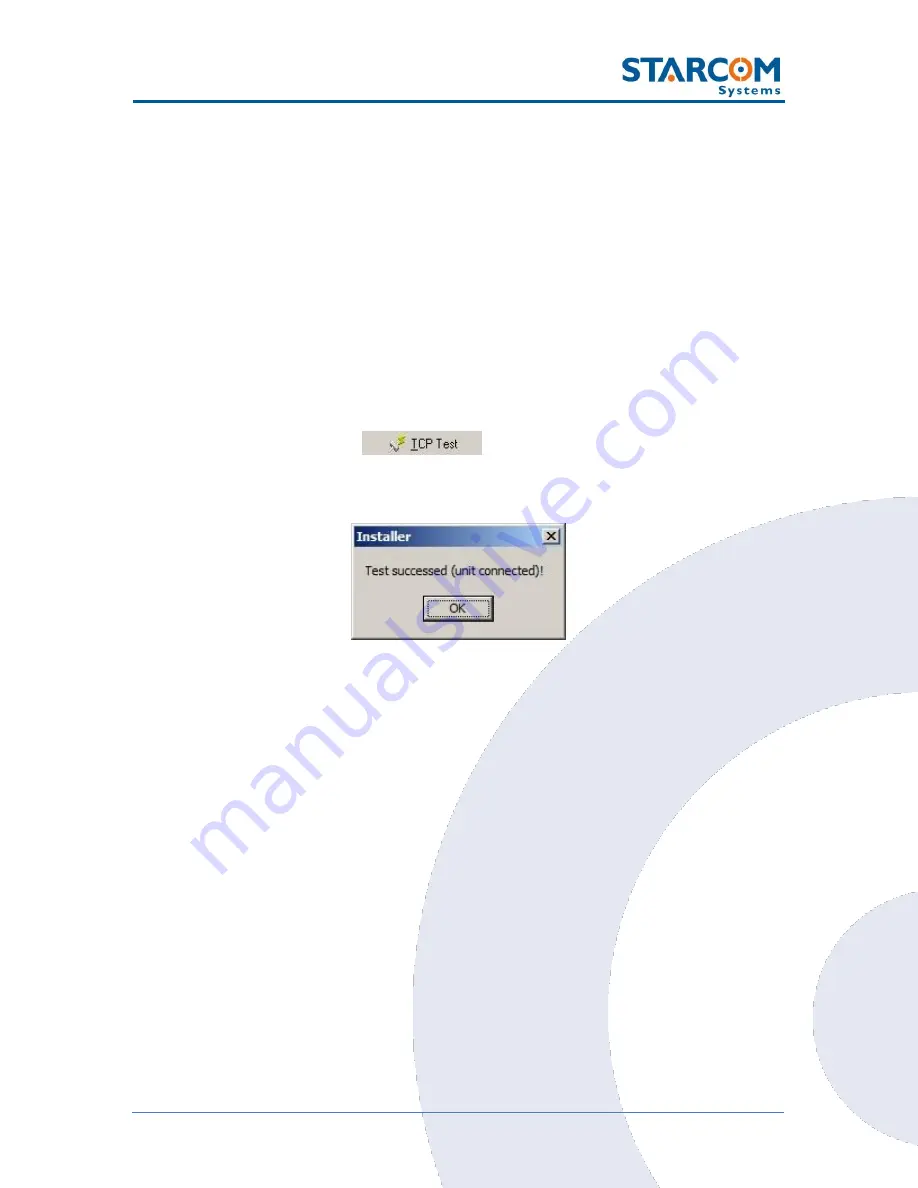
TCP test
This test verifies that the SIM card is open to the GPRS network, the device
can connect to the network and make successful TCP/IP transmissions.
Press the
TCP Test
button
(
Communications > Advanced >
Communication Window > Configuration > Helios.1
). Wait a few minutes
until you receive a pop-up window with a successful connection message.
If at the end of the TCP Test you do not receive a successful message, check
your APN settings (Watchlock Parameters > Network). Contact your cellular
provider and make sure the SIM card is open for GPRS. Verify that your SIM
card is not protected by a PIN code. If necessary, use a mobile phone to cancel
the PIN code.
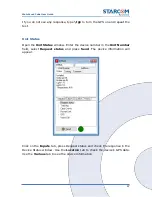
You can also perform the test manually using the
Terminal
window. Open the
Terminal window (
Communications > Advanced > Communication
Window > Configuration > Helios.1 > Open Terminal
) and type the
following commands:
\tdm
and press
Enter
(Modem mode). The modem will be turned on.
\tr
and press
Enter
. This command runs a series of actions to check the
parameters such as reception level, visible networks and registered network,
SIM card state and information. It also attempts to connect to the routing
server. If successful, a "TCP: Send+" message will appear in the Terminal
window.
Summary of Contents for WATCHLOCK CUBE
Page 1: ...WATCHLOCK CUBE User Guide Version 1 0 ...
Page 10: ...10 WatchLock Cube User Guide Click Run anyway The Select Destination Location window appears ...
Page 11: ...11 WatchLock Cube User Guide Click Next The Select Components window appears ...
Page 19: ...19 WatchLock Cube User Guide Remove the rubber cover from the device ...
Page 20: ...20 WatchLock Cube User Guide Pull the plastic cover to remove it from the device ...
Page 30: ...30 WatchLock Cube User Guide ...
Page 50: ...50 WatchLock Cube User Guide ...
Page 53: ...53 WatchLock Cube User Guide Carefully slide the battery holder back in its place ...
Page 56: ...56 WatchLock Cube User Guide Slide the plastic cover back onto the device ...
Page 58: ...58 WatchLock Cube User Guide The device is now ready for installation ...
Page 67: ...67 WatchLock Cube User Guide ...
Page 88: ...88 WatchLock Cube User Guide ...


