


– 10 –
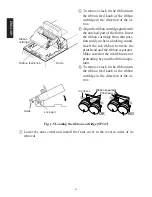
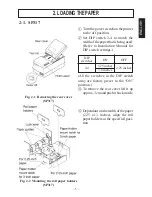
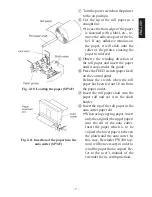
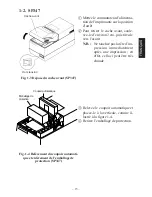
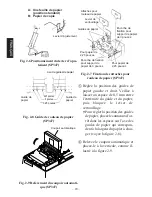
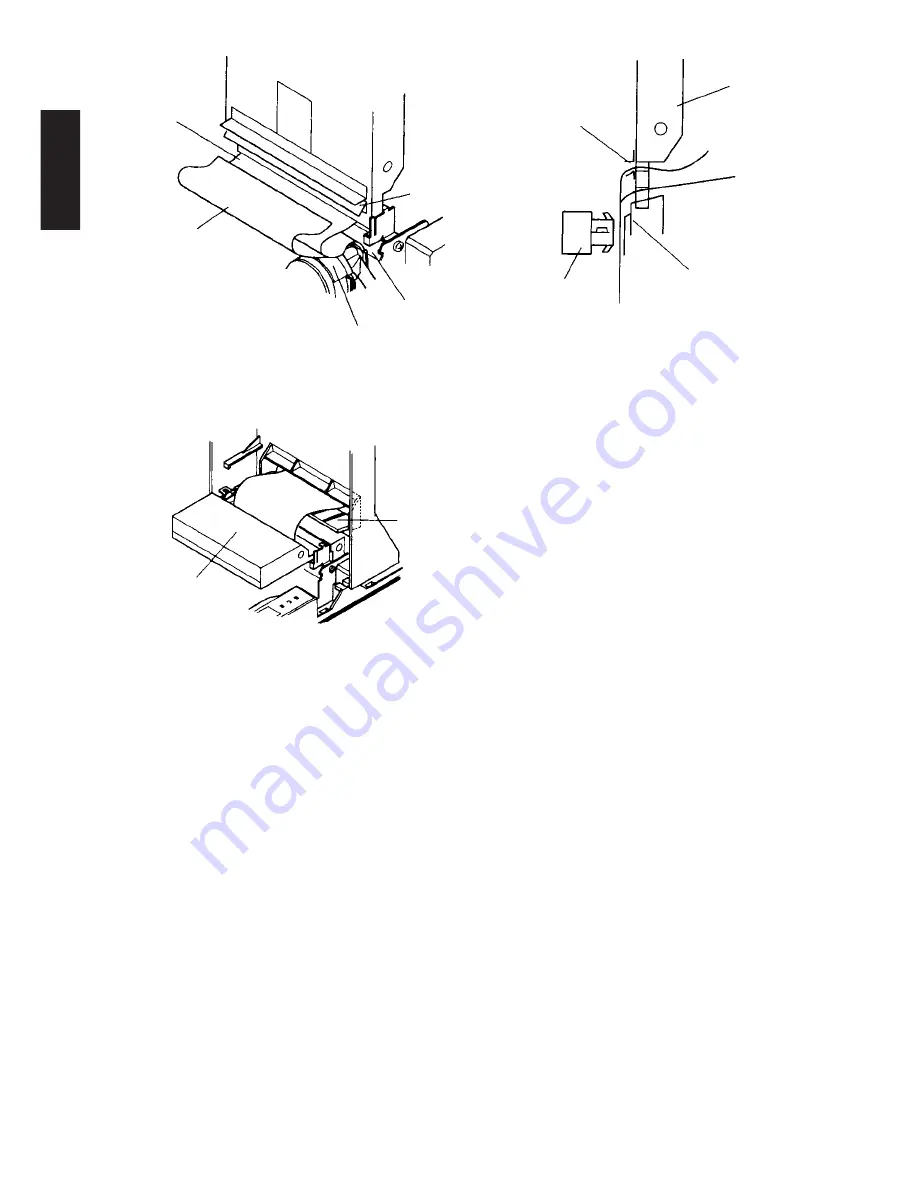
Fig. 2-12 Insertion of the paper into the auto cutter
(When using copying paper) (SP347)
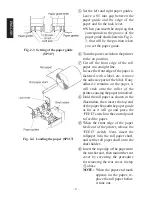
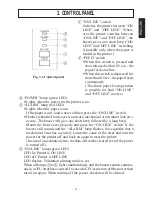
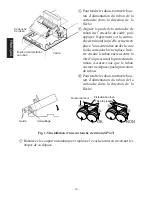
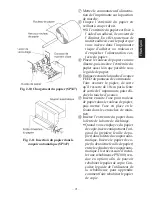
Fig. 2-13 Paper outlet of the front cover
(SP347)
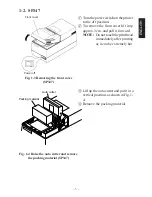
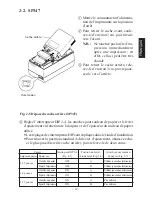
C
Pull on the edge of the paper to
remove any slack and then lower the
auto cutter.
D
Insert the paper through the front
cover paper outlet and then replace
the front cover by reversing the re-
moval steps.
E
To install the rear cover reverse the
removal steps.
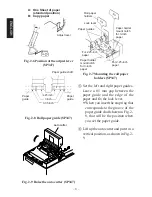
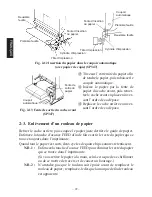
2-3. Removing the Roll Paper
Remove the rear cover then cut off the paper near the rear of the paper guide. Then
press the “FEED” switch to feed out the rest of the paper that is remaining in the
unit.
When the paper runs out, a buzzer will sound four times per cycle for two cycles.
NOTE 1. Press the “FEED” switch to remove the rest of the paper that is in
the printer. (If you remove the paper by hand, the paper could
wrinkle or slip causing it to jam.)
NOTE 2. When the paper end mark appears on the paper, replace the roll
paper before it runs out.
ENGLISH
Lower
paper
Upper paper
Paper insetion
slit
Print head
Platen
Paper insertion
slit
Upper paper
Lower paper
Platen
Auto cutter
Print head
Auto cutter
Paper
outlet
Summary of Contents for 347F
Page 14: ......
Page 26: ......
Page 38: ......
Page 50: ......
Page 55: ... 53 APPENDIX Peripheral Unit Drive Circuit Drive output 24V max 1 0 A Drive circuit ...
Page 61: ... 59 APPENDIX Overall dimensions mm SP347 169 W 330 D 176 H mm Approx 4 6 kg ...
Page 62: ...MEMO P 1996 01 P 1996 03 ...