18
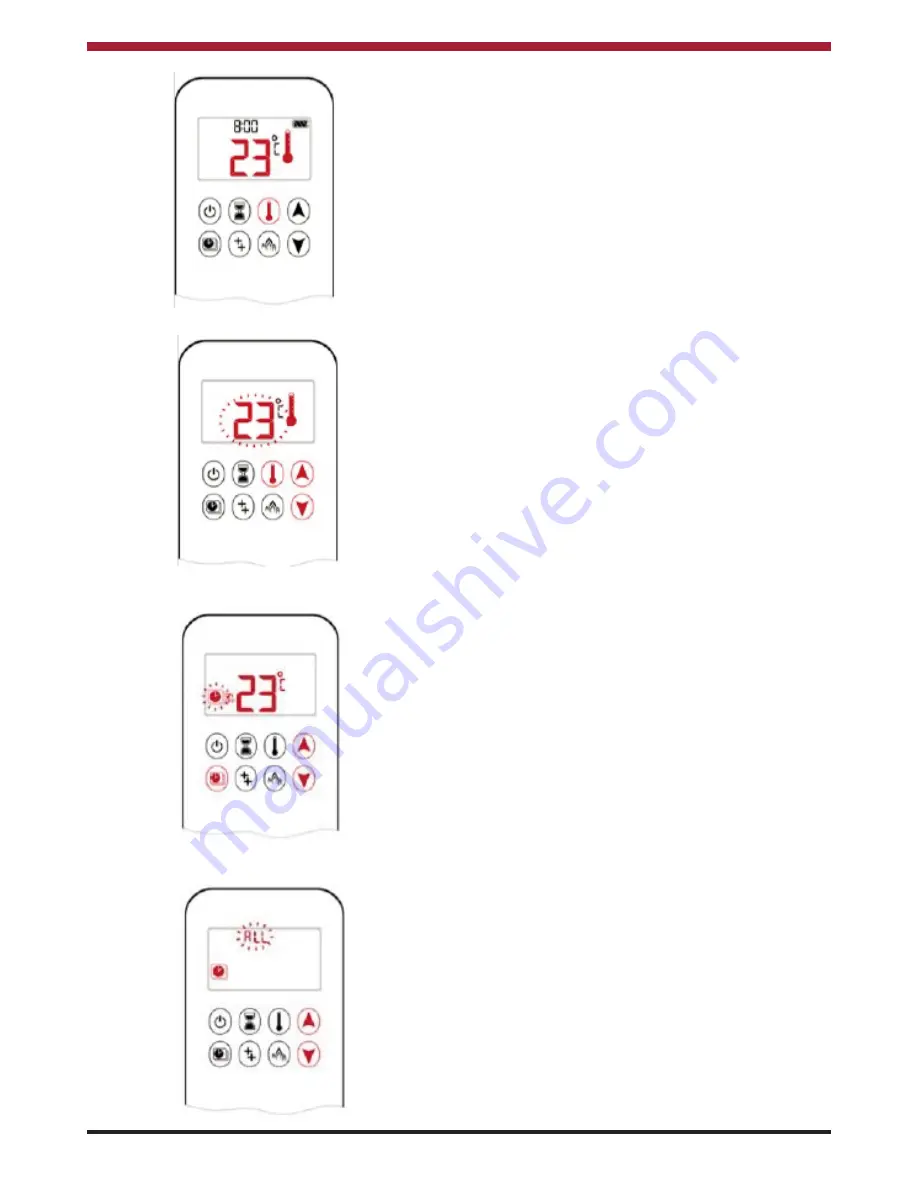
Fig.28
Fig.29
Program Mode
The following procedure should be used when
setting the Temperature and Timer Program:
1.
To set the temperature, press & hold the
Program Button until the Program
Mode display flashes ON & the set
temperature is displayed. Then the
Program Mode display flashes OFF & the set
temperature flashes (see Fig 30).
2.
Press the Up Arrow Button & Down Arrow
Button to select the desired temperature
setting.
3.
Press the Program Button to confirm the
temperature setting.
The program mode can be set to operate as follows:
*
ALL - The same programme every day
*
SA:SU - The same programme for weekdays
& a different setting for Saturday & Sunday
*
1,2,3,4,5,6,7. - Different setting for each day.
4.
Having confirmed the temperature setting,
the Program Mode symbol & ALL will flash
on the display - see Fig 31. Press the Up
Arrow Button & Down Arrow Button to select
the desired setting (e.g. ALL, SA:SU or
1,2,3,4,5,6,7).
5.
To confirm press the Program Button.
6.
The Program 1 ON setting will be displayed
with the hour setting flashing - see Fig 32.
Press the Up Arrow Button & Down Arrow
Button to select the desired ON hour.
7.
To confirm press the Program Button.
8.
The minute setting will flash and press the
Up Arrow Button & Down Arrow Button to
select the desired ON minute.
9.
To confirm press the Program Button.
10.
The Program 1 OFF setting will be displayed
with the hour setting flashing - see Fig 33.
Press the Up Arrow Button & Down Arrow
Button to select the desired OFF hour.
11.
To confirm press the Program Button.
12.
The minute setting will flash and press the
Up Arrow Button & Down Arrow Button to
select the desired OFF minute.
13.
To confirm press the Program Button.
14.
The Program 2 ON setting will be displayed
with the hour setting flashing & repeat steps
6 to 13 to set the times for Program 2. If not
using a time period, set the ON & OFF times
to the same time.
15.
If you have selected SA:SU or 1,2,3,4,5,6,7,
adjust the day setting (1,2,3,4,5,6,7) using
the Up Arrow Button & Down Arrow Button
and follow steps 6 to 13 to set the times for
each day.
Fig.30
Fig.31
Summary of Contents for Argon F500 OVAL
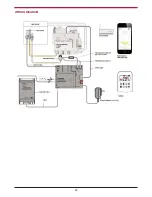
Page 23: ...WIRING DIAGRAM 23 ...


