


101
4.8.
1 Cable Connection
Please follow the procedures below to go on cable connection
z
Connect the dome RS485 port to DVR 485 port.
z
Connect dome video output cable to DVR video input port.
z
Connect power adapter to the dome.
4.8.
2 PTZ Setup
Note:
The camera video should be in the current screen. Before setup, please check the
following connections are right:
z
PTZ and decoder connection is right. Decoder address setup is right.
z
Decoder A (B) line connects with DVR A (B) line.
Boot up the DVR, input user name and password.
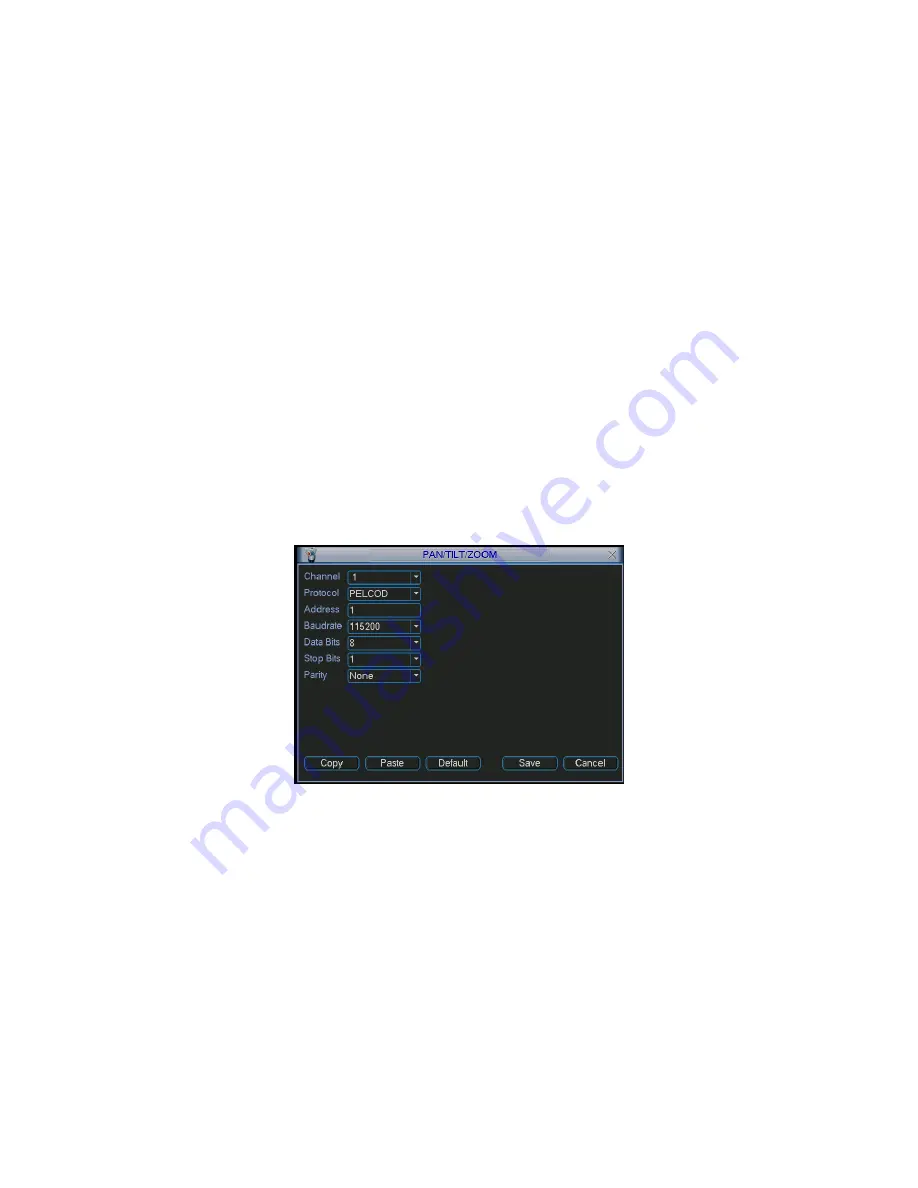
In the main menu, click setting, and then click Pan/Tilt Control button. The interface is shown
as in Figure 4-35. Here you can set the following items:
z
Channel: select the current camera channel.
z
Protocol: select corresponding PTZ protocol(such as PELCOD)
z
Address: default address is 1.
z
Baud rate: select corresponding baud rate. Default value is 9600.
z
Data bits: select corresponding data bits. Default value is 8.
z
Stop bits: select corresponding stop bits. Default value is 1.
z
Parity: there are three options: odd/even/none. Default setup is none.
Figure 4-35
After completing all the setting please click save button.
In one window display mode, right click mouse (click “Fn” Button in the front panel or click
“Fn” key in the remote control). The interface is shown as in Figure 4-36.
Summary of Contents for N6 Series
Page 1: ...N6 Series Standalone DVR User s Manual Version 5 1 0 ...
Page 62: ...52 Figure 2 19 2 3 3 General 1 5U series Please refer to Figure 2 20 for connection sample ...
Page 87: ...77 1 5U Series 2U Series Figure 3 12 ...
Page 108: ...98 Figure 4 28 Figure 4 29 Figure 4 30 ...
Page 116: ...106 Figure 4 46 ...
Page 156: ...146 Figure 5 66 ...
Page 161: ...151 Figure 6 11 ...
Page 181: ...171 Figure 7 32 Figure 7 33 Figure 7 34 ...
Page 224: ...214 Samsung HA101UJ CE 1T SATA ...