SERVICE MANUAL
GEN.0000000007176 Rev A © 2022 SRAM, LLC
2023
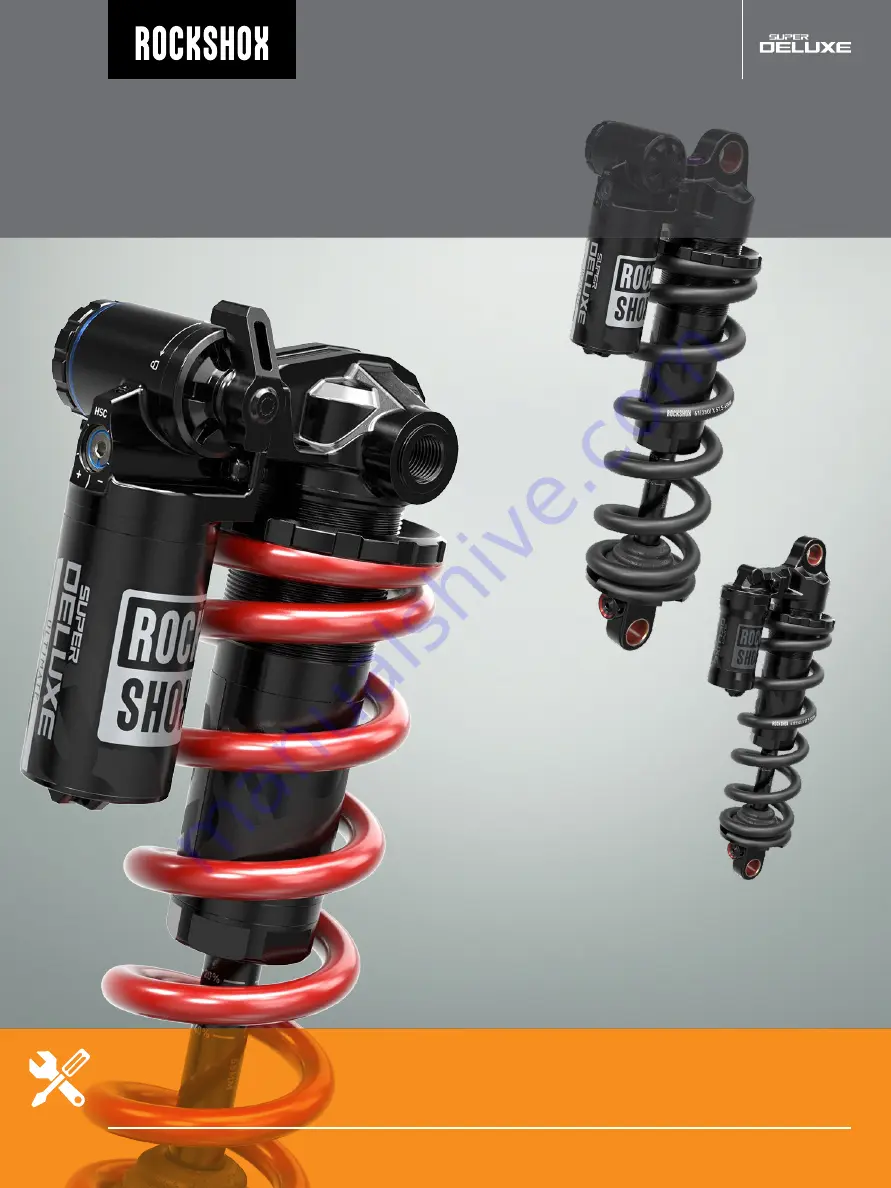
Super Deluxe Coil
Page 1: ...SERVICE MANUAL GEN 0000000007176 Rev A 2022 SRAM LLC 2023 Super Deluxe Coil...
Page 2: ...NOT APPLY TO YOU LIMITATIONS OF WARRANTY This warranty does not apply to products that have been incorrectly installed adjusted and or maintained according to the respective SRAM user manual The SRAM...
Page 3: ...SAFETY FIRST We care about YOU Please always wear your safety glasses and protective gloves when servicing RockShox products Protect yourself Wear your safety gear...
Page 4: ...10 SHOCK EYELET SERVICE 11 MOUNTING HARDWARE AND BUSHING SERVICE 11 PARTS TOOLS AND SUPPLIES 11 MOUNTING HARDWARE REMOVAL 11 EYELET BUSHING REMOVAL 13 EYELET BUSHING INSTALLATION 14 BEARING MOUNT SERV...
Page 5: ...Clean the exterior of the product with mild soap and water to avoid contamination of internal sealing part surfaces S e r v i c e P r o c e d u r e s The following procedures should be performed thro...
Page 6: ...intervals Service Hours Interval Date of Service Rebound setting Count the number of clicks while turning the rebound adjuster fully counter clockwise 200 200 200 T o r q u e V a l u e s Part Tool To...
Page 7: ...ckShox Tools RockShox 1 2 x 1 2 rear shock bushing removal installation tool RockShox Air Valve Adapter Tool Rear Shock red adapter RockShox IFP Height Tool Super Deluxe Coil RockShox IFP Removal Tool...
Page 8: ...Preload Adjuster Damper Body IFP Reservoir IFP Internal Floating Piston Retaining Ring Shrader Valve IFP bleed screw IFP Reservoir Cap IFP Reservoir Valve Cap Main Piston Top Out Plate Check Piston Nu...
Page 9: ...Super Deluxe Coil Select Super Deluxe Coil Select Super Deluxe Coil Ultimate DH Super Deluxe Coil Ultimate...
Page 10: ...Dust cover Bearing Bearing E x p l o d e d V i e w B e a r i n g M o u n t Spacer Dust cover...
Page 11: ...Dynamic Seal Grease RockShox Tools RockShox 1 2 x 1 2 rear shock bushing removal installation tool Common Tools Open end wrenches 13 mm x2 or an adjustable wrench Bench vise with aluminum soft jaws M...
Page 12: ...if it slides out easily If the bushing pin did not remove easily unthread the push pin from the threaded rod to remove the end spacer then reinstall the push pin onto the threaded rod Thread the large...
Page 13: ...nst the bushing Thread the large open end of the catcher onto the rod until it rests on the eyelet Hold the catcher secure with a 13 mm open end or adjustable wrench Use a second 13 mm wrench to threa...
Page 14: ...ssing the eyelet bushing into the shaft eyelet Check the alignment of the bushing as it enters the eyelet If the bushing starts to enter the eyelet at an angle remove the bushing from the eyelet regre...
Page 15: ...Kit Safety and Protection Supplies Clean lint free shop towels Nitrile gloves Safety glasses Lubricants and Oils Isopropyl alcohol or RockShox Suspension Cleaner Common Tools Bearing press tool 22 mm...
Page 16: ...16 Bearing Removal Turn the shock over and place the punch against the back of the other bearing and tap out the bearing Clean the bearing bores 3 Punch Hammer 4...
Page 17: ...press tool contacts both the inner and outer races of the bearing Insert a new spacer into the eyelet then install a new bearing into the other bearing bore Clamp the eyelet and bearing into a vise w...
Page 18: ...Bearing Installation Remove the shock from the vise The bearings should sit approximately 1 mm below the outer edge of the bearing bore Install dust covers before installing the shock on the bicycle...
Page 19: ...e tool Common Tools Bench vise with aluminum soft jaws and grooved soft jaws Guide Pin Punch 1 5 mm Hammer Hex bit sockets 2 mm 3 mm Hex wrenches 1 5 mm 2 mm 3 mm 2 additional small hex wrenches Metri...
Page 20: ...d position Ultimate Turn the compression lever to the unlocked position then turn the compression valve counter clockwise until it stops Ultimate DH Turn the Low Speed compression valve counter clockw...
Page 21: ...21 Spring Removal Turn the preload adjuster counter clockwise until there is a large gap between it and the spring Remove the spring retainer and spring 2 3...
Page 22: ...EYE HAZARD Verify all pressure is removed from the shock before proceeding Failure to do so can cause the pressurized oil to spray from the shock during disassembly Wear safety glasses Remove the Sch...
Page 23: ...can eject rapidly as it is removed Wear safety glasses Do not scratch the inside of the IFP reservoir Remove the IFP reservoir cap from the IFP reservoir Remove the IFP reservoir cap o ring Install a...
Page 24: ...r Measure wrench in place with your hand as you turn the sealhead to prevent damage to the sealhead wrench flats Oil will spill from the damper body and the reservoir mount as the shaft assembly is re...
Page 25: ...assembly parts in the order they were removed Do no separate any parts from the piston assembly If any piston assembly parts are installed in the incorrect order the piston assembly including the tun...
Page 26: ...d Do no separate any parts from the piston assembly If any piston assembly parts are installed in the incorrect order the piston assembly including the tune shim stacks must be reassembled in the corr...
Page 27: ...ed port Discard the compression ball NOTICE To ensure proper function do not reuse the compression ball Pierce and remove the rod wiper seal Install a new wiper seal Install the wiper seal with the st...
Page 28: ...rom the shaft Clean and inspect the shaft for damage and replace if necessary Reinstall the bottom out bumper on the shaft assembly Remove the main piston nut Clean the nut and the threads of the shaf...
Page 29: ...he damper shaft NOTICE Keep the piston assembly parts in the order they were removed Do not separate any parts from the piston assembly If any piston assembly parts are installed in the incorrect orde...
Page 30: ...n the order they were removed Do not separate any parts from the piston assembly If any piston assembly parts are installed in the incorrect order the piston assembly including the tune shim stacks mu...
Page 31: ...ing air bubbles from the system Fill the reservoir with more oil then continue to tap on the top of the reservoir until no more bubbles emerge from the damper body Once most of the oil from the IFP re...
Page 32: ...When no more air bubbles emerge from the bleed port immediately cover the damper body with your hand Continue to cover the damper body with your hand and install a new bleed screw into the bleed port...
Page 33: ...rench onto the the damper shaft sealhead Make sure the wrench does not obstruct the bleed port in the sealhead Install the Counter Measure compression tool onto the damper assembly with the tab on the...
Page 34: ...b once the shaft assembly has been tightened CAUTION EYE HAZARD Oil can eject from the damper body Wear safety glasses Continue to apply pressure to the IFP while threading the sealhead into the dampe...
Page 35: ...into the reservoir to the appropriate depth for your shock stroke CAUTION EYE HAZARD Do not look directly at the reservoir as you push on the IFP Oil may be ejected from the IFP reservoir if you push...
Page 36: ...or isopropyl alcohol into the reservoir Isopropyl alcohol can cause o rings to become brittle and crack To check the bleed quality install the IFP Height Tool into the IFP reservoir and apply force to...
Page 37: ...he IFP reservoir until the retaining ring groove is visible Push the new retaining ring into the groove until it is seated CAUTION EYE HAZARD The retention ring can eject rapidly as it is installed We...
Page 38: ...e pump from the adapter first will allow all of the air to escape from the reservoir You may substitute nitrogen if you have the proper fill equipment Install a new IFP reservoir fill cap o ring and i...
Page 39: ...the retainer by holding the spring and trying to pull on the shock body NOTICE Do not exceed 5 mm or five full turns of rotation on the spring preload adjuster as this will damage the shock If more th...
Page 40: ...bushing pin If this works you have completed mounting hardware and bushing service If you are unable to install your mounting hardware using your fingers use the RockShox rear shock bushing removal in...
Page 41: ...thread the push pin until the bushing pin protrudes from both sides of the eyelet an equal amount You may need to unthread the catcher slightly to check the bushing pin spacing Press an end spacer la...
Page 42: ...rd Chrome Hexfin HollowPin Howitzer HRD Hybrid Drive Hyperfoil i 3 Impress Jaws Jet Kage Karoo Komfy LINK Lyrik MatchMaker Maxle Maxle 360 Maxle DH Maxle Lite Maxle Lite DH Maxle Stealth Maxle Ultimat...
Page 43: ...598 8 Chung Shan Road Shen Kang Hsiang Taichung City Taiwan R O C WORLD HEADQUARTERS SRAM LLC 1000 W Fulton Market 4th Floor Chicago Illinois 60607 U S A EUROPEAN HEADQUARTERS SRAM Europe Paasbosweg 1...