background image

IM-P204-03 

 CH Issue 8

1

1. Safety information

2. General product 

information

3. Installation

4. Maintenance - 

DN15 to DN32 valves

5. Maintenance - 

DN40 to DN100 valves

6. Spare parts

© Copyright 2016 

Printed in GB

IM-P204-03

CH Issue 8

2046050/8

DLV7 SG Iron

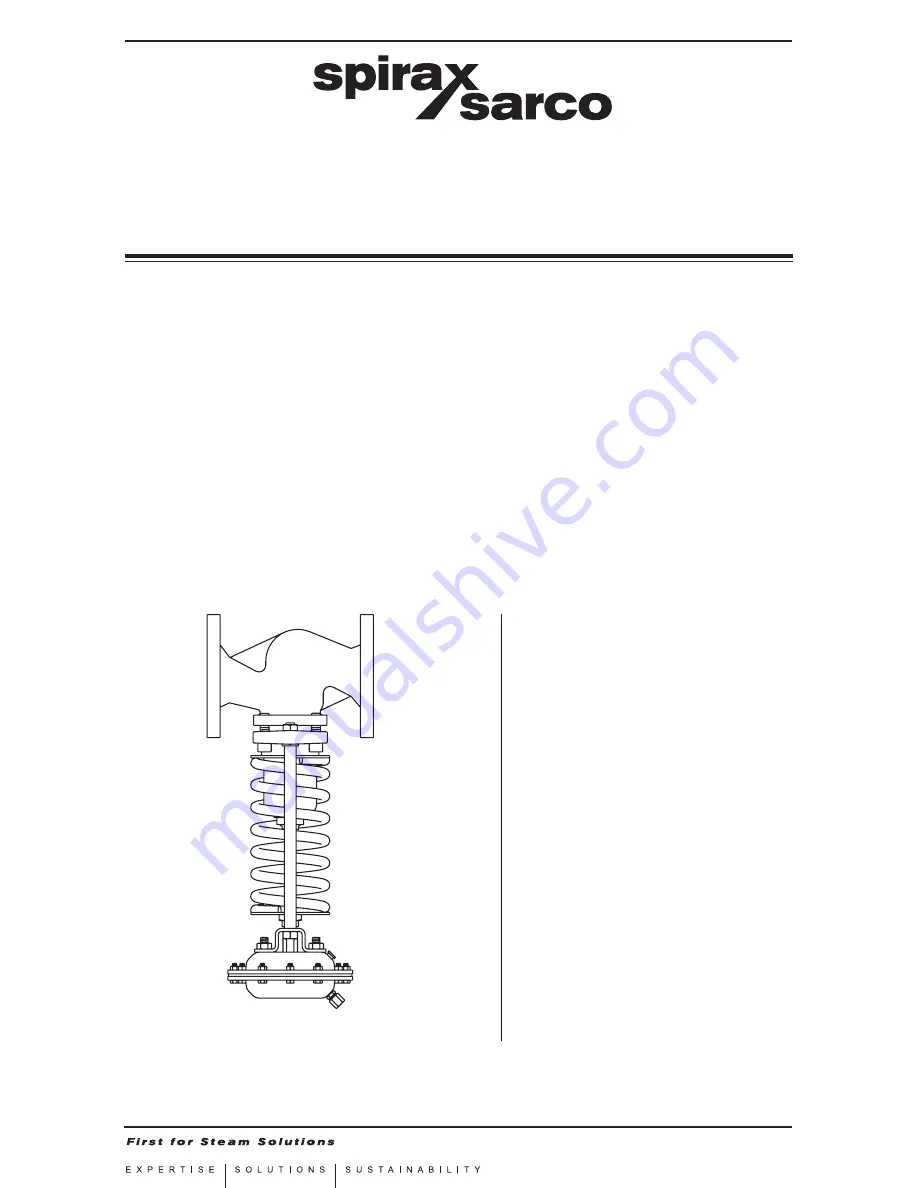
Pressure Reducing Valve

Installation and Maintenance Instructions

Summary of Contents for DLV7

Page 1: ...roduct information 3 Installation 4 Maintenance DN15 to DN32 valves 5 Maintenance DN40 to DN100 valves 6 Spare parts Copyright 2016 Printed in GB IM P204 03 CH Issue 8 2046050 8 DLV7 SG Iron Pressure...

Page 2: ...N25 1 WS4 SEP WS4 3 1 i The products have been specifically designed for use on steam which is in Group 2 of the above mentioned Pressure Equipment Directive The product s use on other fluids may be p...

Page 3: ...the system or any personnel at risk Dangers might include isolation of vents or protective devices or the rendering ineffective of controls or alarms Ensure isolation valves are turned on and off in a...

Page 4: ...erating conditions the surface temperature of some products may reach temperatures of 250 C 482 F Many products are not self draining Take due care when dismantling or removing the product from an ins...

Page 5: ...spring to close or open the valve to adjust the flowrate and maintain a constant downstream pressure The DLV is routine maintenance free It is a single seat bellows sealed valve available in sizes ra...

Page 6: ...bar g Minimum design temperature 0 C 0 C Maximum operating temperature 250 C 21 8 bar g 250 C 13 9 bar g Minimum operating temperature 0 C 0 C Note For lower operating temperatures consult Spirax Sarc...

Page 7: ...is available with the following pressure ranges Valve Actuator and Size Pressure range bar Actuator PN rating DLV71 DN100 0 5 1 5 2 5 DLV72 DN15 to DN50 0 2 1 8 2 5 DN65 to DN80 0 4 1 8 DLV73 DN100 1...

Page 8: ...applications up to a volume of 1 litre WS4 3 The WS4 3 has a larger 3 litre volume and is recommended where there is rapid fluctuation of pressure or load Connection sizes Inlet BSP male Screwed WS4...

Page 9: ...n temperature 0 C Maximum operating pressure for saturated steam 21 bar g Maximum operating temperature 225 C 21 bar g Minimum operating temperature 0 C Note For lower operating temperatures consult S...

Page 10: ...valve can alternatively be mounted vertically upwards 1 m or 15 pipe diameters minimum Steam Steam Condensate Fig 5 Typical installation for downstream temperatures above 125 C WS4 water seal pot Stea...

Page 11: ...lve being put into service Remove the water seal pot filling plug and fully charge the vessel with soft water Replace the filling plug For applications where there are rapid fluctuations in load or pr...

Page 12: ...t the upstream and downstream pressures are reduced to zero This is achieved by rotating the adjustment nut to reduce the spring compression to zero The downstream pressure signal pipe should be disco...

Page 13: ...net Using a spanner hold the adjustment nut then loosen the lock nut Loosen the adjustment nut 1 2 3 4 Remove the lock nut Pillar Loosen and remove the pillar securing nuts and washers using a 19 mm A...

Page 14: ...he lower spring plate 5 6 7 8 Remove the upper spring plate Remove the adjustment nut and thrust washers Loosen and remove the bonnet cap screws using a hexagon key 4 1 Removal of the valve bonnet con...

Page 15: ...IM P204 03 CH Issue 8 15 9 Lift the bonnet assembly away from the valve body 4 1 Removal of the valve bonnet continued...

Page 16: ...ng Screw two M14 nuts on to the valve stem and tighten together Note hold nut A Only tighten nut B to ensure no damage to the bellows Seat Gasket surface 1 2 Hold the nut B using a 22 mm A F spanner a...

Page 17: ...ng the nut B using a 22 mm A F spanner and tighten the head adaptor nut C with a 24 mm A F spanner to a torque of 15 1 N m for the DN15 DN20 and 20 2 N m for the DN25 DN100 Caution to prevent any dama...

Page 18: ...faces 2 Remove the head set Hold the lock nut B using a 22 mm A F spanner and loosen the head adaptor nut C with a 24 mm A F spanner Caution to prevent any damage care must be taken not to twist the b...

Page 19: ...DN15 and DN20 sizes and a 36 mm A F spanner for the DN25 and DN32 sizes 6 7 Supporting the bellows assembly proceed to remove the bellows from the bonnet Gasket face Remove and clean gasket material f...

Page 20: ...ows gasket over the spindle and carefully fitting the bellows into the bonnet Carefully place a new inner bonnet gasket followed by the spindle guide plate Replace the nut and hand tighten Using a 24...

Page 21: ...5 1 N m for the DN15 DN20 and 20 2 N m for the DN25 DN100 Caution to prevent any damage care must be taken not to twist the bellows To prevent over extension stretching of the bellows locate the guide...

Page 22: ...7 1 2 3 Fit the screws and leave a small gap Raise and then lower the stem while holding the bonnet firmly to ensure plug and seat alignment Invert the bonnet assembly add the new bonnet gasket on to...

Page 23: ...ing and actuator assembly 1 2 3 4 Replace the upper spring plate and washers and adjustment nut Screw the adjustment nut down hand tight approximately 20 mm Loosely fit the lock nut onto the spindle R...

Page 24: ...ng of the spring and actuator assembly continued 6 Re fit the pillar washers and nuts Use a 19 mm A F spanner to tighten the nuts to a torque of 25 32 N m Pillar Lower the actuator holder on to the va...

Page 25: ...d that the upstream and downstream pressures are reduced to zero This is achieved by rotating the adjustment nut to reduce the spring compression to zero The downstream pressure signal pipe should be...

Page 26: ...bonnet Using a spanner hold the adjustment nut and loosen the lock nut Remove the lock nut 1 2 3 4 Loosen the adjustment nut Loosen and remove the pillar securing nuts and washers using a 19 mm A F s...

Page 27: ...move the spring and the lower spring plate Loosen and remove the bonnet cap screws using a 10 mm hexagon key 5 6 Remove the washers and upper spring plate Remove the adjustment nut Adjustment nut Wash...

Page 28: ...ners hold nut A and tighten nut B 1 2 Although the seat is non replaceable the gasket surface area will need cleaning Hold the lock nut B using a 22 mm A F spanner and loosen the head adaptor nut C wi...

Page 29: ...the nut B using a 22 mm A F spanner and tighten the head adaptor nut C with a 24 mm A F spanner to a torque of 15 1 N m for the DN15 DN20 and 20 2 N m for the DN25 DN100 Caution to prevent any damage...

Page 30: ...faces 2 Remove the head set Hold the lock nut B using a 22 mm A F spanner and loosen the head adaptor nut C with a 24 mm A F spanner Caution to prevent any damage care must be taken not to twist the b...

Page 31: ...to DN100 only 5 Use a small blunt instrument to push the snap ring out of the groove DN65 to DN100 only 6 7 Remove the spindle guide plate DN65 to DN100 only 8 Using a 24 mm A F spanner hold the two...

Page 32: ...clean Remove the bonnet gasket and clean 5 3 Replacement of the bellows assembly continued 11 9 Support the bellows assembly and remove the lock nut then proceed to remove the bellows DN40 to DN50 bo...

Page 33: ...the clamp nut Using a 24 mm A F spanner hold the two flat edges on the bellows and then tighten the clamp nut to a torque of 60 65 Nm by using a 36 mm A F spanner 14 Replace guide plate and snap ring...

Page 34: ...plate and screw the new head set onto the stem hand tight Then proceed to tighten by holding the nut B using a 22 mm A F spanner and tighten the head adaptor nut C with a 24 mm A F spanner to a torqu...

Page 35: ...following the sequence shown in Figure 7 to a torque of 28 32 N m 1 2 3 Fit the screws and leave a small gap Raise and then lower the stem while holding the bonnet firmly to ensure plug and seat align...

Page 36: ...ing and actuator assembly 1 2 3 4 Replace the upper spring plate and washers and adjustment nut Screw the adjustment nut down hand tight approximately 20 mm Loosely fit the lock nut onto the spindle R...

Page 37: ...4 03 CH Issue 8 37 Lower the actuator holder on to the valve and locate the mounting holes 5 6 Re fit the pillar washers and nuts Use a 19 mm A F spanner to tighten the nuts to a torque of 25 32 N m P...

Page 38: ...65 DN100 snap ring E F G K Control spring s For the Spring setting range see page 39 I Head set DN15 DN100 Head assembly and bonnet gaskets Note The seat cannot be replaced L G F Gasket set Sealing be...

Page 39: ...F I B C A E D H K DN65 DN100 Spring setting range I 1 DN100 0 5 1 5 bar g 2 DN15 to DN50 0 2 1 8 bar g DN65 to DN80 0 4 1 8 bar g 3 DN100 1 0 4 0 bar g 4 DN15 to DN80 1 0 5 5 bar g DN100 3 5 13 bar g...

Page 40: ...IM P204 03 CH Issue 8 40...

Reviews: