


10
Spektrum DX4r prO • tranSmitter inStructiOn manual
EN
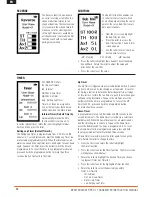
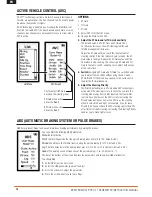
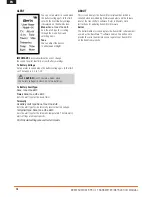
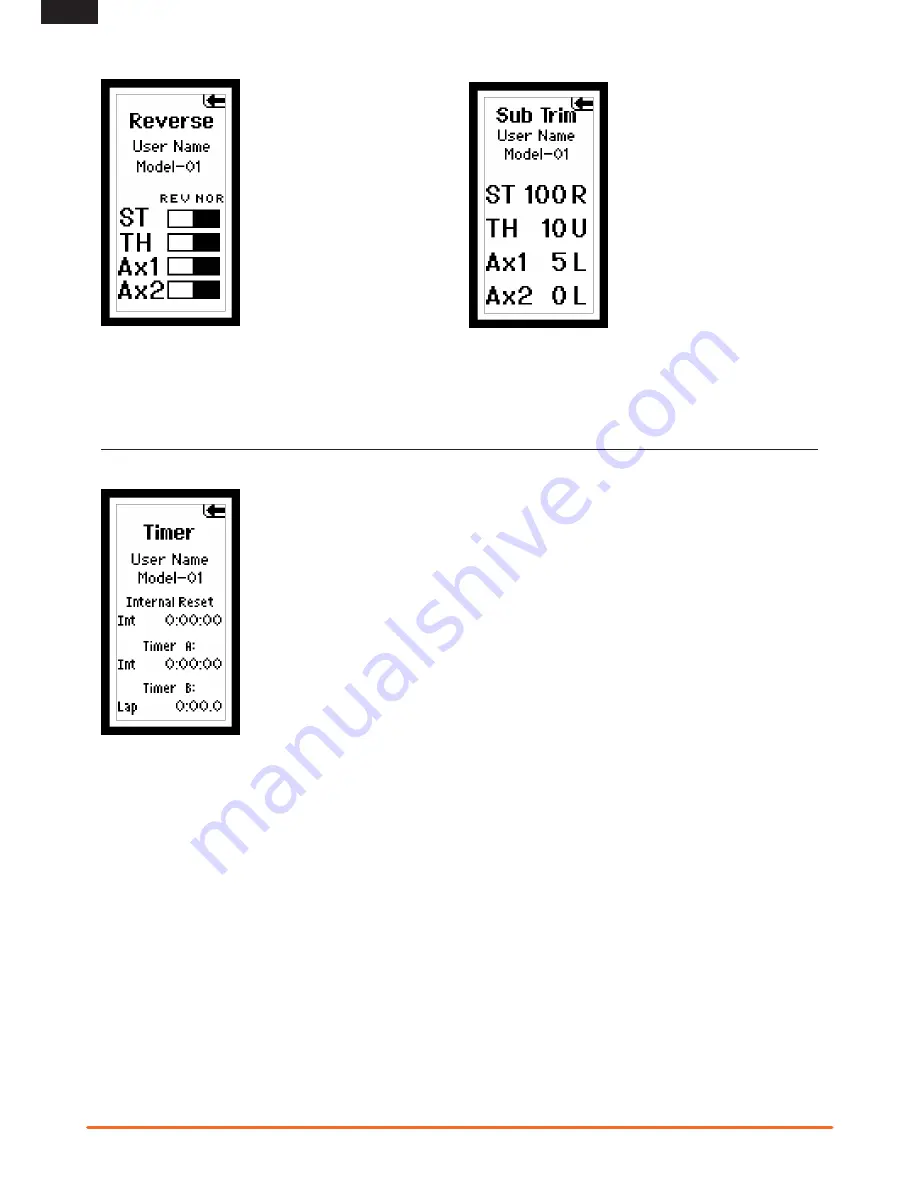
SUBTRIM
The Sub-Trim function enables you
to correct minor servo arm offsets
by electronically adjusting the center
point of the servo. Sub-trim is avail-
able on all channels.
• From the List screen, highlight
the Sub-Trim function.
• Press the roller to access the
Sub-Trim function. The Sub-Trim
screen appears.
• Use the roller to select the chan-
nel you wish to reverse.
-ST
Steering
-TH
Throttle
-AX
Auxiliary
• Press the roller to highlight that channel. The surrounding
box will flash. Rotate the roller to adjust the value and
direction of the sub-trim.
• Press the roller to set the value.
Up Timer
The Up Timer is triggered via a selectable button/switch. It counts
up from 00:00 seconds, functioning as a stopwatch. It is useful
for timing a fuel run to determine fuel mileage/pit stop strategy
or, for electrics, to time the run time of a pack to determine gear
ratio and setup information. To pause the Up timer, press the
button/switch the timer is programmed to. To reset the UP
timer to 00:00, press and hold the programmed button
for more than three seconds.
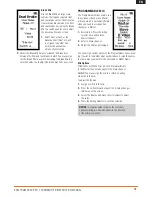
Down Timer
Is programmable for up to 99 minutes and 99 seconds in one-
second increments. The Down timer is started via a selectable
button/switch. When the down timer expires, an alarm sounds
and the timer begins to count up. To pause the Down timer,
press the button/switch the timer is programmed to. To reset
the Down timer to its preprogrammed value, press and hold
the programmed button for more than three seconds.
If Down timer is selected, press the roller again to change the
time. Rotate the roller to change the time.
• From the List screen rotate the roller to highlight
the Timer function.
• Press the roller to enter the Timer function. The Timer screen
will display as shown below.
• Rotate the roller to highlight the desired Timer you choose
to program (Timer A or Timer B).
• Press the roller to enter the highlighted Timer function.
• Rotate the roller to select the desired type within
Timer A or Timer B:
– Int- Internal
– Dn Tmr- Down Timer
– Up Tmr- Up Timer
– Lap- Rolling Lap Timer
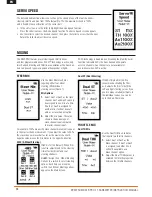
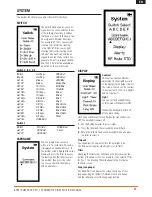
TIMER
The DX4R PRO offers
four types of timers:
Int
Internal
Dn Tmr
Down Timer
Up Tmr
Up Timer
Lap
Rolling Lap Timer
Timer A or B can be assigned to
one of the four types. Both timers
will be shown on the Main screen.
Internal Timer (Default Timer A)
Automatically records the time
the transmitter is turned on. To
reset the internal timer, rotate the roller to highlight Internal
Reset and then press the roller.
Rolling lap Timer (Default Timer B)
The Rolling Lap Timer is programmable from 0:00.5 to 4:59.9
minutes in 1-second increments. Start the Rolling Lap Timer via
a selectable programmable switch. When the timer expires, an
alarm sounds and the Lap timer resets and begins to count down
again. To pause the timer, press the button/switch the timer is
programmed to. To reset the timer to its preprogrammed value,
press and hold the programmed button for more than three
seconds. Button F defaults to the timer.
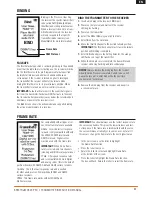
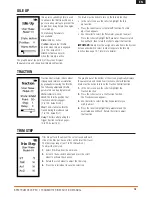
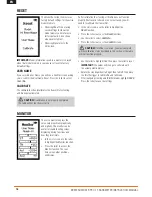
REvERSE
The Reverse function, also known
as servo reversing, establishes the
channel direction relative to the
channel input. Use the reverse menu
if, for example, the wheels turn left
when you turn the steering wheel
to the right. Reverse is available on
all channels and is normally the first
function you should test and adjust
during programming.


