


Remote Surveillance
DVR User Manual
83
12.3 Web WAN Access
①
Set the network of the DVR. Please refer to 11.1.1 TCP/IP Configuration for details.
②
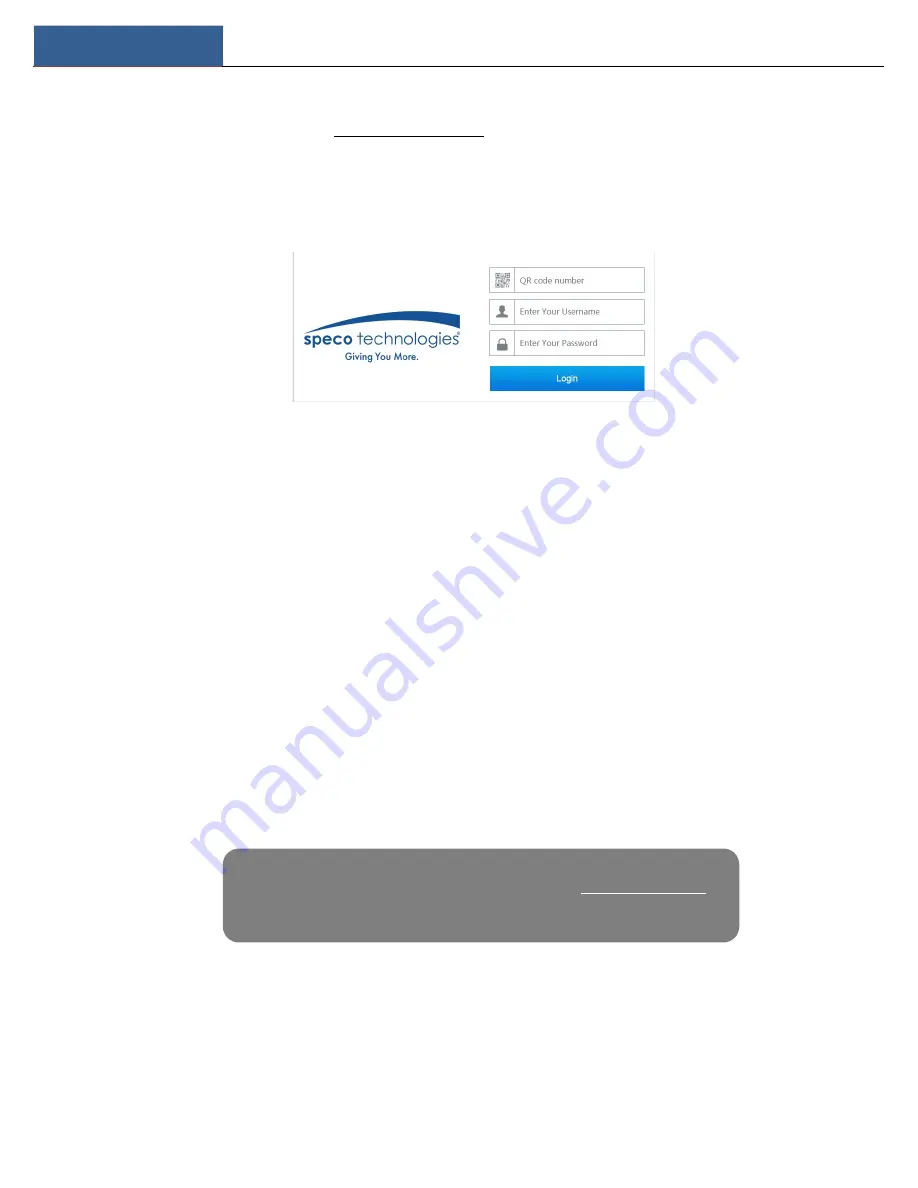
Click Start→Se ngs→Network→NAT to go to the interface for NAT configura on and check “Enable”. Click “Apply” to save the settings and
make note of the QR code number under the QR code. Via Internet Explorer, go to connect.specotech.cloud, input the QR code number, your
username and password to login.
PPPoE Access
①
Click Start
Settings
Network
PPPoE to go to the “PPPoE” interface. Check “Enable” in the “PPPoE settings” and then enter the username
and password you get from your ISP. Click “Apply” to save the settings.
②
Click Start
Settings
Network
Network Status to view the IP address of the DVR.
③
Open the web browser on your computer, enter the IP address of the DVR like http://210.21.229.138 in the address bar and then press enter
to go to the login interface. Enter the username and password of the DVR in the interface and then click “Login” to go to the live view interface.
Router Access
①
Click Start
Settings
Network
TCP/IP to go to the “TCP/IP” interface. Set the IP address, subnet mask, gateway, preferred DNS and
alternate DNS of the DVR.
②
Set the HTTP port (it is suggested to modify the HTTP port because the default HTTP port 80 might be taken up) and enable UPnP function in
both the DVR and the router. If the UPnP function is not available in the router, you need to forward the LAN IP address, HTTP port and server port
of the DVR to the router. Port mapping settings may be different in different routers, so please refer to the user manual of the router for details.
③
Get the WAN IP address of the DVR from the router. Open the web browser on your computer, enter the WAN IP address plus HTTP port like
http://116.30.18.215:100 in the address bar and then press enter to go to the login interface. Enter the username and password of the DVR in the
interface and then click “Login” to go to the live view interface.
12.4 Web Remote Control
The supported browsers for remote access are IE8/9/10/11, Firefox, Opera and Chrome (available only for the versions lower than 45) in Windows
and Safari on a MAC system. The DVR supports web client access with plug-in or without plug-in. Here we take IE browser as an example. When
you access the DVR through IE for the first time, you need to download and install the relative components for normal preview and playback.
Please refer to the tips in the remote interfaces for details. The buttons and icons on the top right corner of the remote interface are introduced as
Note: If the WAN IP address is a dynamic IP address, it is necessary for you to use the domain name to
access the DVR. Click Start
Settings
Network
DDNS to set DDNS (see 12.1.4 DDNS Configurationfor
details). By using DDNS function you can use the domain name plus HTTP port like
http://sunshine.dvrdydns.com:100 to access the DVR via internet.


