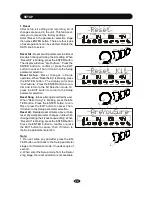
7. Complete the edit
After finish all editing job for the current drum kit,
no matter single or multiple part/parameter, you
may terminate the edit.
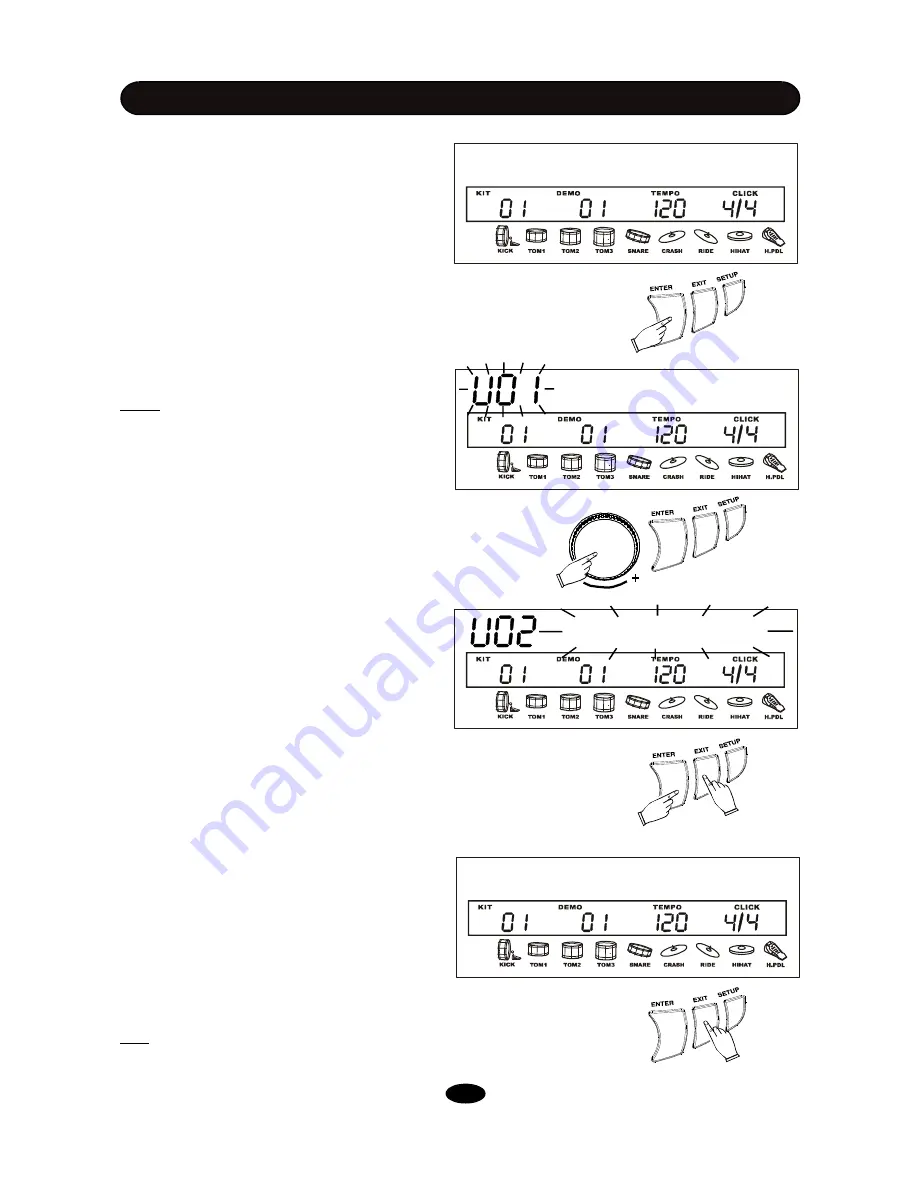
Press the EXIT button,
“
Save it?
”
. Then, you
have two choices:
(1) Save edited drum kit as your own user
kit:
Press the ENTER button.
“
User Kit
”
with User
kit number blinking will appear. Rotate the DATA
knob to choose number, then press the ENTER
button to confirm.
Note:
There are 30 built-in preset User Kit. All
of them are the same as Kit 01 Standard. When
you save your own User Kit, it must replace the
existing one.
If the saving is successful, it
’
ll turn to the Kit
select mode. The indicators of the pad select
button and the EDIT button will turn off. The EDIT
icon will disappear. The icon of the edited part
will stop blink.
The display always asks
“
Replace it
”
?. Press
the ENTER button to replace existing one with
your new editing. Press the EXIT button then
change another number. If you really don
’
t want
to cover any existing User Kit, press the EXIT
button in number selection stage, and it will cover
the current kit edited (referring to the next sec-
tion in this page) then turn to the Kit Select mode.
.
The User Kit setting is nonvolatile even the
power turns off.
(2) Press the EXIT button to exit the edit mode
and return to the Kit Selection mode without sav-
ing as User kit. The indicators of the pad select
button and the EDIT button will turn off. The EDIT
icon will disappear. The icon of the edited part
will stop blink.
The edited results will cover the current drum
kit and activate immediately.
When the power turn off, the changes in this kit
will reset.
Tip:
You may reset the kit changes by Reset
feature. Please see <SETUP> chapter in this
Manual for details.
DRUM KIT EDIT
Save it?
User Kit
Replace it
Save it?
16


