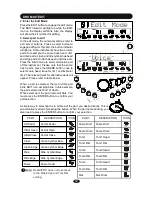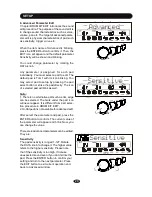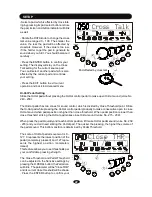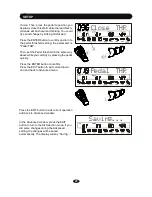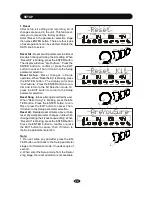
5. Edit the parameter
The current contents of this parameter will blink.
In this example, it is the voice number. Rotate
the DATA knob to change contents of the
parameter. In this example, you
’
ll change voice
assigned to Snare rim1. Any parameter has its
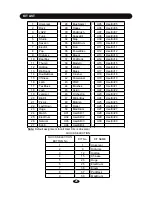
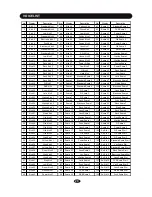
own range to set. For example, there are 418
voices can be selected to assign to a part, but
only some could be assigned to particular part.
Please see Appendix VOICE LIST for details.
Press the ENTER button to confirm your setting.
Then, it
’
ll return to the parameter selection op-
eration stage.
6. Edit another parameter or part
Now, the parameter (the VOICE in this example)
editing for a selected part is finished. You may
continue to edit other parameters in this part or
change part to edit.
(1) Edit other parameter in the current part
After you press the ENTER button to finish cur-
rent editing, it
’
ll turn back to the parameter se-
lection stage with the next parameter blinking.
Press the ENTER button to edit this parameter
or select other parameter by rotating the DATA
knob. Then, edit parameters in the same way
explained in the Step 4 - Step 5 above. Param-
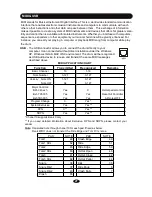
eters can be edited are listed in the table in page
11.
DRUM KIT EDIT
SnareRim01
Volume
4. Select parameter to edit
After select part, the current parameter will be
blinking . Rotate the DATA knob to select a pa-
rameter to edit. In this example, select VOICE.
The default parameter is VOICE.
Press the ENTER button to confirm you choice.
Voice
(2) Edit another part
Select another part to edit in the same way explained in Page 14. The current parameter to edit will
keep no change. It provides you easy method to edit the same parameter, e.g. voice, for each part.
Note:
There is exception. In the Cross Talk edit procedure, press pad selection button to choose a
pad generating cross talk badly instead of change part.
15


