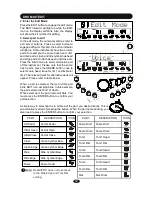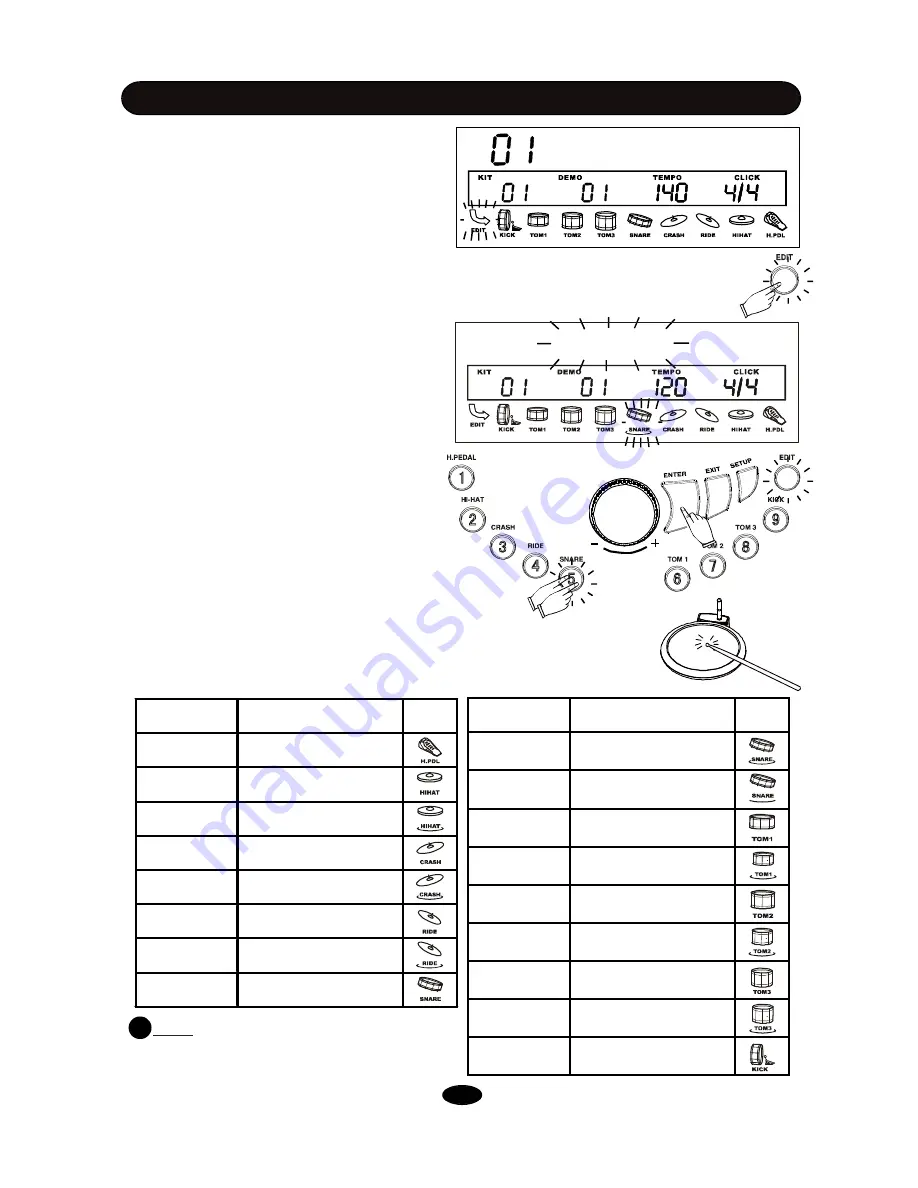
2. Enter the Edit Mode
Press the EDIT button to engage the edit mode.
The EDIT indicator will light up while the EDIT
icon on the display will blink. Also, the display
will show the kit number for editing.
DRUM KIT EDIT
Edit Mode
3. Select part to edit
In the edit mode, the numerical buttons refer to
part select buttons. Press a select button to
engage editing for this part, the button indicator
will light up. Some instruments have two or more
parts, for example, the snare have head, rim1
and rim2 parts; crash and ride cymbal has head
and edge parts; Hi-Hat has open and close etc.
Press the button twice to select alternative part
of this instrument. Please note that the snare
has 3 parts, press the SNARE button once to
select snare head, twice for rim1 and treble for
rim2. The relevant mark for alternative parts will
appear. Please refer to table below.
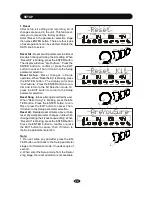
When a part is selected, the icon of this part
blink; EDIT icon will stop blink. In this example,
the part selected is Rim1 of Snare.
When select part, the part name will blink. You
must press the ENTER button to confirm your
part selection.
Voice
PART
DESCRIPTION
ICON
HH Pedal
Hi-Hat Pedal
HiHat Open Hi-Hat Open
HiHatClose
Hi-Hat Close
Crash
Crash Cymbal Bow
Crash Edge Crash Cymbal Edge
Ride
Ride Cymbal Bow
Ride Edge
Ride Cymbal Edge
Snare
Snare Head
PART
DESCRIPTION
ICON
Snare Rim1 Snare Rim1
Snare Rim2 Snare Rim2
Tom1
Tom1 Head
Tom1 Rim
Tom1 Rim
Tom2
Tom2 Head
Tom2 Rim
Tom2 Rim
Tom3
Tom3 Head
Tom3 Rim
Tom3 Rim
Kick
Kick Drum
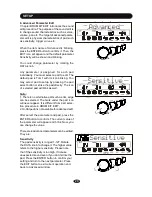
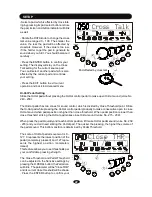
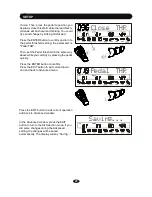
A simple way to select part is to hit area of the pad you desire directly. This is
an aternative metrod of pressing the button. When the part name blinking, you
also need to press the ENTER button to confirm your selection.
!
Note:
RealkitPRO does not responses
to the Ride Edge and Tom Rim
setting.
14


