S O U N D C R A F T S I G N AT U R E M T K
R E C O R D I N G G U I D E
17
ABLETON LIVE LITE
Stereo recording using ABLETON LIVE LITE
After the drivers have been installed on the PC and the
console is connected to your chosen machine (PC or
MAC) we can begin to setup a project and start recording!
The following steps walk through DAW specific
instructions for setting up the recording interface,
patching inputs, outputs, enabling record and adjusting
sample rate settings from the DAW.
In this example, we will be covering ABLETON LIVE
LITE, however the setup also covers ABLETON LIVE and
ABLETON SUITE. After you have installed ABLETON LIVE
LITE and followed the detailed steps during the install
procedure, start ABLETON LIVE LITE.
Once it has loaded, you will be presented with an empty
project (or your previously loaded project depending on
your settings). Before tracks can be added and recording
can begin, you must first assign ABLETON LIVE LITE to
use the Soundcraft Multichannel audio interface.
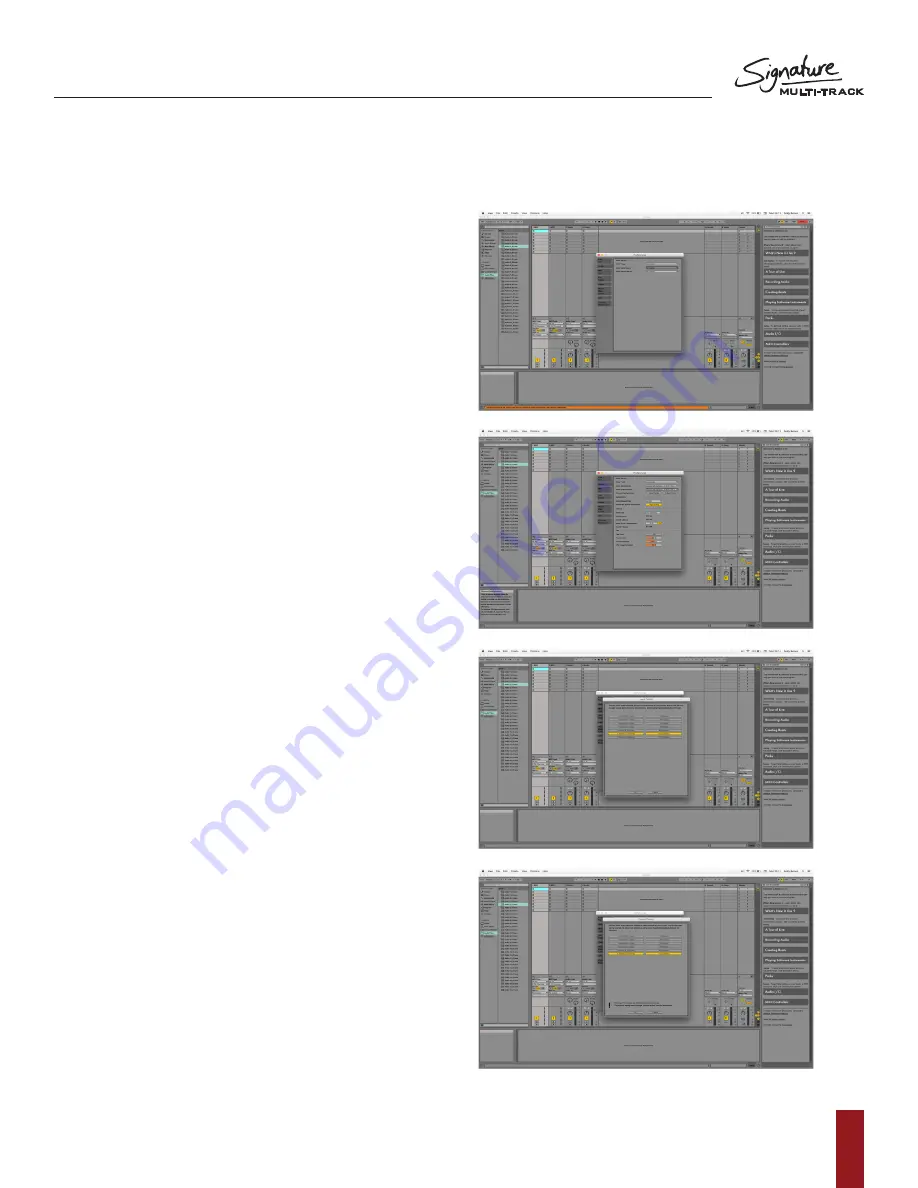
1. First, you must open up the preferences menu –
On a Mac this is under the ‘live’ tab at the top of
the screen.
a. From here you will need to assign an ‘Audio
Input Device’ As well as an ‘Audio
Output Device’. Select the drop down
menus and select the Soundcraft Digital
option under each drop-down.
b. Once the audio driver is selected, you will
then see the options for sample rate, and
buffer sizes appear below. Beneath ‘Audio
Output Device’, you will see an option for
‘Input Config’ and ‘Output Config’.
c. Select ‘Input Config’ and engage the correct
stereo pair for the console you have
(11/12 or 21/22). You can then select ‘Output
config’ and assign the USB return to one of
the available USB outputs. Setting these
channels to the corresponding Stereo return
channels on the mixer would mean that you
can playback your recorded files with a
simple button press on the consoles
USB return.


