S O U N D C R A F T S I G N AT U R E M T K
R E C O R D I N G G U I D E
10
REAPER
®
Multi-track recording using REAPER
After the drivers have been installed on the PC and the console is connected to your chosen machine (PC or
MAC) we can begin to setup a project and start recording.
The following steps walk through DAW specific instructions for setting up the recording interface, patching inputs,
outputs, enabling record and adjusting sample rate settings from the DAW.
In this example, we will be covering REAPER however we will look into other DAWs in proceeding sections.
After you have installed REAPER following the detailed steps from the on screen procedure, you can then start
the program.
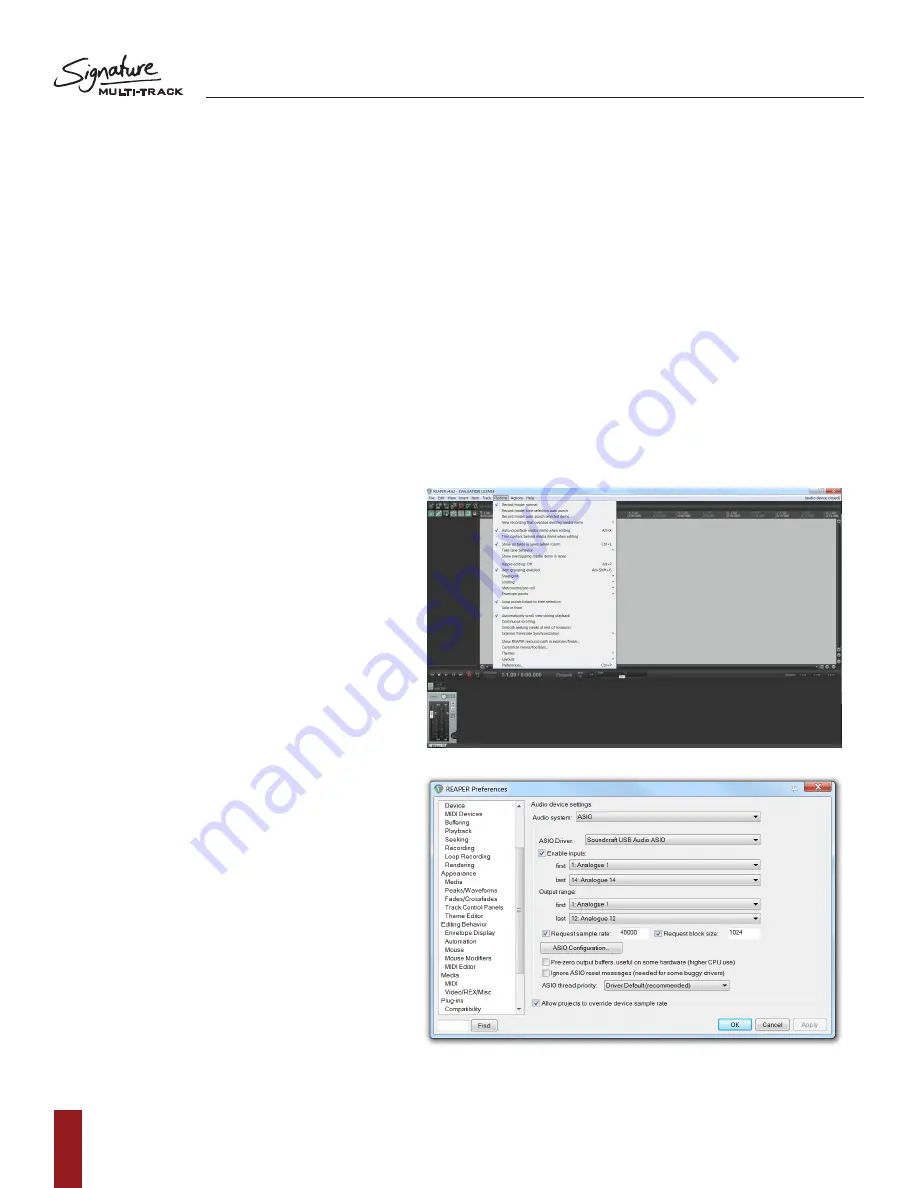
Once it has loaded, you will be presented with an empty project. Before tracks can be added and recording can
begin, you must first assign REAPER to use the Soundcraft Multichannel audio interface.
1. Firstly, go into the options tab at the top of the
screen and scroll down to preferences.
2. On the left menu, scroll down to device under
the ‘audio’ heading.
3. Select the ‘Audio system’ drop down
and select ASIO
a. If you have more than one ASIO
driver installed on your machine,
ensure that Soundcraft USB Audio
ASIO is selected on the ‘ASIO Driver’
drop down menu.
4. Select the desired range of inputs and outputs
under the appropriate drop down menus.
a. For maximum record and playback
facilities on the Soundcraft Signature 12,
engage inputs Analogue 1 - Analogue 14
and outputs Analogue 1 - Analogue 12.
b. Signature 22MTK will require a larger
range of inputs such as
Analogue 1- Analogue 24 and
outputs Analogue 1 – Analogue 22.
5. Check the request sample rate box and enter
your desired sample rate.
a. 44.1 kHz recording should be entered
as 44100 and 48 kHz recording should
be entered as 48000.
NOTE: higher sample rates are not
compatible with the Signature series
Multi-track consoles.


