S O U N D C R A F T S I G N AT U R E M T K
R E C O R D I N G G U I D E
13
Inserting plug-ins on REAPER
Once the project has been created and the tracks have been setup to send and receive out of the corresponding
USB channels of the mixer, you are able to follow a few extra steps in order to use plug-ins inserted into the input
channels. On REAPER, the process is quick and easy.
1. Once your tracks are setup to receive and send out of the corresponding USB channels, you then need to enable
monitoring on each channel.
a. This allows the audio to pass through the audio tracks’ channel strip and
back out of the USB channel.
2. On each audio channel you need to select the small speaker icon beneath
the solo button on each track.
a. Engaging this button allows for Input record monitoring. You will not notice any audio
going through the channel strip until you follow the next step.
3. Finally, on each audio track you need to engage the ‘record enable’ button in
order for the audio to pass through the input channels.
a. After engaging this button on each track, you should notice an input
meter on channel begin to show level.
4. You can now click on the rectangular insert points above the fader and the ‘outputs/sends’ section to select your
desired plug in insert and effect the input channel. You can use the DAW fader as a ‘return level’ back into your
console if you need to make any adjustments to the gain structure.
LOGIC
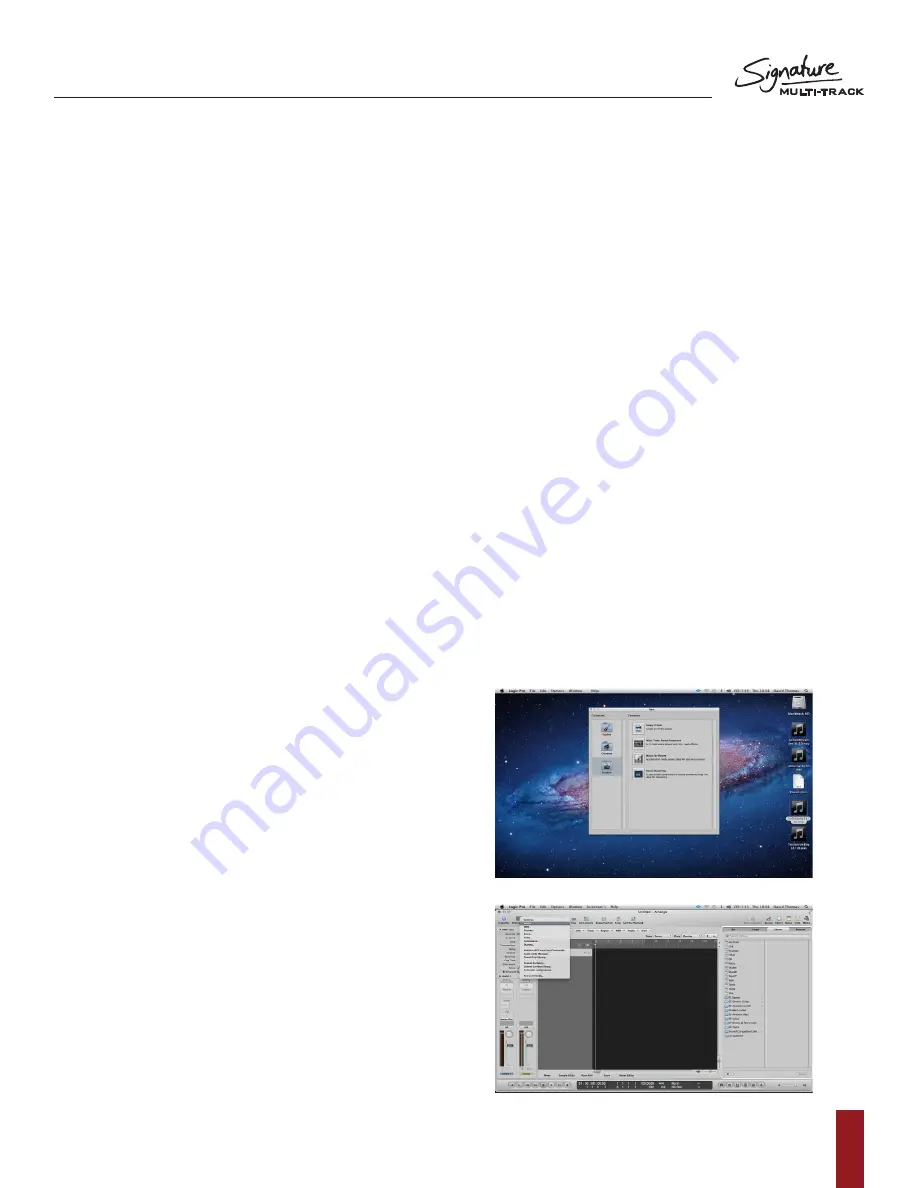
Multi-track recording using LOGIC 9.1.8
Once LOGIC has loaded, you will be presented the LOGIC
toolbar at the top of the screen. Before tracks can be added
and recording can begin, you must first create a new project.
1. Go into the ‘File’ menu at the top of the screen
and select the New option.
a. You will then be presented with a dialogue
to select the preferred new project
template based on preference.
b. We suggest using an Empty project.
2. Once the project has loaded up, you may be prompted to
add an audio track. For now, select Create to add a track
and get the project started. We will delete this track later.
3. Now we must assign our desired audio interface into
LOGIC. To do this, select the ‘preferences’ icon located on
the top toolbar of logic and select Audio.


