1
Either turn off the device, or unmount the memory card under
Settings
>
Storage & memory
> >
Advanced
>
Storage
> next to
SD card
.
2
With the screen facing down, open the nano SIM/Memory card slot cover.
3
Drag out the nano SIM/Memory card holder using your fingernail.
4
Remove the memory card, then gently push the holder into the slot until it fits
into place.
Screen protection
Before using your device, remove the protection film by pulling up on the protruding tab.
It is recommended to protect your device with a Sony branded screen cover or a
protector intended for your Xperia™ model. The use of third party screen protection
accessories may prevent your device from working correctly by covering sensors,
lenses, speakers, or microphones and can invalidate the warranty.
Starting your device for the first time
The first time you start your device, a setup guide helps you to configure basic
settings, personalise your device and sign in to your accounts (for example a
Google™ account).
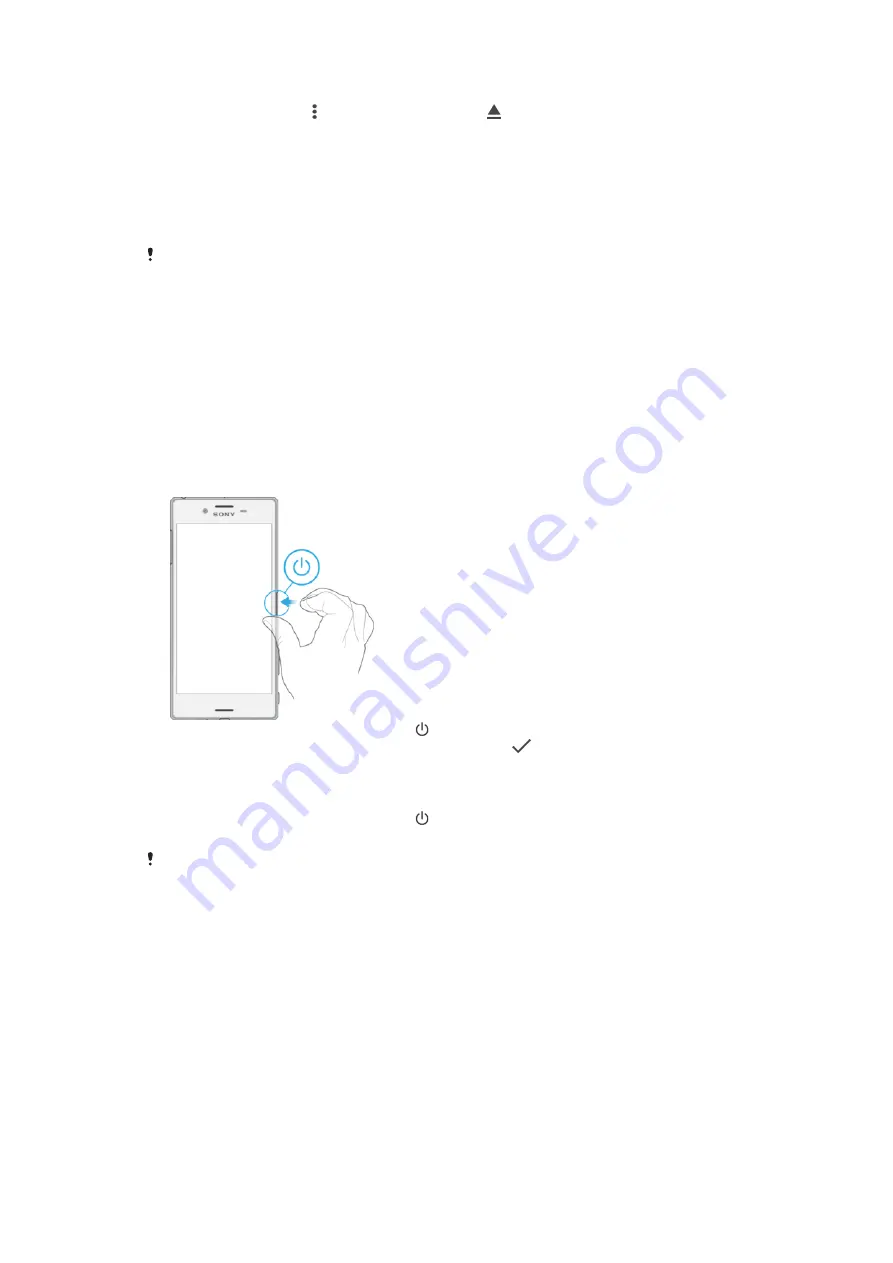
To turn on the device
1
Press and hold down the power key until the device vibrates.
2
Enter your SIM card PIN when requested, then tap
.
3
Wait a while for the device to start.
To turn off the device
1
Press and hold down the power key until the options menu opens.
2
In the options menu, tap
Power off
.
It may take a while for the device to shut down.
Why do I need a Google™ account?
Your Xperia™ device from Sony runs on the Android™ platform developed by
Google™. A range of Google™ applications and services is available on your device
when you purchase it, for example, Gmail™, Google Maps™, YouTube™ and the
Play Store™ application, which gives you access to the Google Play™ online store
for downloading Android™ applications. To get the most out of these services, you
need a Google™ account. For example, a Google™ account enables you to do all of
the following:
•
Download and install applications from Google Play™.
•
Synchronise your email, contacts and calendar using Gmail™.
•
Chat with friends using the Hangouts™ application.
•
Synchronise your browsing history and bookmarks using the Google Chrome™ web
browser.
8
This is an Internet version of this publication. © Print only for private use.


