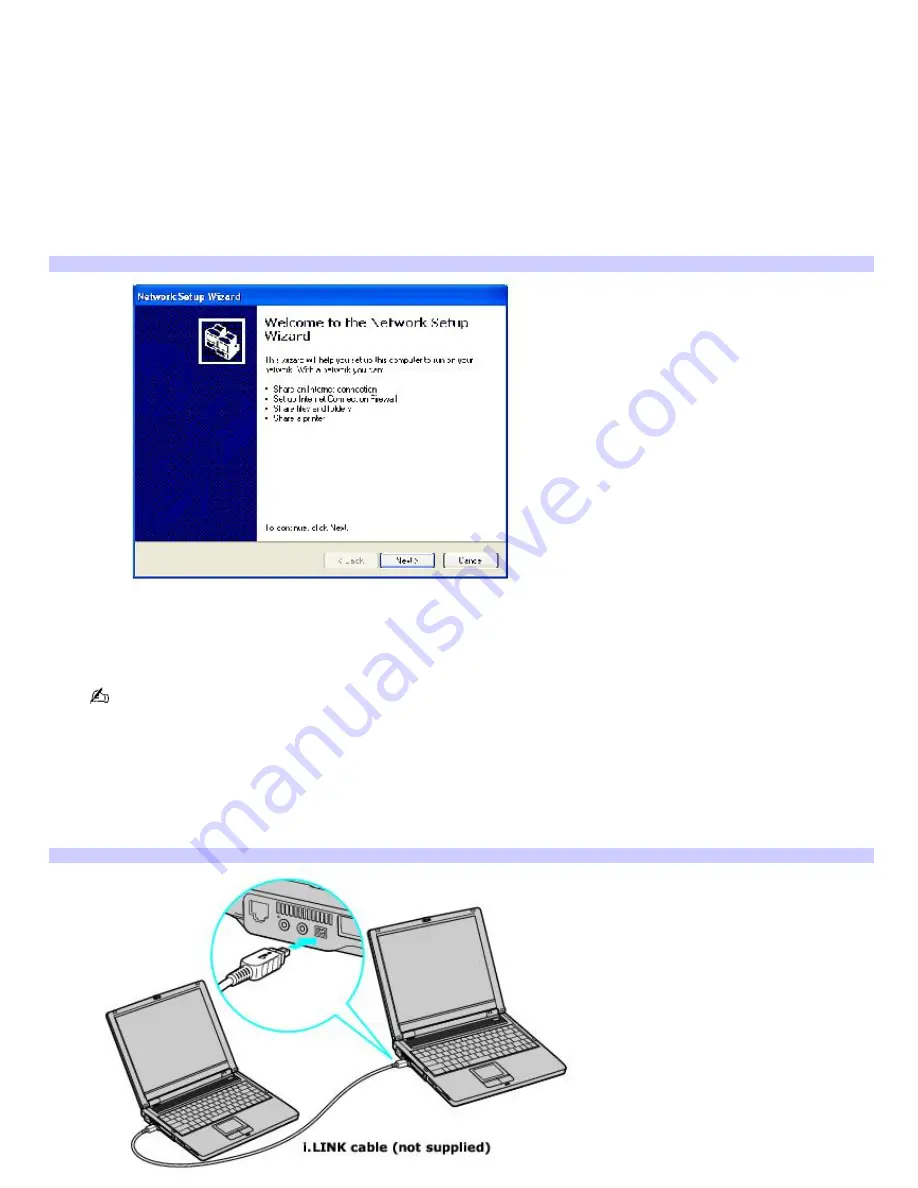
Connecting VAIO computers
When you connect two VAIO computers, you can use one computer to edit, copy, or delete files on the other computer. You
can also print from a printer attached to either computer.
To connect VAIO computers
1.
Plug one end of the i.LINK cable into the i.LINK port on each computer.
2.
Click
Start
on the Windows
®
taskbar, and click
Control Panel
.
3.
Click
Network and Internet Connections
, and click
Set up or change your home or small office network
. The
Network Setup Wizard
appears.
Network Setup Wizard
4.
Follow the on-screen
Network Setup Wizard
instructions.
5.
When you are prompted, type in a unique computer name for each computer. You will use this unique name to
differentiate the two computers once they are networked together.
The Workgroup name should remain the same for the two networked computers.
6.
When you finish the
Network Setup Wizard
on-screen instructions, click
Start
on the Windows
®
taskbar and
click
My Computer
.
7.
Click
My Network Places
in the
Other Places
menu. The
My Network Places
window appears.
8.
Click
View workgroup computers
in the
Network Tasks
menu. Computers networked under the same
workgroup name are displayed in this window.
Connecting Another Com puter
Page 37
Summary of Contents for VAIO PCG-FR130
Page 21: ...5 Follow the on screen instructions Page 21 ...
Page 38: ...Page 38 ...
Page 41: ...CDs and DVDs Inserting and Ejecting CDs or DVDs Copying and Playing CDs Playing DVDs Page 41 ...
Page 43: ...4 Lift the disc from the drive 5 Push the drive tray gently to close it Page 43 ...
Page 46: ...Page 46 ...
Page 57: ...Printer Connections Printing With Your Computer Page 57 ...
Page 63: ...Computer Features Using the Touch Pad Changing the Window Design of Sony Programs Page 63 ...
Page 69: ...Mice and Keyboards Using the Keyboard Connecting Mice and Keyboards Page 69 ...
Page 72: ...Page 72 ...
Page 80: ...Floppy Disk and PC Card Connections Using the Floppy Disk Drive Using PC Cards Page 80 ...


