1-6
24
Getting Started
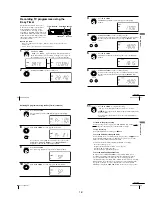
If the picture is not clear
If the picture is not clear, you may use the Manual Fine Tuning (MFT)
function. After step 4, press
M
/
m
to select MFT. Press
<
/
,
to get a clear
picture, then press MENU to exit the menu.
Notes
¥
If the TV sound is distored or noisy, select the appropriate TV system ( G , K ,
I , B * or M *) for your area (see page 20).
¥
When adjusting MFT, the menu may become difficult to read due to interference
from the picture being received.
* SLV-ED929MI only
Presetting channels (continued)
25
Getting Started
Getting Star
ted
Changing/disabling programme
positions
After setting the channels, you can change the programme positions as you like. If
any programme positions are unused or contain unwanted channels, you can disable
them.
You can also change the station names. If the station names are not displayed, you
can enter them manually.
Changing programme positions
Before you start
¥
Turn on the VCR and the TV.
¥
Set the TV to the video channel.
¥
Refer to Index to parts and controls for button locations.
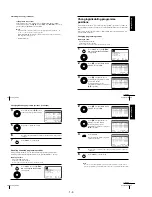
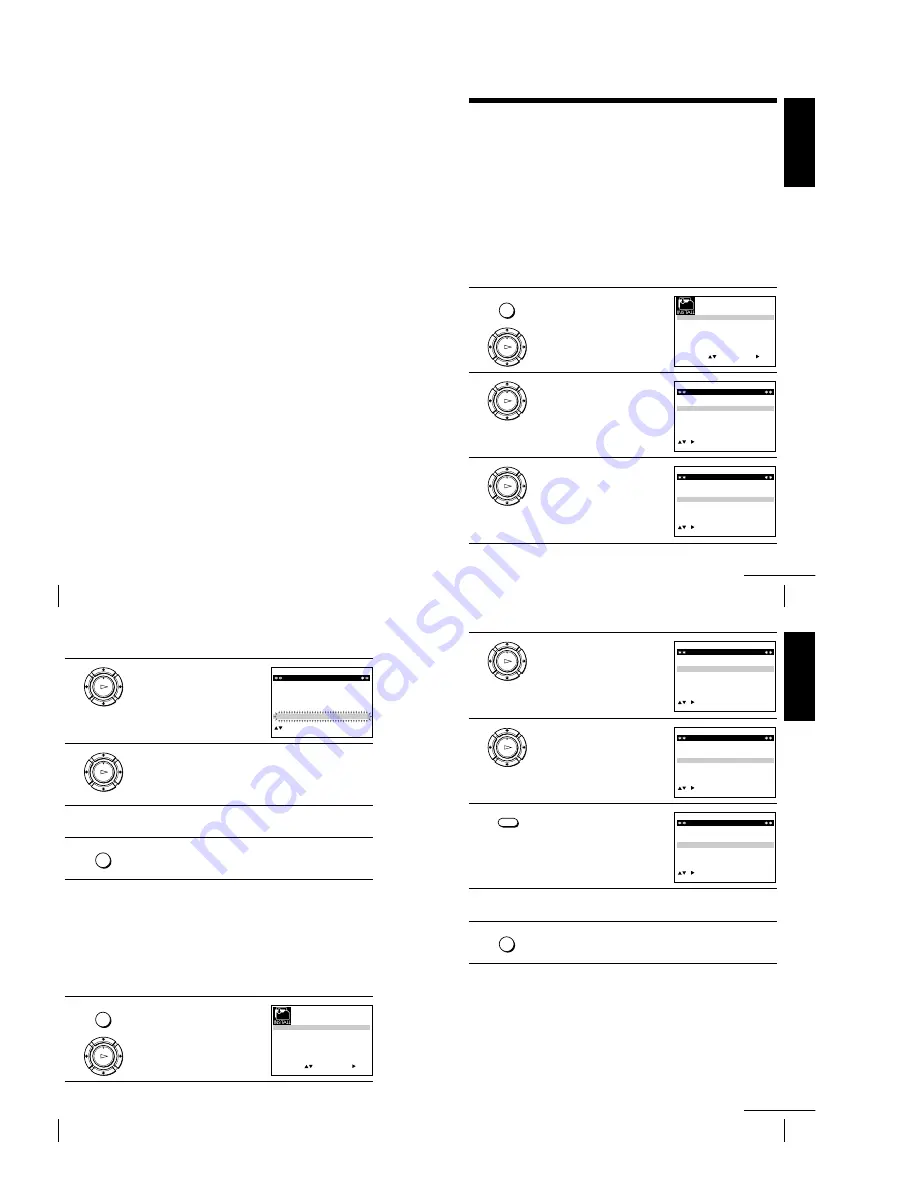
1
Press MENU, then press
M
/
m
/
<
/
,
to highlight INSTALLATION
and press OK.
2
Press
M
/
m
to highlight MANUAL
SET UP, then press
,
.
3
Press
M
/
m
to highlight the row
containing the programme position
you want to change.
To display other pages for
programme positions 6 to 80, press
M
/
m
repeatedly.
MENU
OK
PLAY
S E T
M E N U
:
:
O K
:
E N D
S E L E C T
A U T O S E T U P
M A N U A L S E T U P
T V S Y S T E M
3 2
:
G
:
V C R O U T P U T C H
:
E X I T
E X I T
M E N U
:
C L E A R
:
D E L E T E
S W A P P I N G
O K
T V S T A T I O N T A B L E
:
5
4
3
2
1
0
0
0
0
3
3
2
2
2
0
9
7
I
C
L
A
J
D
M
A
K
E
N
B
—
—
—
—
B / G / D / K
B / G / D / K
B / G / D / K
B / G / D / K
P R
C H
N A M E
S Y S T E M
OK
PLAY
C H
M E N U
:
C L E A R
:
D E L E T E
S W A P P I N G
O K
T V S T A T I O N T A B L E
:
5
4
3
2
1
0
0
0
0
3
3
2
2
2
0
9
7
I
C
L
A
J
D
M
A
K
E
N
B
—
—
—
—
B / G / D / K
B / G / D / K
B / G / D / K
B / G / D / K
P R
N A M E
S Y S T E M
E X I T
OK
PLAY
continued
26
Getting Started
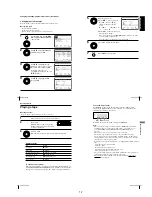
4
Press OK, then press
M
/
m
to move
to the desired programme position.
5
Press OK to confirm the setting.
6
To change the programme position of another station, repeat steps 3
through 5.
7
Press MENU to exit the menu.
Disabling unwanted programme positions
After presetting channels, you can disable unused programme positions. The
disabled positions will be skipped later when you press the PROG +/
—
buttons.
Before you start
¥
Turn on the VCR and the TV.
¥
Set the TV to the video channel.
¥
Refer to Index to parts and controls for button locations.
1
Press MENU, then press
M
/
m
/
<
/
,
to highlight INSTALLATION,
and press OK.
OK
PLAY
C H
M E N U
:
S W A P P I N G
O K
T V S T A T I O N T A B L E
:
5
4
3
2
1
0
0
0
0
2
3
3
2
9
2
0
7
L
I
C
A
M
J
D
A
N
K
E
B
—
—
—
—
B / G / D / K
B / G / D / K
B / G / D / K
B / G / D / K
P R
N A M E
S Y S T E M
E X I T
OK
PLAY
MENU
OK
PLAY
S E T
M E N U
:
:
O K
:
E N D
S E L E C T
A U T O S E T U P
M A N U A L S E T U P
T V S Y S T E M
3 2
:
G
:
V C R O U T P U T C H
:
E X I T
MENU
Changing/disabling programme positions (continued)
27
Getting Started
Getting Star
ted
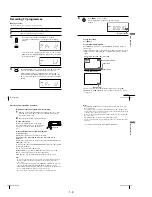
2
Press
M
/
m
to highlight MANUAL
SET UP, then press
,
.
3
Press
M
/
m
to highlight the row
which you want to disable.
To display other pages for
programme positions 6 to 80, press
M
/
m
repeatedly.
4
Press CLEAR.
The selected row will be cleared as
shown on the right.
5
Repeat steps 3 and 4 for any other programme positions you want
to disable.
6
Press MENU to exit the menu.
Note
¥
Be sure to select the programme position you want to disable correctly. If you
disable a programme position by mistake, you need to reset that channel manually.
OK
PLAY
E X I T
M E N U
:
C L E A R
:
D E L E T E
S W A P P I N G
O K
T V S T A T I O N T A B L E
:
5
4
3
2
1
0
0
0
0
3
3
2
2
2
0
9
7
I
C
L
A
J
D
M
A
K
E
N
B
—
—
—
—
B / G / D / K
B / G / D / K
B / G / D / K
B / G / D / K
P R
C H
N A M E
S Y S T E M
OK
PLAY
E X I T
M E N U
:
C L E A R
:
D E L E T E
S W A P P I N G
O K
T V S T A T I O N T A B L E
:
5
4
3
2
1
0
0
0
0
3
3
2
2
2
0
9
7
I
C
L
A
J
D
M
A
K
E
N
B
—
—
—
—
B / G / D / K
B / G / D / K
B / G / D / K
B / G / D / K
P R
C H
N A M E
S Y S T E M
C H
M E N U
:
C L E A R
:
D E L E T E
S W A P P I N G
O K
T V S T A T I O N T A B L E
:
5
4
3
2
1
0
0
0
3
3
2
2
0
7
I
C
A
J
D
A
K
E
B
—
—
—
B / G / D / K
B / G / D / K
B / G / D / K
P R
N A M E
S Y S T E M
E X I T
CLEAR
MENU
continued
Summary of Contents for RMT-V408A
Page 28: ...3 1 MAIN PCB AUS 3 3 3 4 COMPONENT SIDE ...
Page 29: ...3 6 3 5 CONDUCTOR SIDE ...
Page 30: ...3 2 MAIN PCB E HK ME 3 7 3 8 COMPONENT SIDE ...
Page 31: ...3 10 3 9 CONDUCTOR SIDE ...
Page 32: ...3 3 FUNCTION PCB Hi Fi MODEL 3 11 3 12E COMPONENT SIDE CONDUCTOR SIDE ...
Page 34: ... BLOCK IDENTIFICATION OF MAIN PCB Component Side Conductor Side 4 3 4 4 ...
Page 35: ...4 1 S M P S AUS PWR OFF PWR ON 1 2 4 6 4 5 ...
Page 36: ...4 2 S M P S E HK ME 4 7 4 8 PWR OFF PWR ON 1 2 ...
Page 37: ...4 3 POWER 4 10 4 9 ...
Page 38: ...6 5 7 3 4 0 8 9 4 4 SYSTEM CONTROL SERVO 4 11 4 12 ...
Page 41: ... VIDEOPROCESS IN VIDEOPROCESS OUT AUDIOPROCESS IN AUDIOPROCESS OUT qj 4 7 TM BLOCK 4 18 4 17 ...
Page 42: ... OSD VIDEO PROCESS IN OSD VIDEO PROCESS OUT qk 4 8 OSD VPS PDC 4 19 4 20 ...
Page 43: ...4 9 A2 NICAM ED925 ED929 EZ725 EZ727 4 21 4 22 ...
Page 45: ...4 11 SUB Hi Fi MODEL 4 25 4 26 ...
Page 48: ...4 32E MEMO ...


