2-12
PCWA-A100/C100 (UC)
Confidential
22
To add File and printer sharing for Microsoft
Networks
If File and printer sharing for Microsoft Networks is
not displayed in step 3 on page 19, follow the steps
below.
1
Click File and Print Sharing on the Configuration
tab.
The File and Print Sharing dialog box appears.
2
Check “I want to be able to give others access to
my files.” and “I want to be able to allow others to
print to my printer(s).”
3
Click OK.
File and printer sharing for Microsoft Networks
appears under “The following network
components are installed.”
When you have added all components, proceed to the
next section, To specify the IP address on page 23.
Note
This setting is required to
allow other computers on
the same LAN to share
files from your computer
or the printer connected
to your computer.
Print and Filesharing is
not recommended while
connected to the Internet.
Security is an issue and
Microsoft warns to
disable. Please consider
using firewall software.
23
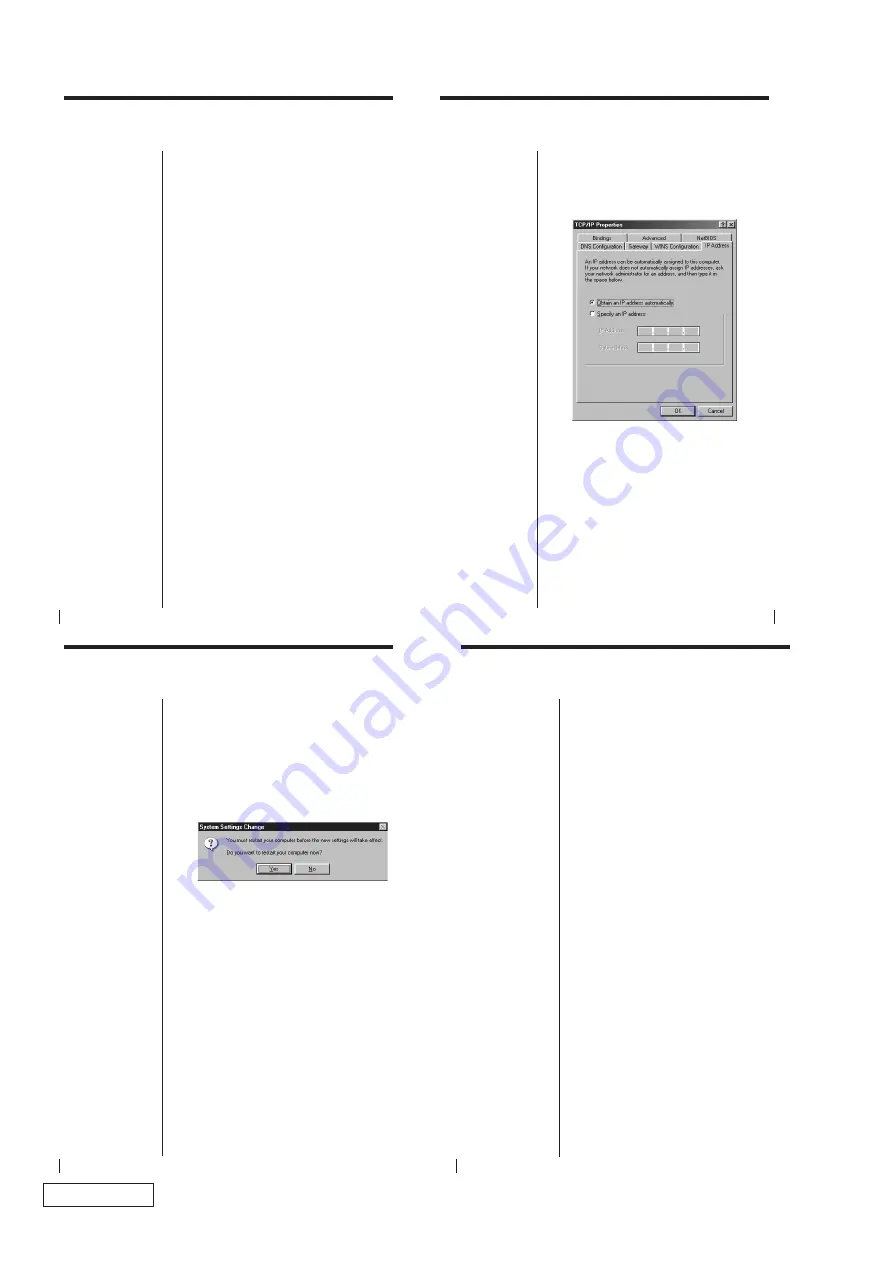
To specify the IP address
1
Click TCP/IP -> Sony PCWA-C100 Wireless PC
Card, then click Properties on the Network dialog
box.
The TCP/IP Properties dialog box appears.
If TCP/IP is not displayed...
Go back to the previous section To add TCP/IP on
page 19 to add TCP/IP, then come back here to
continue.
2
Click Obtain an IP address automatically, then
click OK.
The Network dialog box reappears.
Proceed to the next section, To verify the computer
name and workgroup on page 24, upon completion of
this setting.
24
To verify the computer name and
workgroup
Computer names are displayed on the status
indication windows of the Wireless Palette.
1
Click the Identification Information tab on the
Network dialog box and specify the Computer
name and Workgroup.
2
Click OK.
The System Settings Change dialog box appears.
3
Click Yes to restart the computer.
Proceed to the next section, To set up sharing on the
computer on page 25, on completion of these
instructions.
Notes
• Assign a unique name
of up to 15
alphanumeric
characters to every
computer connected to
the same LAN.
• The workgroup
indicates the name of a
group sharing files.
Assign the same
workgroup name for all
computers that share
files.
Note
Restarting the computer
takes longer than booting.
40
Once you set up your Windows environment, install
the Wireless Palette, the Basic Setup Utility, and the
Custom Setup Utility software.
1
From the Start menu, click Run.
The Run dialog box appears.
2
Enter the name of the installer.
• If the computer has an internal CD-ROM drive,
enter “Q:\SETUP.EXE.” (“Q” indicates the name
of the internal CD-ROM. Your CD-ROM drive
may be identified with a different letter.)
• If you have copied the Wireless LAN folder from
the supplied CD-ROM to your computer’s hard
disk, say in the C:\Temp folder, when installing
the driver software on page 13, enter
“C:\Temp\WirelessLAN\SETUP.EXE.”
3
Click OK.
The Wireless LAN Utility Setup dialog box
appears.
4
Click Next.
The License Agreement dialog box appears.
5
Read the agreement and click Yes to accept.
The Choose Destination Location dialog box
appears.
6
Select the folder where you want to install the
software and click Next.
The Setup Type dialog box appears.
Installing software
Before Installing the
software:
• Install and connect the
Access Point.
• Install the driver
software. (page 13)
• Insert the Wireless
LAN PC Card. (page
12)
• Quit all Windows
programs.
z
Tip
If you want to install the
software into another
folder, click Browse and
select the folder or
directly enter the folder
name.


