Capturing digital video with DVgate software
1.
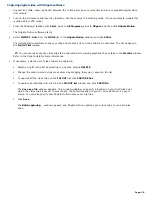
Connect an i.LINK
®
cable (optional) between the i.LINK ports on your computer and on a compatible digital video
(DV) camera.
2.
Turn on the DV camera and insert a videotape. Set the camera to Recording mode. (On some camera models this
is called VCR or VTR mode.)
3.
From the Windows
®
taskbar, click
Start
, point to
All
Programs
, point to
DVgate
, and then click
DVgate
Motion
.
The DVgate Motion software starts.
4.
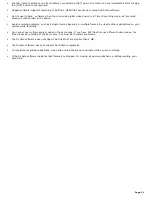
Select
IMPORT
-
Auto
from the
MODE
list in the
DVgate
Motion
window, and click
SCAN
.
The DVgate Motion software scans your tape and creates a list of video clips to be captured. The list appears in
the
IN/OUT
list
window.
You can manually specify video clips to be captured while viewing playback of your tape in the
Monitor
window.
Refer to the DVgate Help for more information.
5.
If necessary, edit the list of video clips to be captured.
Delete a clip from the list by selecting it, and then clicking
DELETE
.
Change the order in which clips are captured by dragging them up or down on the list.
To capture all the video clips on the
IN/OUT
list, click
CAPTURE
ALL
.
To capture an individual clip, click it in the
IN/OUT list
window and click
CAPTURE
.
The
Save as a file
window appears. This window enables you specify a location on your hard disk drive
where the video clips is saved. In most cases, the default location of your D: drive partition is a good
choice. You can also specify how DVgate Motion names your clip files.
Click
Save
.
The
Batch capturing
... window appears, and DVgate Motion captures your video clips to you hard disk
drive.
Page 28

