38
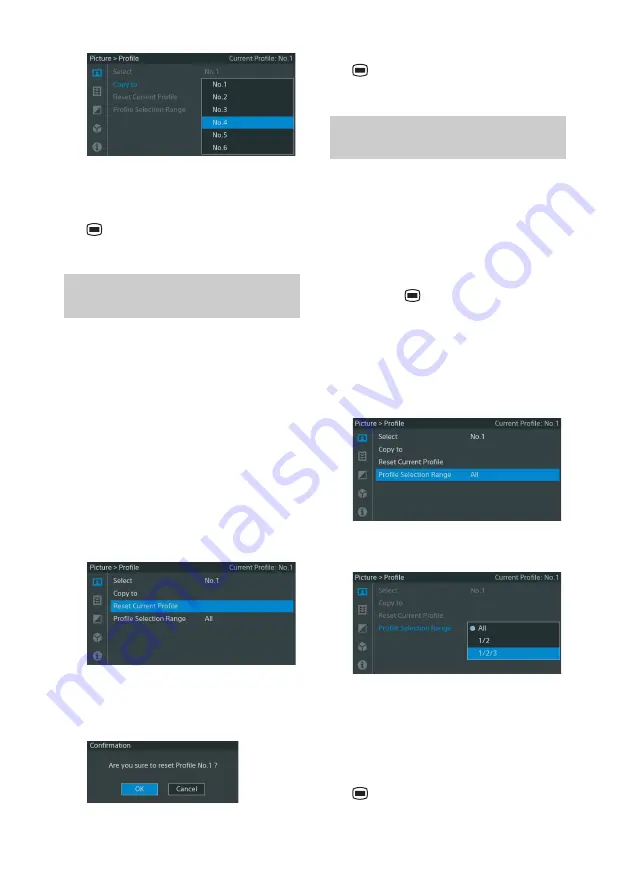
The current settings are copied to the selected
picture profile.
4
Once settings are complete, press the
MENU button to close the menu
screen.
You can return the selected picture profile
settings to factory defaults (standard values).
For details on factory default values, see “Picture
profile standard setting values (factory default
settings)” (page 39).
1
Press the PROFILE button and select
the picture profile you want to reset.
2
Display the menu screen, and in the
[Picture] menu, select [Profile] and then
press the ENTER button.
3
Select [Reset Current Profile], and
press the ENTER button.
A confirmation message will appear.
4
Select [OK], and press the ENTER
button.
The values will be reset to factory default
settings.
5
Once settings are complete, press the
MENU button to close the menu
screen.
You can specify the selectable range of picture
profiles that are available when you press the
PROFILE button on the front panel to select a
picture profile.
The selectable range of picture profiles specified
here will also be used when picture profiles are
assigned to a foot switch.
1
Press the
MENU button
The menu screen appears.
2
Select [Profile] in the [Picture] menu,
and press the ENTER button.
3
Select [Profile Selection Range], and
press the ENTER button.
4
Select the picture profile selection
range, and press the ENTER button.
The picture profiles change as follows for
each selection range.
All: 1
t
2
t
3
t
4
t
5
t
6
t
1…
1/2: 1
t
2
t
1…
1/2/3: 1
t
2
t
3
t
1…
5
Once settings are complete, press the
MENU button to close the menu
screen.
Resetting the selected picture
profile
Specifying the Picture Profile
Selection Range


