39
5
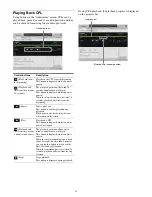
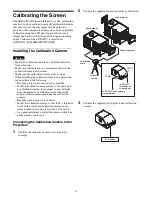
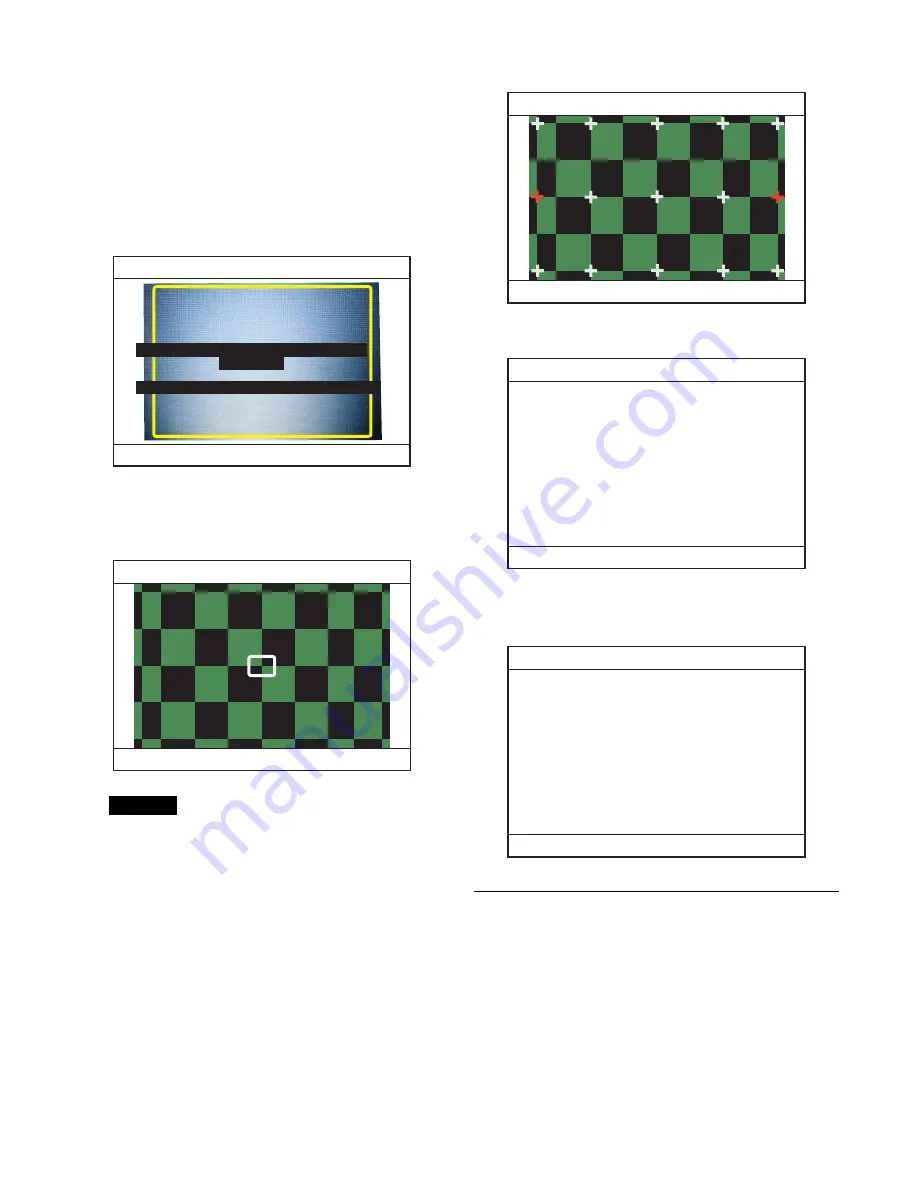
Verify that the four areas in the test pattern displayed
on the calibration camera are not significantly askew.
If they are significantly askew, make fine adjustments
to the calibration camera’s position to achieve proper
horizontal and vertical alignment.
If you want to move the calibration camera or
otherwise retry the adjustment process, tap F1
[QUIT].
6
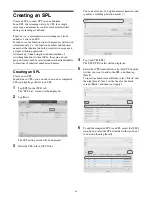
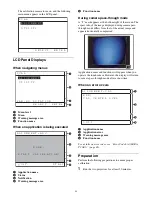
Tap F3 [START].
Calibration starts automatically.
During calibration, the target frame will automatically
move to the current point of calibration.
Caution
• Do not move the calibration camera while
calibration is in progress.
• Prevent obstructions from entering the space
between the calibration camera and screen.
7
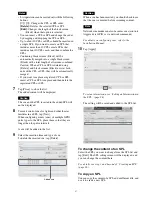
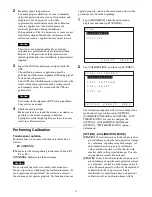
When the “Convergence Adjust” test pattern appears,
check the calibration results.
Confirm the color of the markers on the calibration
points of the captured calibration image.
Green:
Calibration successful.
Amber:
Calibration errors exceed the specific margin
of error. Be sure to verify the image visually.
Red:
Divergence exceeds the scope of electronic
calibration. Adjust the projectors manually, and
then try performing calibration again.
8
Tap F3 [ENTER].
9
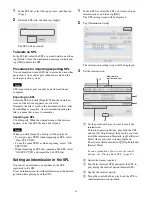
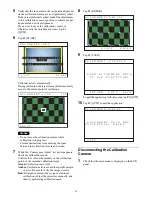
Tap F3 [SAVE].
To quit the application without saving, tap F2 [QUIT].
10
Tap F1 [QUIT] to quit the application.
Disconnecting the Calibration
Camera
1
Check that the main menu is displayed on the LCD
panel.
A L I G N M E N T > A D J
Q U I T
S T A R T
S T A R T
C A L I B R A T I O N ?
C A M E R A A D J U S T M E N T
D O N E !
A L I G N M E N T > C A L 3 0 %
A B O R T
A L I G N M E N T > R E S U L T
S C O P E E N T E R
A L I G N M E N T > C O N F I R M
R E T U R N Q U I T S A V E
S A V E A L I G N M E N T D A T A
T O P J T F U N C T I O N S ?
A L I G N M E N T > S A V E D
Q U I T
A L I G N M E N T D A T A W A S
S U C C E S F U L L Y S A V E D
Summary of Contents for LKRA-010
Page 51: ...Sony Corporation ...

