31
2
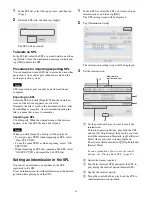
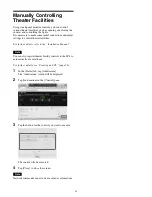
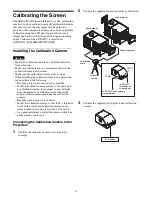
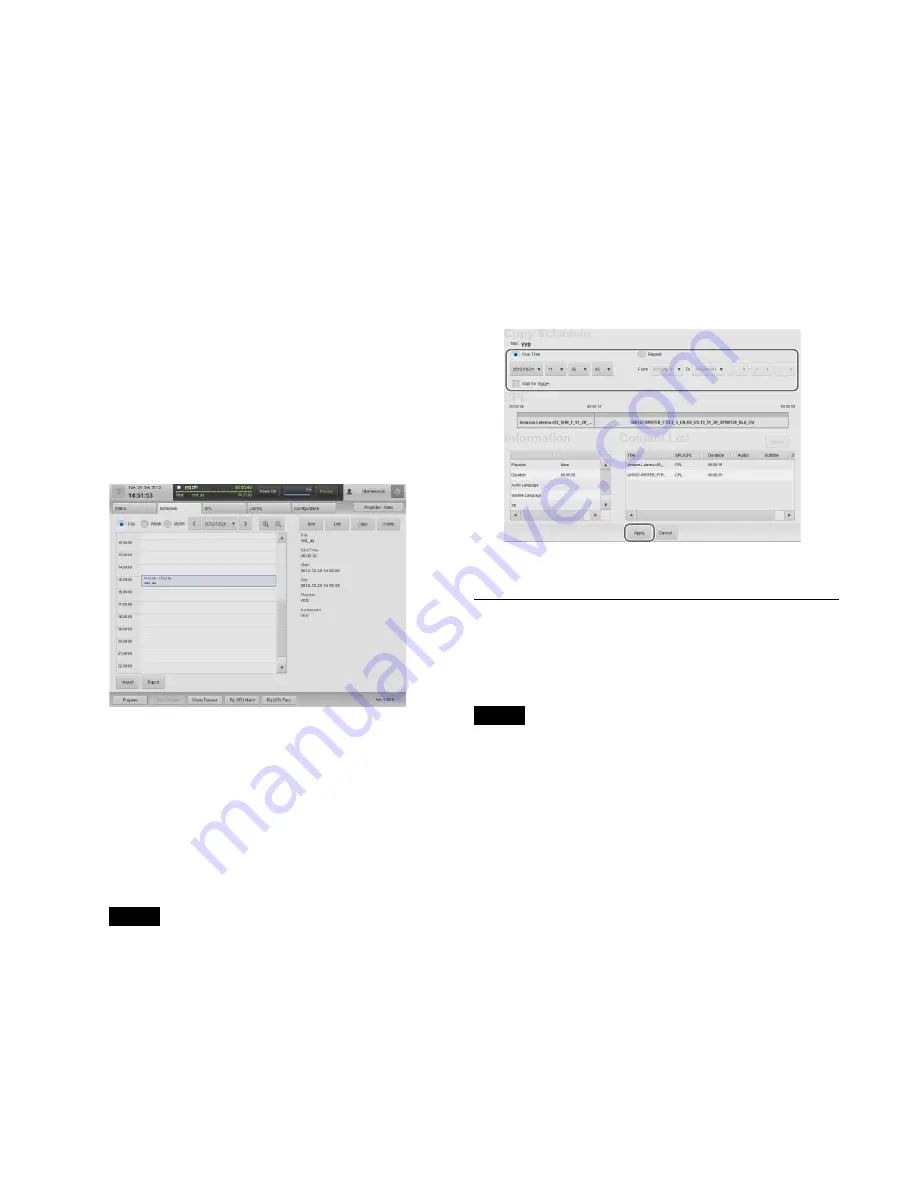
Select whether the schedule is a one-time event,
or repeating.
To set a one-time event, select the [One Time]
radio button, and to create a repeating schedule,
select the [Repeat] radio button.
3
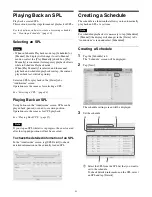
Set a date to execute the schedule.
• When the [One Time] radio button has been
chosen, set the date to execute the schedule.
• When the [Repeat] radio button has been
chosen, set the time period to execute the
schedule.
4
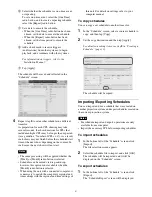
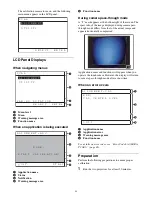
Add a check mark to receive triggers
(notifications) from other systems, to begin
playback, and coordinate with other systems.
For information on triggers, refer to the
“Installation Manual.”
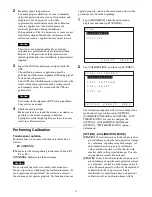
5
Tap [Apply].
The schedule will be saved and reflected in the
“Schedule” screen.
4
Repeat step
3
to set another schedule in a different
time slot.
As preparation for each CPL showing may take
several seconds, the show durations for SPLs that
include multiple CPLs may be longer than expected
(As a guideline, “Number of CPLs × 6”). As a result,
such shows may not finish before the scheduled start
time of the next show, depending on the content. In
such cases, the next show will not start.
Notes
• The same processing will be applied whether the
[Week] or [Month] radio button is selected.
• Schedules can be moved via drag-and-drop,
however, this option is not available when the
[Month] radio button is selected.
• When using the unit with a connected computer, it
is necessary to match the computer’s regional and
time settings with the regional and time settings of
this unit. For details on settings, refer to your
computer manual.
To copy schedules
You can copy a set schedule to another time slot.
1
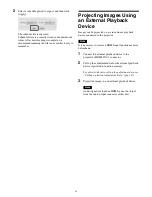
In the “Schedule” screen, select a source schedule to
copy, and then tap [Copy].
2
Set the copy destination and then tap [Apply].
For details on setting items, see step
3
in “Creating a
Schedule” (page 30).
The schedule will be copied.
Importing/Exporting Schedules
You can import and use a schedule that was created on
another projection system, and export schedules created on
the current projection system.
Notes
• For schedule import and export, operations are only
available from a computer.
• Import the necessary SPL before importing schedules.
To import schedules
1
In the bottom left of the “Schedule” screen, click
[Import].
The file selection screen appears.
2
Select the schedule file to import, and click [OK].
The schedule will be imported, and it will be
displayed on the “Schedule” screen.
To export schedules
1
In the bottom left of the “Schedule” screen, click
[Export].
The “Schedule Export” screen will be displayed.
Summary of Contents for LKRA-010
Page 51: ...Sony Corporation ...

