Removing the Printer Driver
18
Windows 98
16
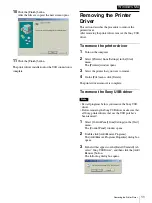
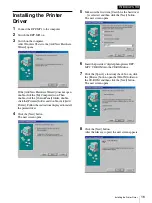
Click the [Finish] button.
After the files are copied, the next screen opens.
17
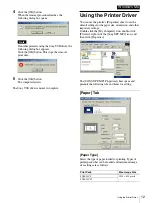
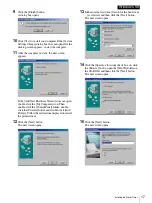
Click the [Finish] button.
The printer driver installation for the USB connection is
complete.
Removing the Printer
Driver
This section describes the procedure to remove the
printer driver.
After removing the printer driver, remove the Sony USB
driver.
To remove the printer driver
1
Turn on the computer.
2
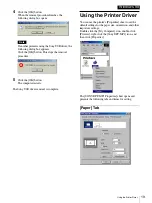
Select [Printers] from [Settings] in the [Start]
menu.
The [Printers] window opens.
3
Select the printer that you want to remove.
4
On the [File] menu, click [Delete].
The printer driver removal is complete.
To remove the Sony USB driver
Note
• Exit all programs before you remove the Sony USB
driver.
• Before removing the Sony USB driver, make sure that
all Sony printer drivers that use the USB port have
been removed.
1
Select [Control Panel] from [Settings] in the [Start]
menu.
The [Control Panel] window opens.
2
Double-click [Add/Remove Programs].
The [Add/Remove Programs Properties] dialog box
opens.
3
In the list that appears on the [Install/Uninstall] tab,
select “Sony USB driver”, and then click the [Add/
Remove] button.
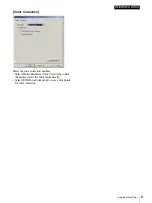
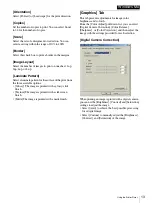
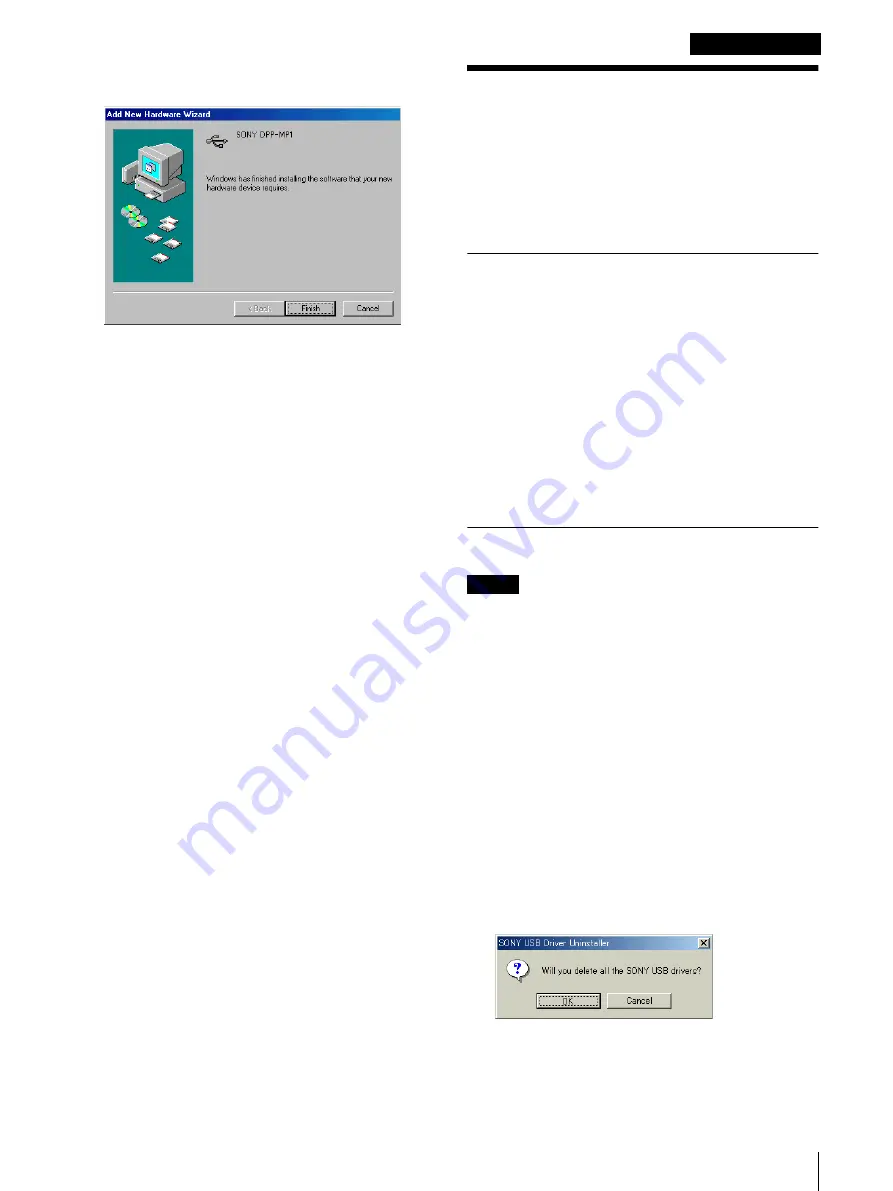
The following dialog box opens.

