Installing the Printer Driver / Removing the Printer Driver
23
Macintosh
Installing the Printer
Driver
Install the printer driver from the CD-ROM provided
with the printer.
1
Insert the provided “digital photo printer for DPP-
MP1” CD-ROM into the CD-ROM drive.
The “PRINTER SOFTWARE” icon is displayed on
the desktop.
2
Double-click the “Driver” icon to open the folder.
3
Double-click the “Chooser” icon to open the folder.
4
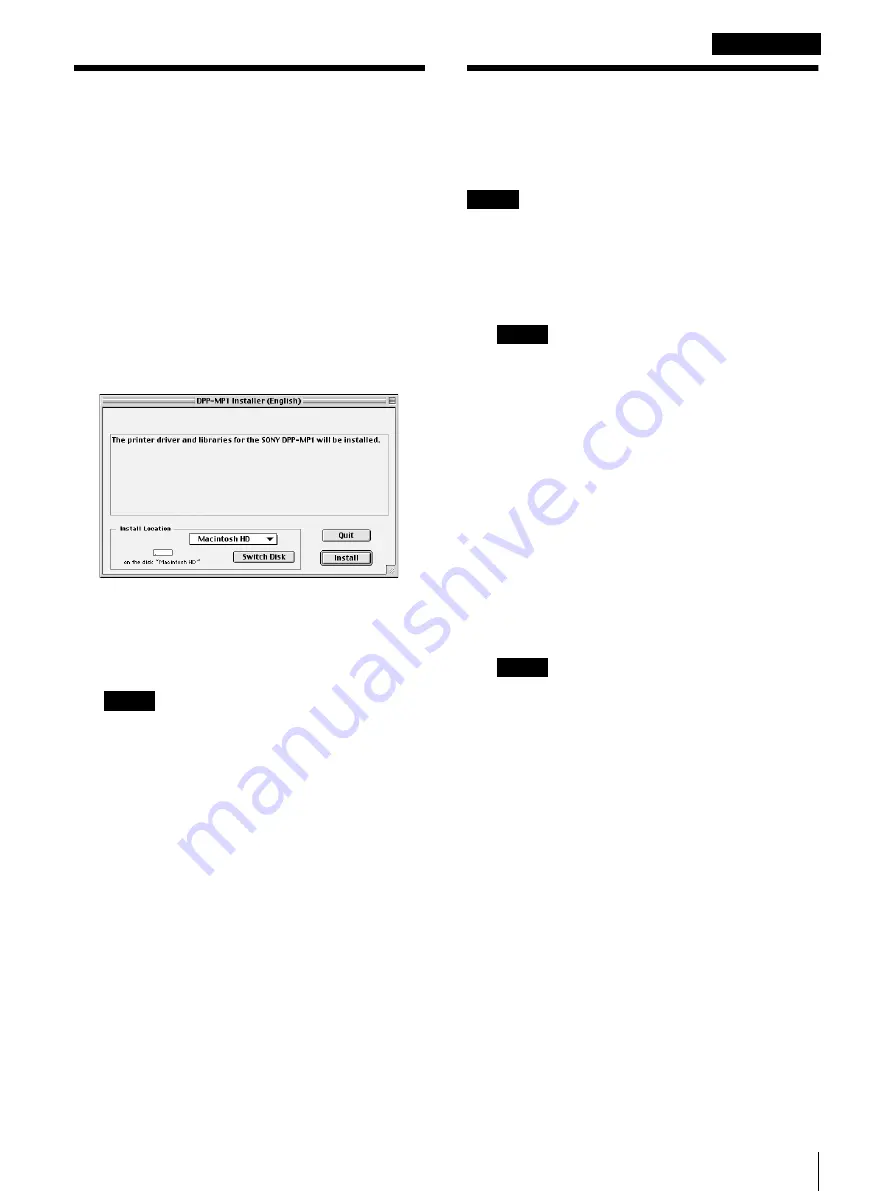
Double-click [DPP-MP1 Install-English].
5
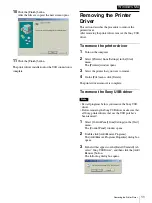
Follow the instructions displayed on the screen.
6
When installation is complete, restart the
Macintosh.
Note
• When using the DPP-MP1 and the UP-DP10 at
the same time, install the printer driver for the
UP-D10 first, and then install the printer driver
for the DPP-MP1.
• Before using the printer driver, be sure to read the
“Readme (English)” file in the “Chooser” folder.
Removing the Printer
Driver
Remove the printer driver with the following procedure.
Note
Before beginning this procedure, turn off the DPP-MP1
or disconnect it from the Macintosh.
1
When there is a desktop a desktop printer present,
delete the icon.
Note
If spool files remain when you delete the desktop
printer icon, a confirmation dialog box opens. Wait
until all the data is printed or delete it before
continuing the procedure.
2
In “System Folder”, open the “Extensions” folder.
3
Delete the following four files in the “Extensions”
folder.
If you cannot delete the files, restart the Macintosh
after disconnecting the printer and try to delete the
files again.
• DPP-MP1
• DPP-MP1 Printer Class Driver
• UPDP10Lib.PPC
• UPDP10USBLib.PPC
Note
When UP-DP10 is installed, do not delete the
following two files.
• UPDP10Lib.PPC
• UPDP10USBLib.PPC
4
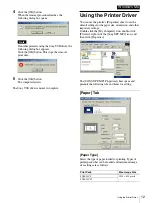
When you want to delete the printer preferences, in
“System Folder”, open the “Preferences” folder,
then delete the “Sony DPP-MP1 Prefs” folder.
5
Empty the Trash can.
If it you cannot empty the Trash can, restart the
Macintosh after disconnecting the printer and try to
empty the trash can again.
6
When removal is complete, restart the Macintosh.


