3-7
DPP-FP95
3-3-4. USB HOST/DEVICE COMMUNICATION
CHECK
The digital camera for PictBridge or the digital camera , the USB
memory and the photo storage for the mass storage are connected
with the terminal PictBridge/EXT INTERFACE of this machine,
and confirm that this machine reacts.
This machine connects with Windows PC that installs software by
USB cable, and confirm that Windows PC reacts.
7.
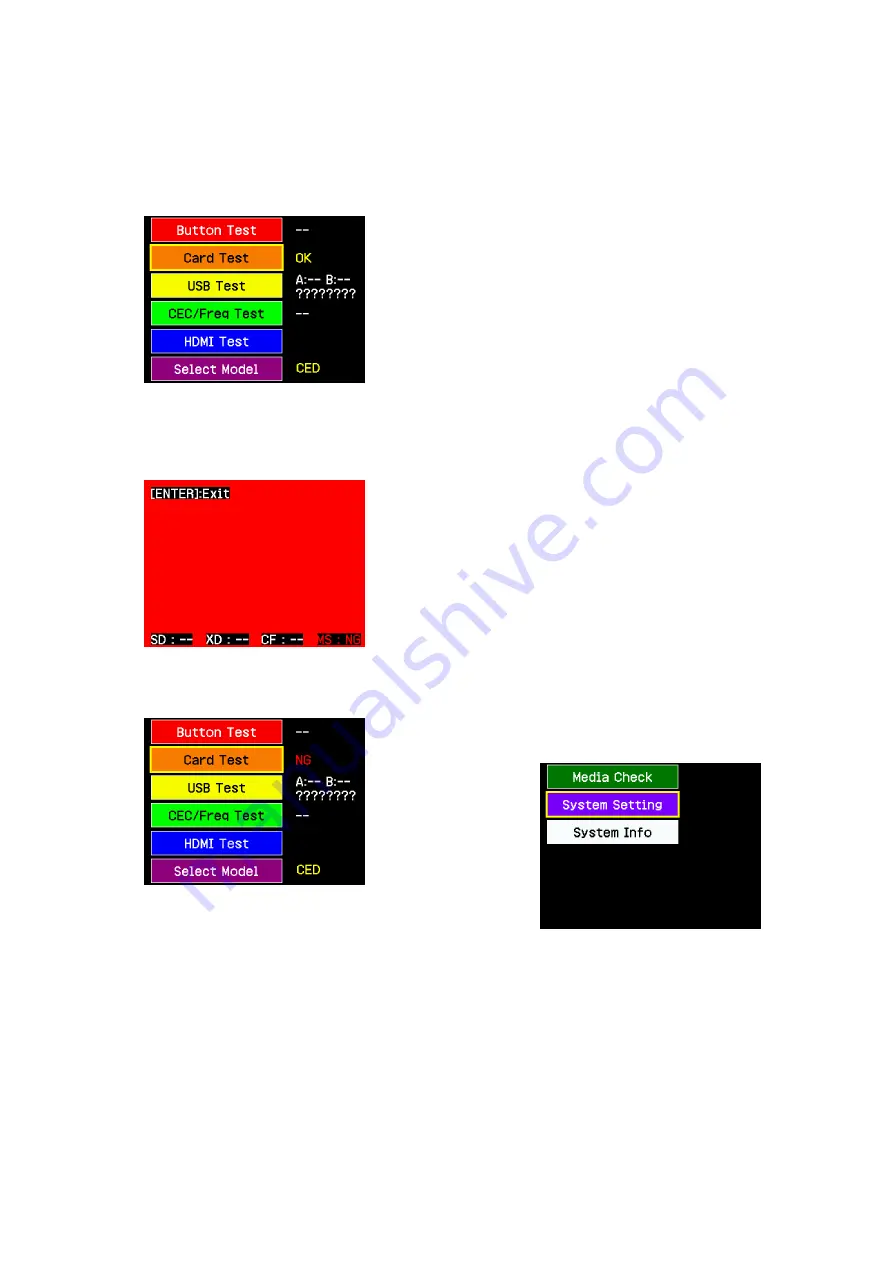
When all memory cards reading are completed, press the
[ENTER] button.
• When all memory cards work normally so that images can
be read without error, the character OK is displayed on the
right of “Card Test” on the service mode startup screen.
• If a memory card is not set, or if image is not contained in a
memory card, or image cannot be read from a memory
card, background of the screen becomes red and the character
NG (No Good) is displayed in the left bottom of a screen.
• If either a memory card is NG (No Good), the character
NG (No Good) is displayed on the right of “Card Test” on
the service mode startup screen.
8.
Quit the service mode. (Refer to Section 3-1-1.)
3-3-5.
Output confirmation of HDMI
•
Check of HDMI OUT
Confirm the monitor corresponds to the HDMI input is connected
with this unit HDMI OUT and the image is displayed in the HDMI
monitor without trouble.
•
Check of HDMI CEC
When there is a monitor corresponds to CEC
Confirm the monitor for CEC is connected with this machine, and
CEC can control without trouble.
When there is no monitor corresponds to CEC
It is possible to make this unit work by setting the service mode as
SINK jig for the HDMI CEC check.
Prepare this machine "B" (DPP-FP95 or DPP-FP85 other than the
service set) for the HDMI CEC check, set the SINK jig by the
following procedures, and check HDMI CEC when there is no
monitor for CEC.
Procedure:
Setting of SINK jig
1.
Prepare another machine (this machine "B" as follows) besides
this machine that checks CEC.
(The SINK equipment for corresponds to CEC )
2.
Start this machine B in the service mode. (Refer to Section 3-
1-1. )
3.
Select "System Setting" with the DIRECTION buttons (
f
,
F
),
and push the [ENTER] button.
The changed portions from
Ver. 1.0 are shown in blue.


