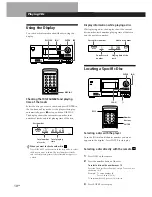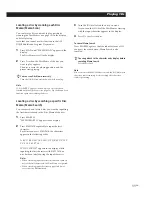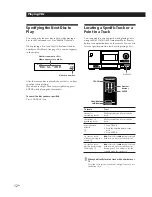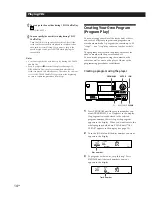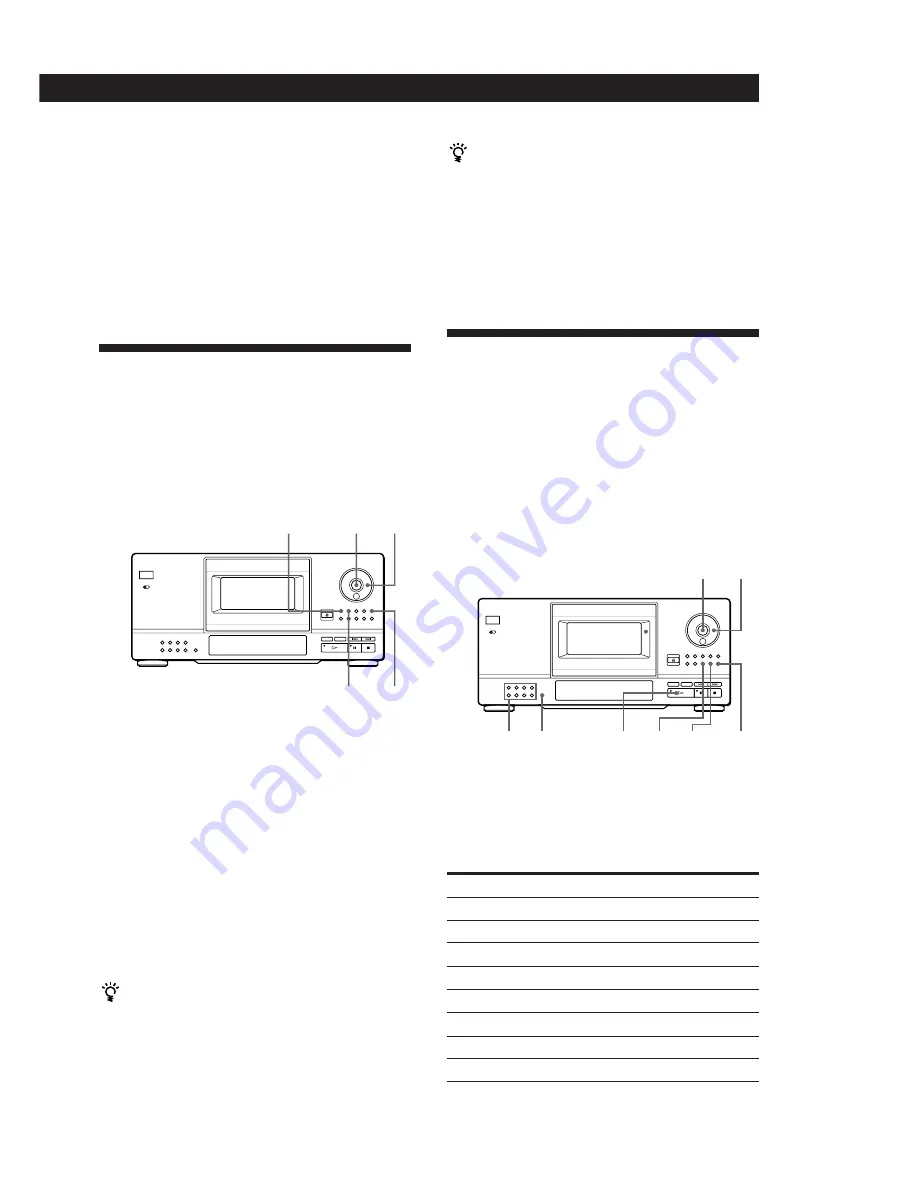
Locating a Scene or Track You Want
Locating a Scene or Track You Want
Storing Information About CDs (Custom Files)
Storing Information About CDs (Custom Files)
19
EN
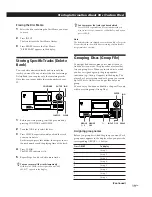
Erasing the Disc Memo
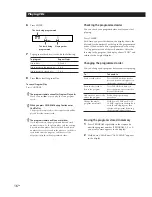
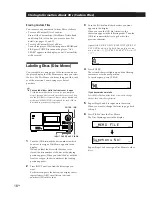
1
Select the disc containing the Disc Memo you want
to erase.
2
Press INPUT.
The first letter of the Disc Memo flashes.
3
Press ERASE to erase the Disc Memo.
“FILE ERASE” appears in the display.
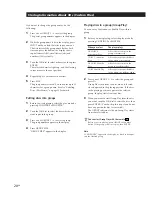
Storing Specific Tracks (Delete
Bank)
You can delete unwanted tracks and store only the
tracks you want. When you select the disc containing a
Delete Bank, you can play only the remaining tracks.
Note that you cannot delete the track numbered over
32.
You can recover the tracks you have deleted
Press CHECK repeatedly until you find the track you
want to recover in Continuous or Shuffle Pay mode, then
press CLEAR.
Note
The deleted tracks are skipped even in the Shuffle or Program
Play mode (when the whole disc containing a Delete Bank is
programmed as one step).
Grouping Discs (Group File)
You might find that too many discs make it hard to
find the disc you want. This player has a feature that
lets you group discs. When you insert a disc to which
you have assigned a group, the group number
indication (e.g., Group 1) appears in the display. The
player has 8 preset groups and each group can contain
up to 200 discs. One disc can be put into only one
group.
You can enjoy Continuous, Shuffle, or Repeat Play only
within a certain group (Group Play).
CONTINUE
ENTER JOG
CLEAR
SHUFFLE
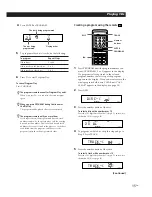
1
Before you start playing, select the play mode by
pressing CONTINUE or SHUFFLE.
2
Turn the JOG dial to select the disc.
3
Press CHECK repeatedly until you find the track
you want to delete.
Each time you press this button, the display shows
the track number and the playing time of the track.
4
Press CLEAR.
The DELETE indicator is lit.
5
Repeat Steps 3 and 4 to delete more tracks.
You can recover all the tracks temporarily
Hold down CLEAR in the stop mode until “ALL
SELECT” appears in the display.
JOG
ENTER
GROUP
FILE
GROUP
1␣ –␣ 8
INPUT
ERASE
FILE
To display
Group 1
Group 2
Group 3
Group 4
Group 5
Group 6
Group 7
Group 8
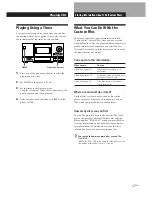
Assigning group names
Before you group discs, find the group you want. Each
group name appears in the display when you press the
corresponding GROUP 1 – 8 button.
Press GROUP
1
2
3
4
5
6
7
8
·
(Continued)

