78
Composing Videos Using Picture-in-Picture (PIP)
C
h
a
p
te
r 4
S
w
itc
h
in
g Ope
ra
tio
n
4
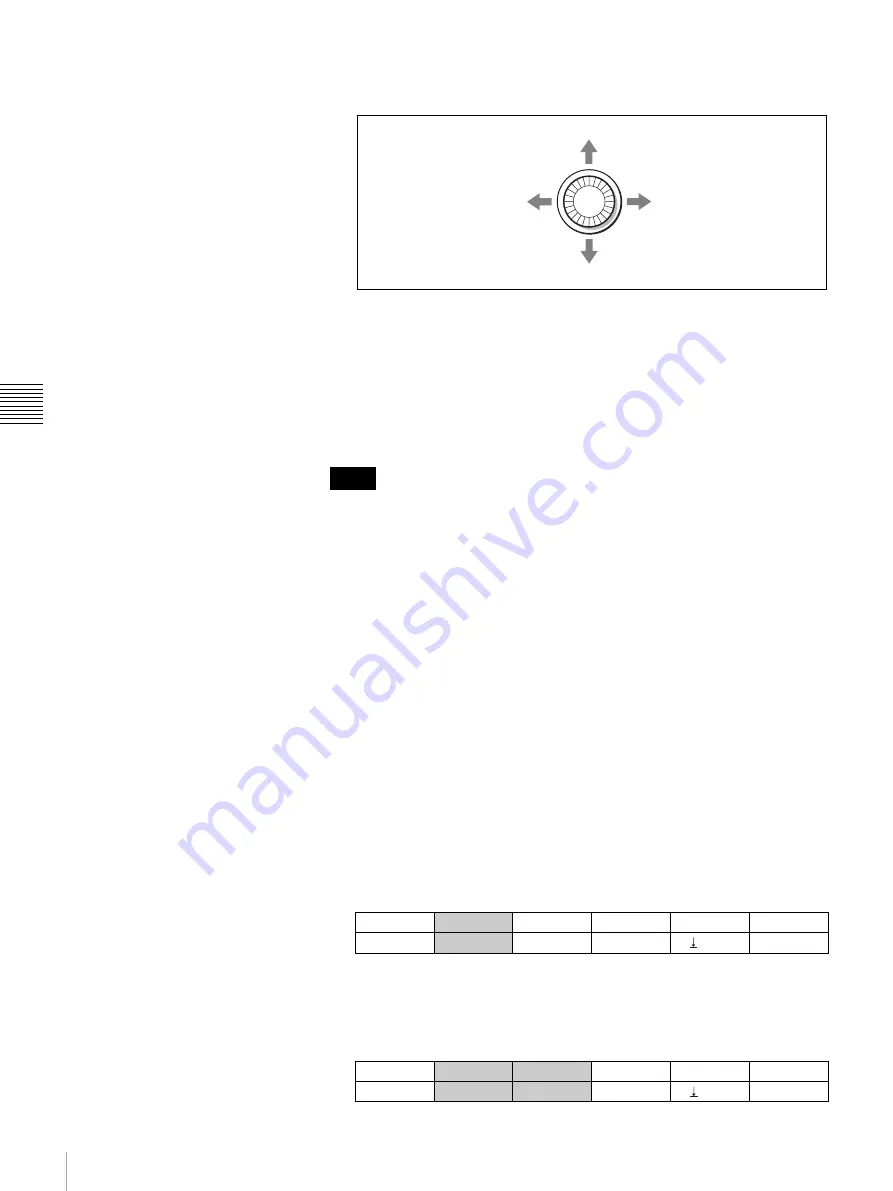
Incline the joystick forward, backward, left, or right to specify the display
position of the embedded video.
To display the embedded video in the center of the screen
Press the CENTER button. The embedded picture is reduced in size by half and
displayed centered.
To reduce the setting speed of the joystick
When you press to light up the FINE button, the speed for changing the setting
with the joystick is reduced, and fine adjustment of the size and display position
is enabled. Press the FINE button again to make it go dark to restore the normal
setting speed.
• The joystick is operable only when the X, Y, or Z button is lit. The X button
corresponds to horizontal movement of the display position of the embedded
video and the Y button to vertical movement. The Z button corresponds to the
size adjustment of the embedded video. If you press the X, Y, or Z button to
make the button go dark, the corresponding function is disabled. Press to light
up the corresponding button again to enable the joystick.
• You can store up to 10 settings for the size and display position in the register
of the switcher and recall them easily.
For details, see “Storing the Settings of a Wipe, PIP, and Setting Menu Items”
on page 97.
To adjust the size and display position of an embedded video using the menus
You can set the size and display position of an embedded video in picture-in-
picture by changing the setting values in the menu instead of using the joystick.
1
Press to light up the MENU button.
2
Display menu page 810.
For the procedure for displaying the menu, see “Menu Operation” on page
46.
3
Turn the F1 control to set the size of the embedded video under “SIZE.”
You can set the size from 1/6 to 1/2 a full-screen size.
4
Press the PAGE button to display menu page 820.
Notes
right
left
to move the embedded video up
down
PIP
SIZE
DRCT NO.
PRESET
1/5
SIZE
1/2
None
Exec
810
PIP
V POS
H POS
DRCT NO.
PRESET
2/5
POS
0.00
0.00
None
Exec
820


