78
Wave User Manual
Version 4
13.3.2
From the App Description Screen
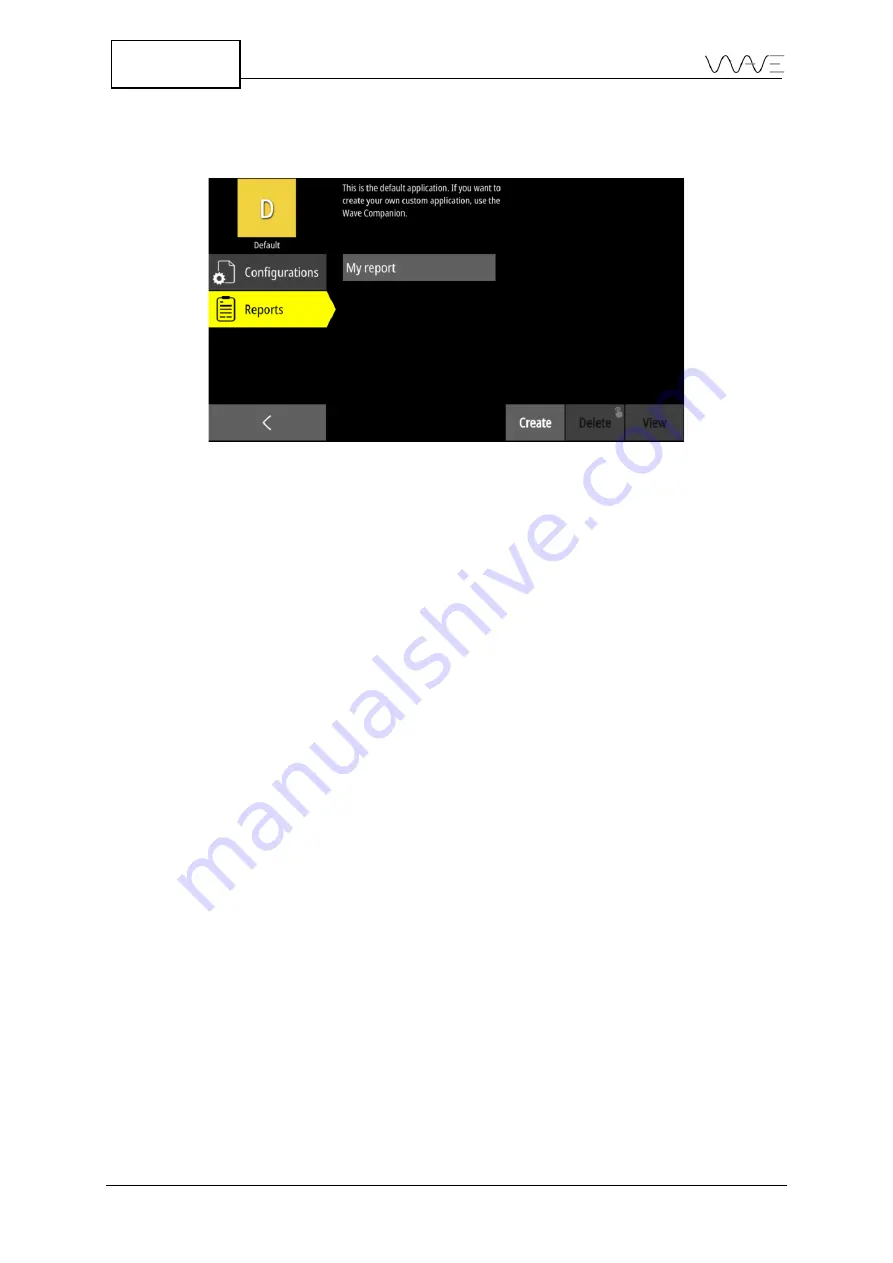
In the
App Description
screen, click on the
Reports
tab. Then, click on the
Create
button.
Figure 61 - Launching report creation from the App Description screen
13.4
Report Creating Screen
Creating a report is quite quick and easy. There are a few key concepts to keep in mind
and make sure they are properly understood. These are explained in the following
sections.
13.4.1
Source
As can be seen in the
Error! Reference source not found.
, the first tab on the left is
called the
Source
. This first tab is selected by default when you start to generate the
report. The source means the screenshot that will be used as the main one in the report.
That will be the screenshot from which the UT parameters will be fetched from. Later on,
you can add additional screenshots. These will be secondary or additional screenshots.
This will be done when the
Images
tab will be selected.
There are quite a few tools and filters to help when selecting a source screenshot. We will
explore each of them. Again, refer to
Error! Reference source not found.
.
13.4.1.1
Selecting the Source Screenshot
To select which screenshot will be the source of the report, simply press on one of the
screenshots that appears in the list. The selected screenshot will then be highlighted with
a bold rectangle. The selection can be modified by simply pressing on a different
screenshot.
13.4.1.2
Editing the Source Screenshot
Once highlighted, the screenshot also displays an
Edit
icon in the bottom right corner. By
pressing this icon, you will then have the opportunity to edit the screenshot name and
comment as well as its rating and colour properties.


