


Installation
Installation
4. Upgrade
The inverter system can be updated through an U-disk.
1) Please contact our service support to get the update file, and extract
it into your U-disk as the following file path:
Make sure the directory is in accordance with above form strictly!
Do not modify the program file name! Or it may cause the inverter
to stop working!
Make sure the input voltage is more than
200 V
(in good illumination
condition), or it may result in failing during updating.
“update\ARM\
”;
618.xxxxx.00_MICPROG2_ARM_Vx.xx_xxxxxxxx.usb
“update\DSP\618.xxxxx.00_MICPROG2_DSP_V
usb”.
x.xx_xxxxxxxx.
Upgrade Steps:
Note: Vx.xx is version number, xxxxxxxx is file completion dates.
2) Make sure the DC switch is off and the AC is disconnected with grid.
If the Pocket WiFi is connected to the port, please remove the Pocket WiFi at
first.
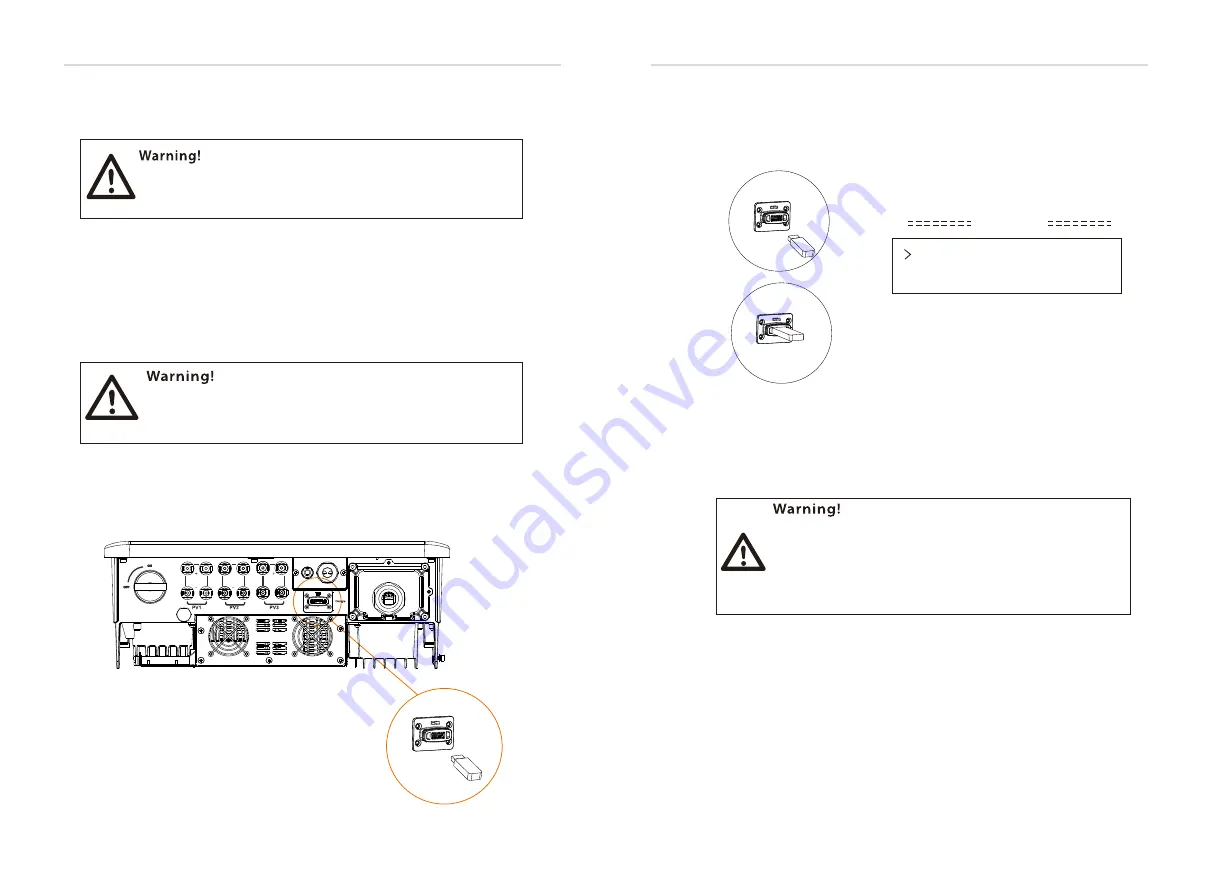
3) Then insert the U-disk into the Dongle port on the bottom of the inverter.
Then turn on DC switch and connect the PV connector, the LCD will show a
picture as below.
During updating, don’t turn off the DC switch or disconnect the
PV connector. If the updating stopped due to PV power failure,
do not unplug the U-disk. When the PV power recovers, the
update will continue. If the updating stopped due to other
reasons, reinsert the U-disk to continue the update.
4) Press the “Up” and “Down” button to select ARM or DSP. Then long press
“Down” and select the correct update file to confirm the update. ARM and
DSP shall be updated one by one.
Update
ARM
DSP
5) After the upgrade is completed, please remember to turn off the DC
switch or disconnect the PV connector, then pull off the U-disk, and connect
the Pocket WiFi back.
36
37


