background image

IQSDA41/42

Safety Information

Issue 1 Rev 1

Page 5

© 2017 SAM

Laser Safety

This product operates with Class 1 laser products.

Ventilation

Although the unit is constructed to meet normal environmental requirements, ensure that 
there is a free flow of air at the front, rear, and sides of the unit to dissipate the heat produced 
during operation. Installations should be designed to allow for this.

Safety Standards

This equipment conforms to the following standards:

EN60950-1 2006

Safety of Information Technology Equipment Including 
Electrical Business Equipment.

UL1419 (3rd Edition)

 - UL File E193966

Standard for Safety – Professional Video and Audio equipment.

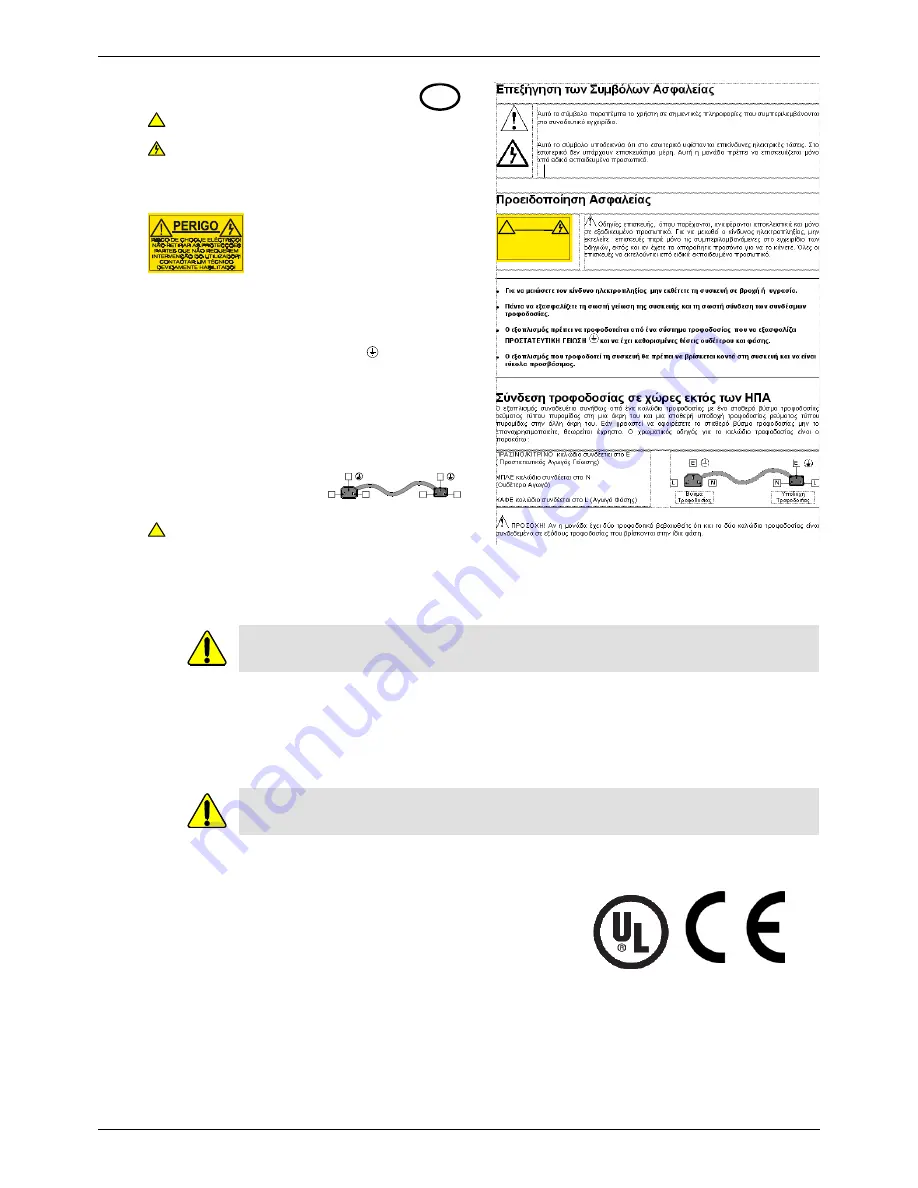
Símbolos de Segurança

O símbolo triangular adverte para a necessidade de consultar o 
manual antes de utilizar o equipamento ou efectuar qualquer ajuste.

Este símbolo indica a presença de voltagens perigosas no interior 
do equipamento. As peças ou partes existentes no interior do equipamento 
não necessitam de intervenção, manutenção ou manuseamento por parte 
do utilizador. Reparações ou outras intervenções devem ser efectuadas 
apenas por técnicos devidamente habilitados.

As instruções de manutenção fornecidas são para 
utilização de técnicos qualificados. Para reduzir o 
risco de choque eléctrico, não devem ser realizadas 
intervenções no equipamento não especificadas no 
manual de instalações a menos que seja efectuadas 
por técnicos habilitados.

·  

Para reduzir o risco de choque eléctrico, não expor este equipamento 

       à chuva ou humidade.

·  

Assegurar que a unidade está sempre devidamente ligada à terra e 

       que as ligações à alimentação estão correctas. 

·  

O sistema de alimentação do equipamento deve, por razões de 

       segurança, possuir ligação a terra de protecção      e ligação ao 
       NEUTRO devidamente identificada.   

·  

A tomada de energia à qual a unidade está ligada deve situar-se na 

      sua proximidade e facilmente acessível.

Ligação da alimentação noutros países que não os EUA

O equipamento é, normalmente, enviado com cabo de alimentação com ficha 
IEC fêmea standard num extremo e uma ficha IEC macho standard no extremo 
oposto. Se for necessário substituir ou alterar alguma destas fichas, deverá 
remove-la e elimina-la imediatamente de maneira segura. 
O código de cor para os condutores é o seguinte:

Condutor VERDE/AMARELO ligado a E (Terra)
Condutor AZUL ligado a N (Neutro)
Condutor CASTANHO ligado a L (Vivo).

Atenção: Se a unidade tem duas fontes de alimentação assegurar que os 
dois cabos de alimentação estão ligados a tomadas pertencentes à mesma fase.

  P

!

!

Avisos de Segurança

L

N

E

N

L

E

Ficha Livre

Tomada Livre

!

CAUTION

RISK OF ELECTRIC SHOCK
DO NOT REMOVE COVERS

NO USER SERVICEABLE PARTS

REFER SERVICING TO QUALIFIED

PERSONNEL ONLY

Caution: Use of controls or adjustments or performance of procedures other than those 
specified herein may result in hazardous radiation exposure.

Do not obstruct the ventilation holes on the right-side of the unit. Damage to the equipment 
may result.

Summary of Contents for IQSDA41

Page 1: ...s a m com User Manual IQSDA41 Single Dual Channel 12G 3G HD SD SDI Re clocking Distribution Amplifier with RollCall IQSDA42 Multi Channel 12G 3G HD SD SDI Re clocking Distribution Amplifier with RollC...

Page 2: ...r authorized agents Reproduction or disassembly of embedded computer programs or algorithms prohibited No part of this publication can be transmitted or reproduced in any form or by any means electron...

Page 3: ...al L Phase N Nulleiter N Nulleiter L Phase E Schutzleiter E Schutzleiter Explicaci n de los S mbolos de Seguridad ste s mbolo refiere al usuario informaci n importante contenida en la literatura inclu...

Page 4: ...INGEN BRUGER SERVICERBARE DELE SERVICE M KUN UDF RES AF FAGL RTE PERSONER F 0 J 0 F J Han stik Hun stik F rklaring av S kerhetssymboler Denna symbol h nvisar anv ndaren till viktig information som ter...

Page 5: ...menos que seja efectuadas por t cnicos habilitados Para reduzir o risco de choque el ctrico n o expor este equipamento chuva ou humidade Assegurar que a unidade est sempre devidamente ligada terra e...

Page 6: ...rformance of Cables and Connectors SAM products are designed to meet or exceed the requirements of the appropriate European EMC standards In order to achieve this performance in real installations it...

Page 7: ...n the RollCall Template 16 5 1 1 Setting Values 16 5 1 2 Template Pages 16 5 2 Information Window 17 5 3 Input Output Page 18 5 3 1 Configuration 18 5 3 2 Inputs 18 5 3 3 Outputs 18 5 4 Setup 19 5 4 1...

Page 8: ...tion applications 1 1 1 1 Block Diagram 1 1 1 2 Feature Summary The IQSDA41 provides the following features Intelligent UHD 1 12 Gbit s HD 3 Gbit s or 1 5 Gbit s and SD SDI re clocking distribution am...

Page 9: ...lization performance coupled with excellent packing density make it ideal for signal dense distribution applications 1 1 2 1 Block Diagram 1 1 2 2 Feature Summary The IQSDA42 provides the following fe...

Page 10: ...ier 1 input 7 outputs or 2 inputs 3 outputs per input 2 optical inputs or 2 optical outputs IQSDA4101 1B4 12G 3G HD SD SDI Re clocking Distribution Amplifier 1 input 9 outputs or 2 inputs 4 outputs pe...

Page 11: ...Rx 1 x 12G Tx 1310nm FC1 13T2 12G Fiber transceiver 2 x 12G Tx 1310nm FC1 13R2 12G Fiber transceiver 2 x 12G Rx Important Although IQ modules are interchangeable between enclosures their rear panels...

Page 12: ...level A B SMPTE 292M HD SMPTE 259M C SD Control Interface Electrical TTL compatible active low driven Connector Format HD BNC 75 Ohm panel jack on standard SAM connector panel Controls Indicators Powe...

Page 13: ...memories Default Settings Resets all module settings to factory specified default values but does not clear memories Restart Software restart of the module Module Information Reports the following mo...

Page 14: ...the gray shading and the twin ID numbers the number in white is the input number and the number in black is the output number 3 1 SDI Input Output Serial digital inputs and outputs are via HD BNC con...

Page 15: ...s on the rear panel of the module indicate input status There is one LED per input When Green Input enabled signal valid When Yellow Input disabled or Reclocker Bypass active When Red No signal on inp...

Page 16: ...within the templates have values either alpha or numeric When setting a value in a field the value whether text or a number must be saved by pressing the ENTER key or clicking the Save Value button Cl...

Page 17: ...Issue 1 Rev 1 Page 17 2017 SAM 5 2 Information Window The Information window is displayed at the top of each page next to the pages list It can displays basic information about the input and output s...

Page 18: ...n the option selected 5 3 2 Inputs These controls are used to configure inputs select the input rate s to be re clocked Re clocking can be disabled on an output by output basis if required see section...

Page 19: ...odule serial number Build Factory build number This number identifies all parameters of the module OS Operating system version number PCB Printed Circuit Board revision number PCB Mods PCB modificatio...

Page 20: ...Control Panel Issue 1 Rev 1 Page 20 2017 SAM 5 4 4 Input Name These are the input names displayed in logs To change the name of Input 1 or Input 2 type the name in the text field and click S To return...

Page 21: ...me and version BUILD_NUMBER Reports the build number HARDWARE_VERSION Reports the hardware version number HARDWARE_MOD Reports the hardware modification number ROL_STATES Reports the RollCall status V...

Page 22: ...is the input number Log Field Description INPUT_N_STATE Reports current state of the input signal Valid values are OK input signal good FAIL input signal not detected INPUT_N_SDIRATE Reports current...

Page 23: ...te log fields as required Where N is the input number Log Field Description OUTPUT_N_STATE Valid values are OK output signal good FAIL output signal not detected WARN Freeze WARN Pattern WARN Black OU...

Page 24: ...5 8 3 Source This enables selection of the source of information which is to trigger the transmission of data Clicking the P button selects the default preset value When no source is selected Unused...

Page 25: ...t The command may be changed by typing a code in the text area and then selecting the S button to save the selection Clicking the P button returns to the default preset command The RollTrack command c...

Page 26: ...has been sent but transmission has not yet completed Timeout RollTrack message has been sent but no acknowledgement received This could be because the destination unit is not at the location specifie...

Page 27: ...on it The recalled settings will be applied and the memory name will appear in the Last Recalled Memory section 5 9 2 Save Memory This column lists the 16 pre set memory names that are available for u...

Page 28: ...ings have been changed since it was recalled an asterisk will be displayed after the memory name 5 9 4 Save Memory Name This option enables the pre set memory names to be changed to something more mem...

Reviews: