48
D.5.1. eMap
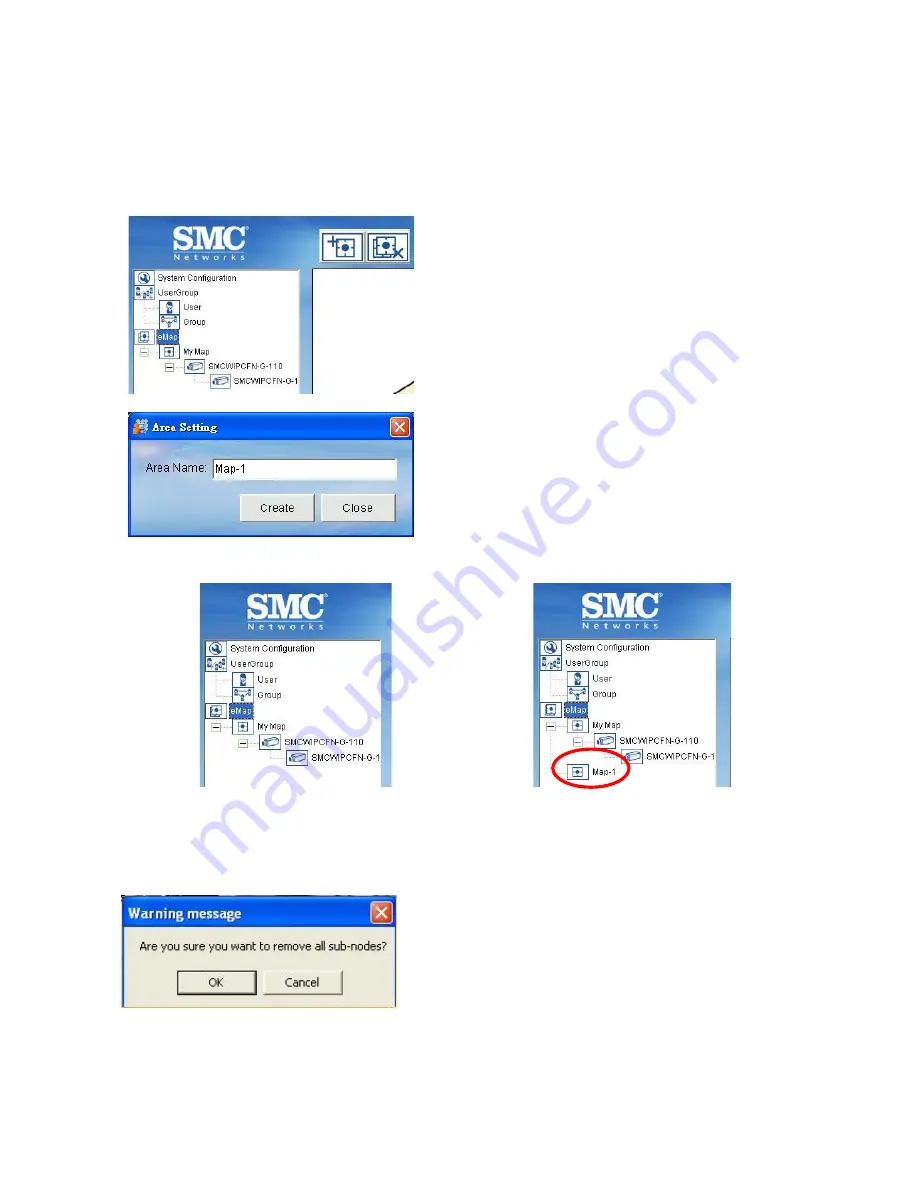
By selecting
eMap
icon, you can add or delete one area or all areas.
D.5.1.1. Add Area
STEP 1:
Select eMap icon from the
System Setup.
STEP 2:
Click Add Area button from the
Menu Bar. An Area Setting
window will pop up. Enter the
name to the “Area Name”
textbox.
STEP 3:
Click “Create” to save setting and a newly created area will be created and
displayed as below.
Before Add Area
After Add Area
D.5.1.2. Delete All Areas
Select eMap icon, then click the Remove Sub area button. A warning message will pop up
confirming if you want to remove all sub nodes. Click “OK” to confirm.


