background image

B

1.8

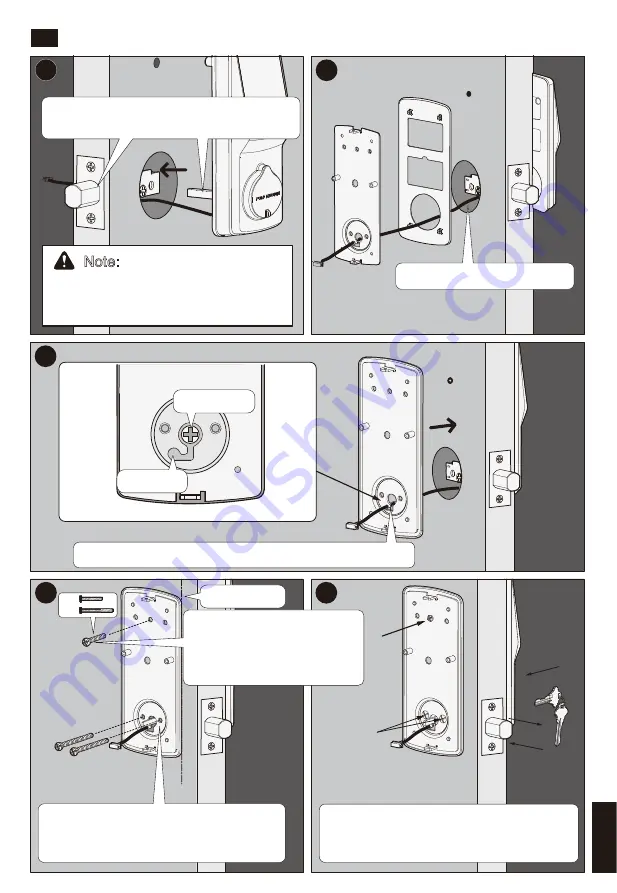
 Install exterior assembly

G

F

Cable goes underneath the latch

Side hole

Center hole

Route cable through center hole, then push it into side hole.

I(2X)

H

I(2X)

H

Keep parallel

Before screwing, check the  vertical align-
ment for the mounting plate and exterior 
assembly.

After installation, use back-up key to test 
the latch. If the latch does not retract or 
extend smoothly, adjust screws.

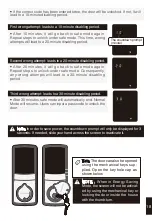
When the bolt is extended, the torque blade 
should be kept in a vertical position.

A

H1

H2

Please use the “H1 screw” for 
the door thickness 35-43mm. 
Or use  the “H2 screw” for the 
door thickness 43-50mm.

4

Note: 

Please use the physical 

key to rotate the torque blade 

in vertical position and then 

pull out the key.

Summary of Contents for PIN Genie Smart Lock PGD718

Page 1: ...reliably You should keep it for future reference and maintenance U S Patent No 9 665 706 V 092017 PIN Genie Smart Lock User Manual Model No PGD718 PGD728 REV 0 3 Date 2017 09 22 Designer Y 186c PL350...

Page 2: ...from outside and go into the house Automatic lock No longer have to worry about forgetting to lock the door With Auto Lock enabled PGD718 PGD728 can automatically relock the door 30 seconds after unlo...

Page 3: ...12 12 13 14 15 17 17 19 19 7 8 9 9 10 10 10 2 1 Components 2 2 Setting switch 2 3 Reset 2 4 Display keypad switch 2 5 Restart 2 6 PIN GENIE button 2 7 Changing the battery 3 1 Passcode information 3 2...

Page 4: ...Section 1 Installation Instruction A O D F G J K H1 H2 I M N P Q R A B C B C D F I N P Q P O J M Installation overview Assembly parts H H1 H2 1...

Page 5: ...4 and release button a Now the backset has been adjusted to 2 3 4 Adjust as shown below only if needed Hold the latch in front of the drilled hole as shown below 2 3 8 b a c 2 3 4 2 3 4 Prepare door a...

Page 6: ...tch bolt as shown When the bolt is extended the torque blade should be kept in a vertical position Take out the screw which is being used for fixing the cylinder during transit and discard it Install...

Page 7: ...and exterior assembly After installation use back up key to test the latch If the latch does not retract or extend smoothly adjust screws When the bolt is extended the torque blade should be kept in...

Page 8: ...n the battery compartment by unscrewing the screw and remove the cover Note Do not install batteries yet Fix the interior assembly with screws provided Push the thumbturn shaft onto the torque blade M...

Page 9: ...fore installing the last battery press and hold Program button until you finish then you will hear a long beep Once you release the button the latch will automati cally do a self check and the display...

Page 10: ...by APP Battery compartment Restart Button Lock Status icon Bluetooth light PGD728 Power Status Bluetooth icon PGD728 OK Button Key Hole Cover Back up Battery Socket Front Front Body Back Main Body Ba...

Page 11: ...ations Certifications Setting switch With PIN CRAZY mode on every time you input a digit while entering passcode the display keypad will be refreshed With Auto Lock enabled the smart lock will automat...

Page 12: ...been deleted The exterior display keypad can be locked and turned off using the display keypad switch at the back panel of the smart lock With the display keypad switch off people outside cannot inpu...

Page 13: ...t cover and insert 4 AA batteries as shown below Make sure the batteries are correctly oriented Replacement of batteries does not affect programmed data To avoid setting loss please insert new batteri...

Page 14: ...uld become invalid Maximum 8 sets of passcode can be set for family use The Passcode can be any combination of 6 8 digits How to use the keypad There are 5 touch keys on the keypad as shown on the rig...

Page 15: ...am button and the screen will be activated The setting page is as shown below Input 2 Add Passcode Mode Number Delete Passcode Check Passcode On Model PGD718 Bluetooth Switch On Model PGD728 1 Input a...

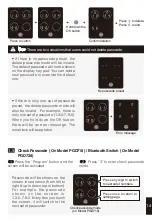
Page 16: ...ttom For example the passcode shown on the screen is 1 3 5 7 9 0 Every time you touch the screen it will display the next set of passcodes Delete passcode mode Press the Program button and the screen...

Page 17: ...ode preset Error message Press to delete Press to end Hold down the OK button Note There are two situations that users could not delete passcode Check Passcode On Model PGD718 Bluetooth Switch On Mode...

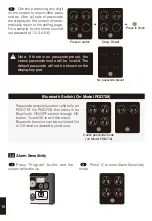
Page 18: ...lt passcode will not be shown on the display key pad Bluetooth Switch On Model PGD728 Continue pressing any digit on the screen to check other pass codes After all sets of passcode are displayed the s...

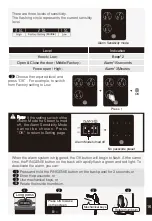
Page 19: ...ll begin to flash At the same time the PIN GENIE button on the back will rapidly flash a green and red light To deactivate the alarm you can 3 1 1 2 3 4 2 3 4 Press Note If the setting switch of the A...

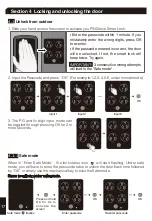
Page 20: ...you will have to enter the passcode twice to unlock the door Each time followed by OK or simply use the mechanical key to exist the Safe mode Input 1 Input 2 OK Input 6 Enter the passcode within 1 mi...

Page 21: ...Consequently any wrong attempts will lead to a 30 minute disabling period Third wrong attempt leads to a 30 minute disabling period After 30 minutes safe mode will automatically end Normal Mode will...

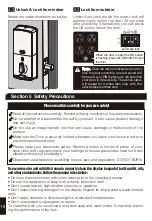
Page 22: ...thout your knowledge Dispose of used batteries according to local laws and regulations DO NOT BURN Use warm water and mild dish soap to properly clean the display keypad of built up dirt oils and othe...

Page 23: ...io frequency energy and if not installed and used in accordance with the instructions may cause harmful interference to radio communications However there is no guarantee that interference will not oc...

Reviews: