Page 51 of 64
6.
Save your changes.
a.
To accept your changes click the ‘OK’ button on your Creeping
Line Property Sheet.
b.
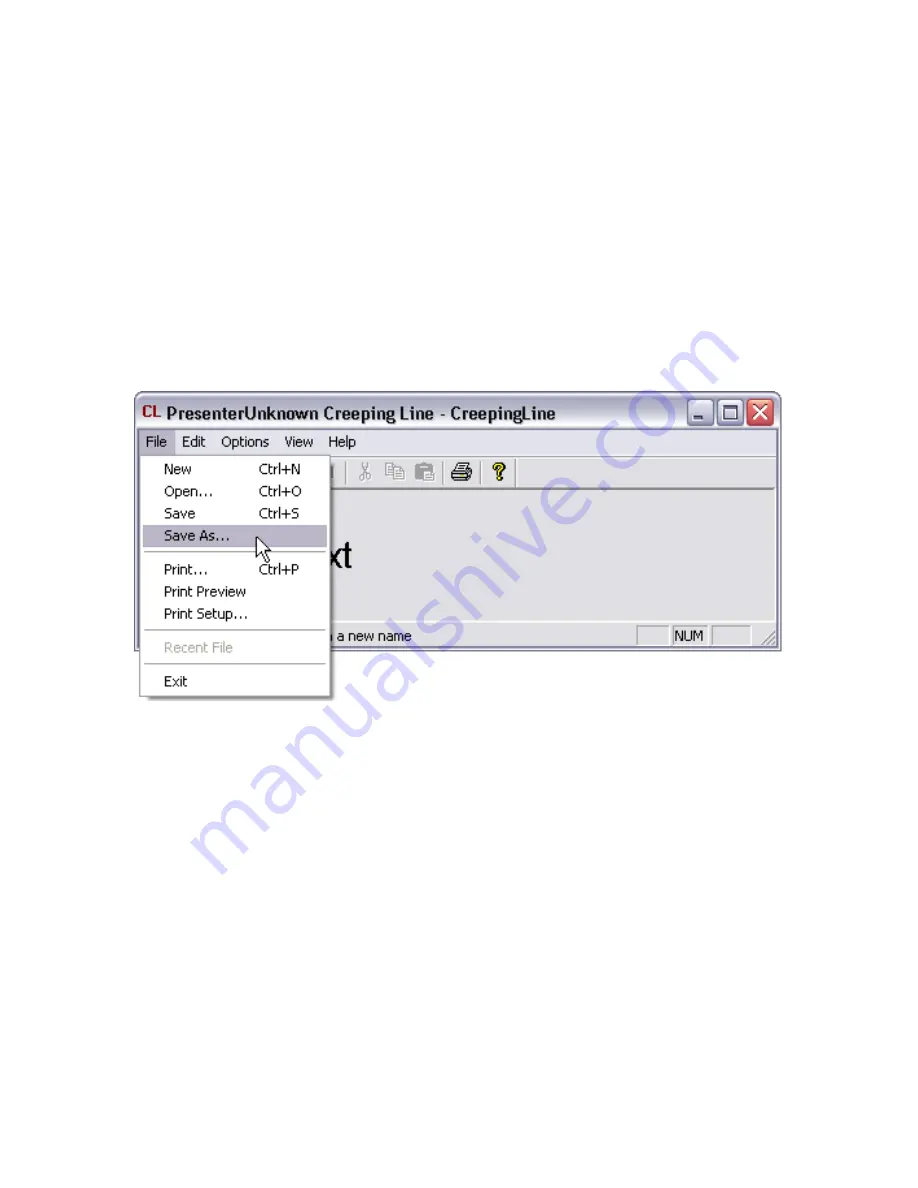
To save your work select ‘File’ and click either ‘Save’ or ‘Save As’
from the section menu. (figure 11.11)
c.
Name your file and save on your hard drive.
figure 11.11
The new Creeping Line Manager allows SignagePro users to add
multiple Creeping Lines in Tasks rather than in a Schedule. You can
now add multi Creeping Lines into specific Tasks.
To add Creeping Lines into a Task:
1.
Click on the Task Properties of the Task you want to add the
Creeping Line into.
2.
Click on the button that is labeled 'Creeping Line Manager'
(figure 11.12)
3.
In the Creeping Line Manager, you can add existing Creeping
Lines or create new ones. To create a new one, click on 'Edit.' To
add existing Creeping Lines, click on 'Add' and browse for your
file. (figure 11.13)
Summary of Contents for SIGNAGEPRO
Page 9: ...Page 9 of 64 figure 2 1 figure 2 2...
Page 21: ...Page 21 of 64 figure 6 1 figure 6 2 figure 6 3...
Page 22: ...Page 22 of 64 Section 2 Using the SignageServer Software...
Page 37: ...Page 37 of 64 figure 10 2...
Page 39: ...Page 39 of 64 figure 10 4...
Page 44: ...Page 44 of 64 A typical layout using Applica s template creator...
Page 53: ...Page 53 of 64 figure 12 2...


