6 Electrical Connection
SMA Solar Technology AG
Operating manual
37
SI44M-80H-13-BE-en-15
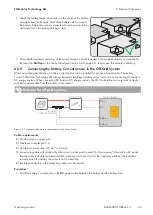
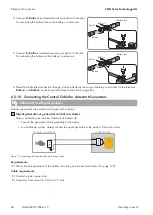
2. Thread the grounding conductor through a ferrite included in the scope of delivery and connect to
AC2 Gen/
Grid PE
3. If the power cable conductor cross-section is less than 10 mm², thread an additional grounding conductor through
the provided ferrite and connect it to the
AC1 Loads/SunnyBoys PE
terminal (see Section 6.6.3, page 59).
6.5.3
Connecting an Automatic Transfer Switch in the Battery Backup System
6.5.3.1
Connecting the AC Power Cables of the Automatic Transfer Switch
Relevant for systems connected to the utility grid
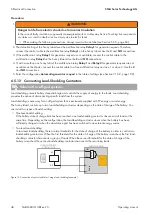
The AC power cables conduct the energy between the battery-backup grid and the Sunny Island (see circuitry
overview in the quick reference guide "SMA Energy System Home with Battery-Backup Function").
Requirements:
☐ With each three-phase cluster, the connection of the line conductor must be prepared as follows: L1 to the master,
L2 to slave 1 and L3 to slave 2. This results in a right-hand rotating magnetic field.
☐ The power of the AC sources in the battery backup grid must not exceed the maximum connected power of the PV
inverters in the battery backup systems (see Section 16.2, page 176). The powers of the individual Sunny Island
inverters are added to yield the total maximum power.
Procedure:
• Connect the power cable from
X3
on the automatic transfer switch to the terminals
AC2 Gen/Grid
on the Sunny
Island. When doing so, connect the line conductor to
AC2 Gen/Grid L
and the neutral conductor to
AC2 Gen/
Grid NTT
(see Section 6.6.2, page 57). Thread the grounding conductor through a ferrite included in the scope
of delivery and connect to
AC2 Gen/Grid PE
6.5.3.2
Connecting the Control Cables of the Automatic Transfer Switch
Relevant for systems connected to the utility grid
Control cables conduct the control signals of the multifunction relays to the contactors (see circuitry overview in the
quick reference guide "SMA Energy System Home with Battery-Backup Function").
Cable route for control cables and measuring cables in the automatic transfer switch
An unfavorable cable route can lead to quality losses during the transmission of control signals and measured
values Observe the following rules for cable routes:
• Lay the control and measuring cables at the greatest possible distance from the power cables.
• Use shielded cables for the control and measuring cables.
• Always connect the digital input
DigIn
of the Sunny Island separately via a shielded cable.
Procedure:
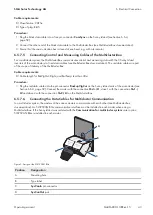
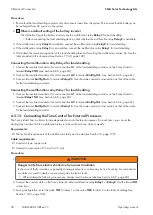
1. On the master, connect the cable from
X5 L
and
X5 N
(for the control voltage) to terminal
AC1 Loads/
SunnyBoys
2.
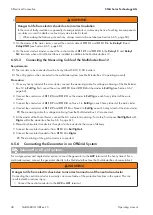
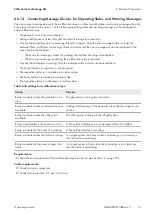
WARNING
Danger to life from electric shock due to incorrect insulation
In the case of faulty insulation, supposedly de-energized parts or cables may be live. Touching live components
or cables can result in death or serious injury due to electric shock.
• When making the following connections, always insert a silicone tube (see Section 6.6.5, page 60).
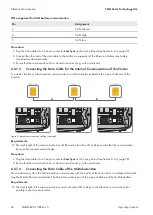
3. Connect the control cable from
X4 1
and
X4 2
to the connections
Relay1 C
and
Relay1 NC
.
4. Connect the control cable from
X5 1
and
X5 2
to the connections
Relay2 C
and
Relay1 NO
.

