32
All Rights Reserved.
Sky
Vue
®
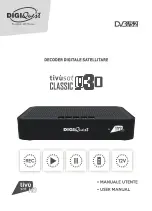
Color Temperature
Press the
buttons to highlight Color Temp.
adjustment, then use
to select Normal,
Warm or Cool color temperature.
Zoom Mode
Press the
buttons to highlight Zoom Mode
adjustment, then use
to select picture zoom
mode. With HDMI, the choices are 16:9, 4:3, or
Point to Point. With other signals, the choices are
16:9, 4:3, Full or Zoom.
3D Noise Reduction
Press the
buttons to highlight 3DNR adjust-
ment, then use
to select Off, Weak, Middle
or Strong NR mode.
Backlight
Press the
buttons to highlight Backlight
adjustment, then use
to adjust backlight
brightness.
Dynamic Light Control
Press
button when you are at the bottom of
the Picture menu to highlight DLC , then use
to turn DLC on and off. DLC automatically optimiz-
es brightness and contrast for the program you are
watching.
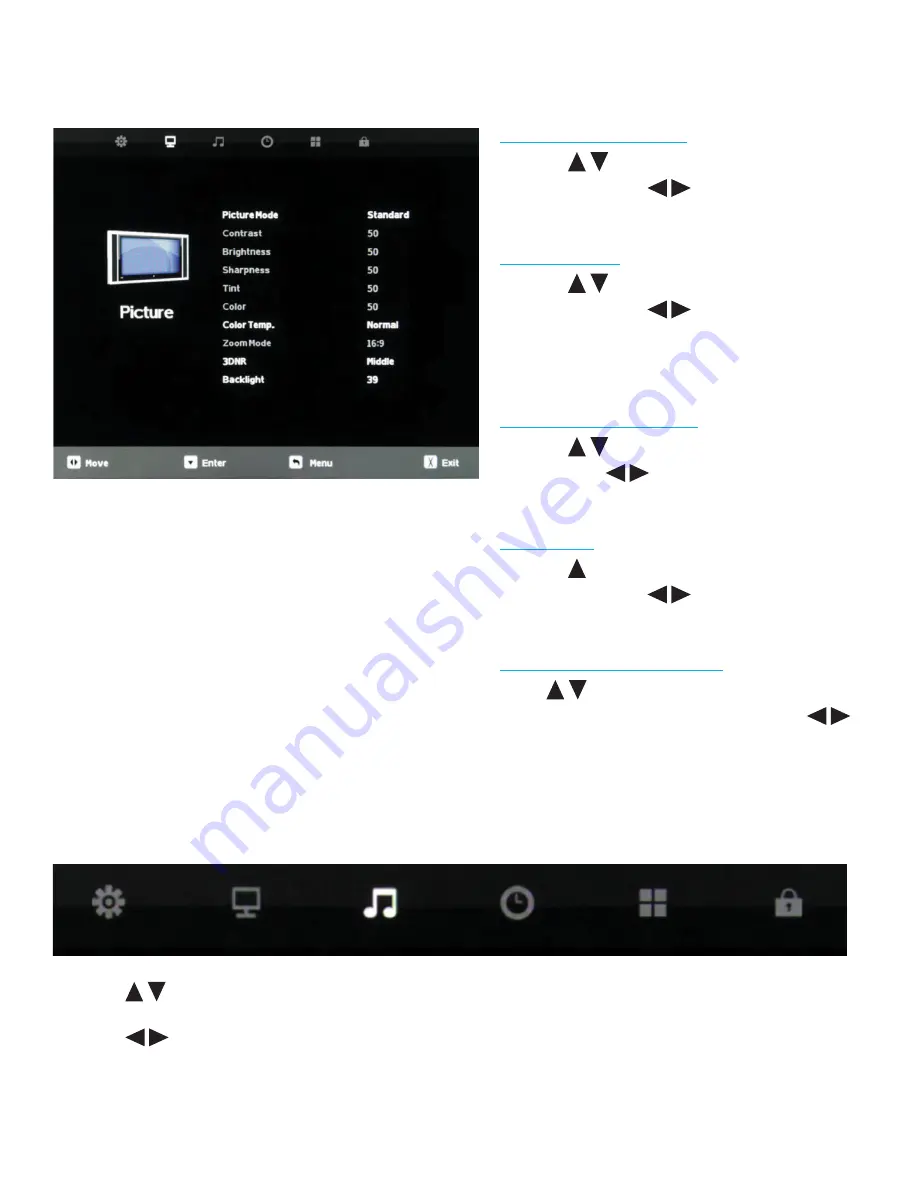
1. Press
buttons on the remote or CH+/CH- on the TV) to move the cursor to the item to be selected.
2. Press
buttons on the remote or VOL+/VOL- on the TV to make the desired adjustments.
3. When adjustments are complete, press MENU or EXIT on remote or MENU on the TV to exit the main menu.
Adjusting On-Screen Displays – Picture Menu (cont.)
Adjusting On-Screen Displays – Audio Menu