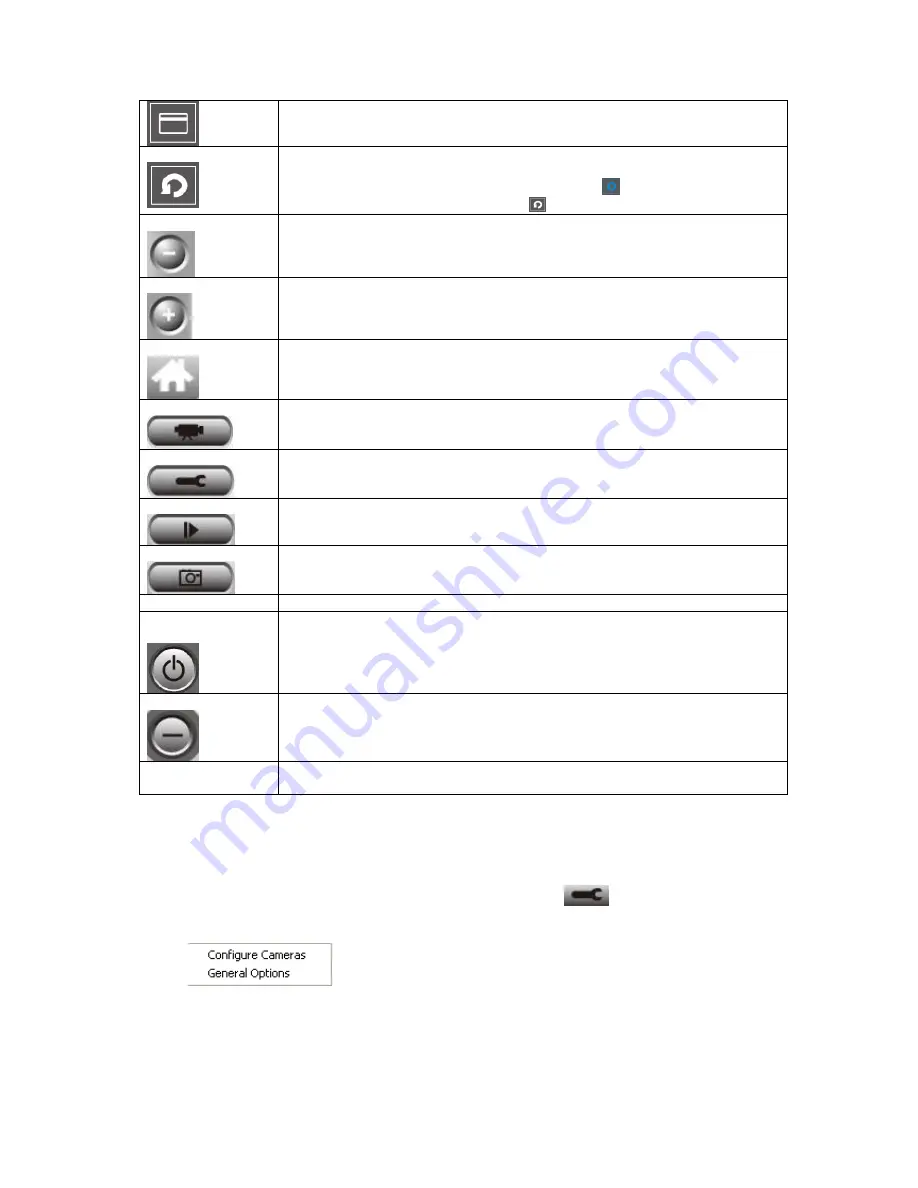
Scan
Click this button and the IP camera surveillance software will switch displaying
the image of all connected camera automatically. Click this button once to
activate scan function (scan icon will become blue
), click again to stop
scanning (scan icon will become white
).
Zoom out
Zoom-out (To see more objects).
This function is only available for supported cameras.
Zoom In
Zoom-in (Too see more details).
This function is only available for supported cameras.
Home
Click this button to return the camera to ‘Home’ (default) position.
This function is only available for supported cameras.
Recording
Start video recording.
Configure
Software / camera configuration.
Playback
Playback a recorded video file.
Snapshot
Take a snapshot of current camera.
Message display
Displays all system messages like camera is disconnected etc.
Close window (stop
surveillance)
Terminates IP camera surveillance software.
Minimize window
Minimizes IP camera surveillance software window.
Video displaying
area
Displays the image of all cameras by the display layout you selected.
2.2.2 Configure camera in viewer utility
Before you use this IP camera surveillance software, you must configure the camera(s)
you wish to connect. Please click ‘System configure’ button
and a popup menu will
appear:
Please select ‘Configure Cameras’ to configure cameras.


