14
3.4 Kontrollfunktionen
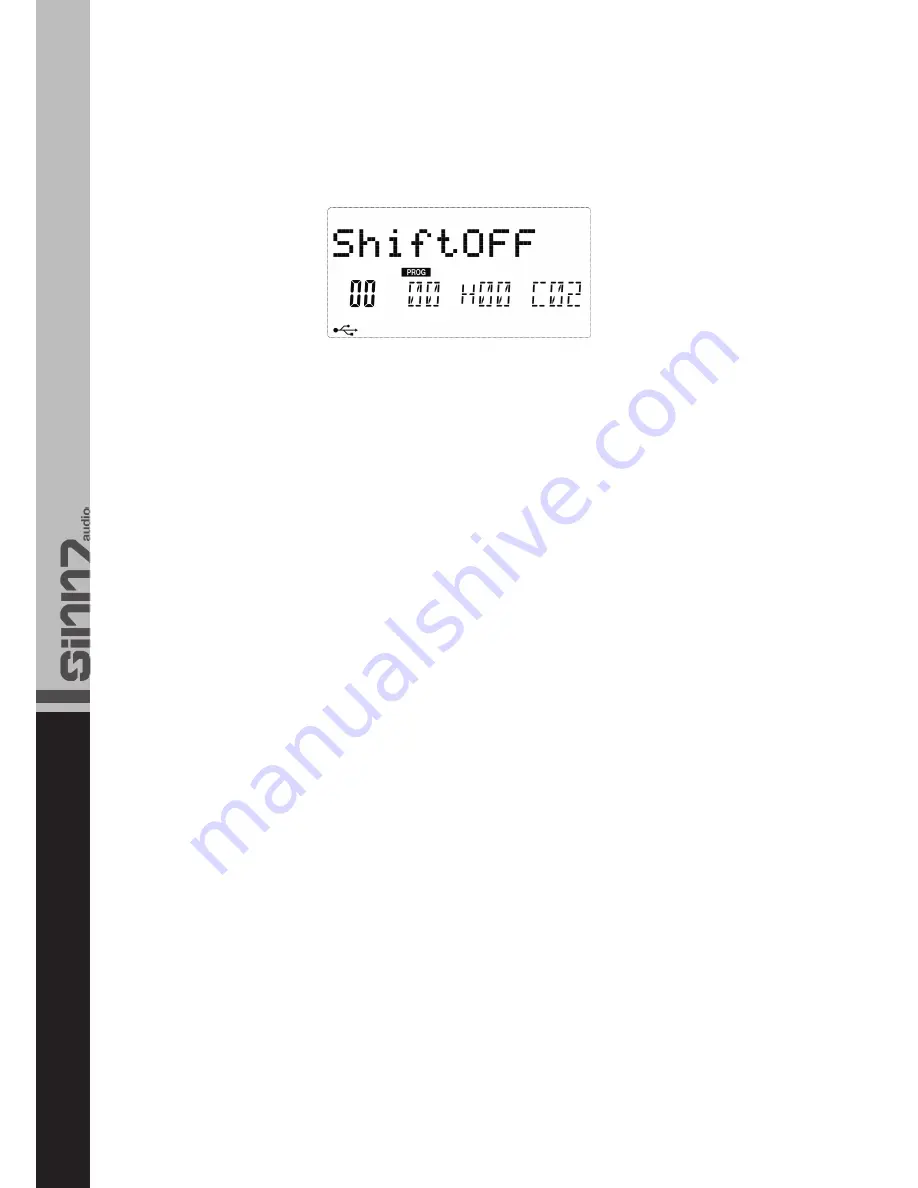
3.4.1 Shift-Taste
Verwenden Sie die Shift-Taste und die gewünschte Funk-
tions-Taste, um die Doppelbelegung zu aktivieren. Die
Funktionen, die mit der Shift-Taste aufgerufen werden kön-
nen, stehen über den entsprechenden Funktions-Tasten.
3.4.2 Enter Taste
Verwenden Sie die Enter-Taste, um Befehle zu bestätigen.
3.5 Pad funktionen
3.5.1 Pad Curves
Das Kontrolux verfügt über 6 Pad Curves, die die Velocity
steuern. Um zwischen den Curves zu wechseln betätigt
man zunächst die Pad Curve-Taste. Mit den +/- Tas-
ten kann man zwischen den verfügbaren Curves hin- und
herschalten. Bestätigen Sie die Eingabe mittels der Enter-
Taste.
3.5.2 Pad Note Setting
Um einem Pad eine andere Note zuzuweisen, betätigen
Sie das Pad und anschließend die Ctrl Assign-Taste. Da-
nach öffnen Sie den Pad-Note Editor mit zwei Klicks auf die
Shift-Taste. Nun kann dem Pad mittels der Nummerntas-
ten ein neuer Wert zugewiesen werden. Durch Betätigen
der Enter-Taste wird der Vorgang abgeschlossen.
4. Anwenderbeispiele
4.1 MIDI Out from USB funktion
Die MIDI Out from USB Funktion kann verwendet werden,
um die MIDI-Datenquelle am MIDI-Out Port Ihres Kontrolux
Keyboards zu wechseln.
Beim erstmaligen Einschalten des Kontrolux Keyboards
ist diese Funktion ausgeschaltet. Dies bedeutet, dass
beim Spielen des Keyboards MIDI-Daten zum MIDI Out
Port gesendet werden.
Wird diese Funktion aktiviert, so werden beim Spielen
des Kontrolux keine MIDI-Daten zum MIDI-Out Port gesen-
det. Stattdessen werden die Daten vom Computer aus
gestreamt. Solange Sie also das Kontrolux Keyboard als
aktiven Ausgang am Sequencer ihres Computers gewählt
haben, sind dies die Daten, die zum MIDI-Out Port gesen-
det werden.
Beispiel:
Sollten Sie ein Soundmodul mit Ihrem Kontrolux steuern
wollen, so muss die MIDI Out from USB Funktion deakti-
viert sein.
3.4 Control functions
3.4.1 Shift Button
Use the Shift button and the desired function button in
order to access the second button function. The functions
that can be accessed via the shift button are displayed
above the corresponding function buttons.
3.4.2 Enter Button
Use the Enter button in order to confirm adjustments.
3.5 Pad functions
3.5.1 Pad Curves
The Kontrolux disposes of 6 Pad Curves that control the
velocity. In order to change the curve it is necessary to
first press the Pad Curve button. Via the +/- buttons it
is possible to switch between the curves. Confirm via the
Enter button.
3.5.2 Pad Note Setting
In order to assign a different note to a pad, first press the
desired pad and then the Ctrl. Assign button. Afterwards
open the Pad Note Editor by pressing the shift button 2
times. Via the numeric keypad it is now possible to assign
a new value to the pad. Confirm by pressing the Enter
button.
4. Usage Examples
4.1 MIDI Out from USB function
The MIDI Out from USB function can be used in order to
change the MIDI data source at the MIDI Out port of your
Kontrolux keyboard.
When turning on the Kontrolux for the first time this func-
tion is turned off. This means that while playing the key-
board MIDI data is sent to the MIDI Out port.
If this function is activated no MIDI data will be sent while
playing the Kontrolux. Instead data from the computer
will be streamed. So as long as the Kontrolux keyboard is
selected as active output at the sequencer on your com-
puter, this is the data that is sent to the MIDI Out port.
Example:
If you wish to control a sound module with your Kontrolux
the MIDI Out from USB function has to be deactivated.


