OPERATOR’S MANUAL
with Setup Instructions
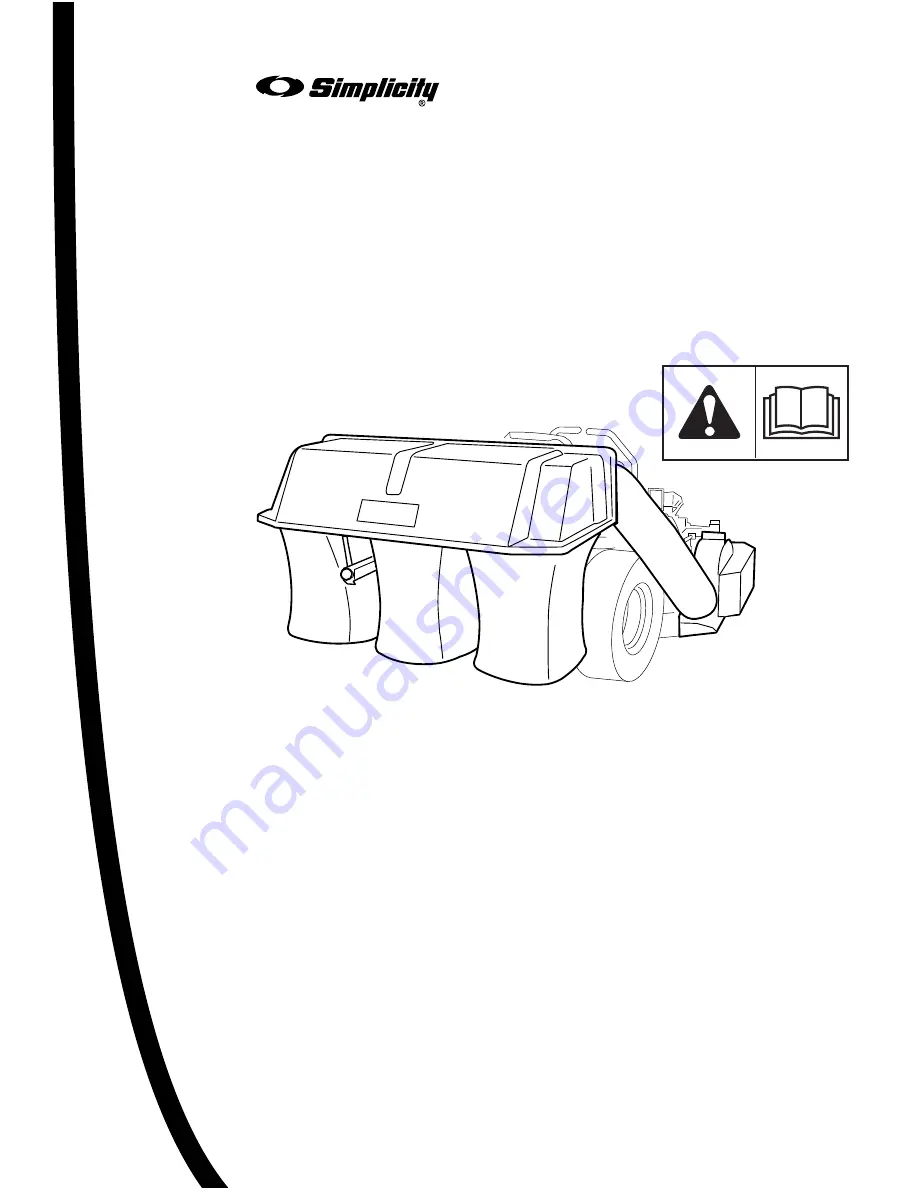
FAST-Vac Grass Collection System
5102182
Revision IR
Rev. Date: 07/2009
TP 100-7451-IR-AT-S
Mfg. No.
Description
5600352
KIT, 3-BAG COLLECTION, SMI 61 iCD DECK
Not
for
Reproduction
Page 1: ...L with Setup Instructions FAST Vac Grass Collection System 5102182 Revision IR Rev Date 07 2009 TP 100 7451 IR AT S Mfg No Description 5600352 KIT 3 BAG COLLECTION SMI 61 iCD DECK N o t f o r R e p r...
Page 2: ...ned and intended to be used and maintained according to the manual for finish cutting of established lawns and is not intended for any other purpose It is important that you read and understand these...
Page 3: ...Catcher 4 After Operation 5 Storing the Grass Catcher 5 Mowing Without the Blower 5 INSTALLATION 6 Rear Suspension Adjustment 6 Blower Assembly 7 Mower Deck Preparation 8 Blower Installation 10 Collec...
Page 4: ...y for tears holes or weak spots and replace with a new bag that meets manufacturer s durability standards If the mower stalls or the turbo blower chute plugs 1 Disengage the electric clutch PTO 2 Stop...
Page 5: ...nit Safety Rules Information All DANGER WARNING CAUTION and instructional messages on your rider and mower should be carefully read and obeyed Personal bodily injury can result when these instructions...
Page 6: ...alf the width of the mower to prevent clogging If grass is long operate with mower in high cutting position for first pass cutting again in a lower position on a second pass Do not open the cover with...
Page 7: ...gent other products may damage the tube Remove any debris from the the screen on the underside of the lid The screen can be partially removed for easier cleaning If paint has been scratched on metal p...
Page 8: ...elieve the pressure on the upper shock mounting bolts NOTE This will require small adjustments to the jack s position The shock should move freely on the mounting bolt when the pressure is relieved 4...
Page 9: ...he pulley 7 Align the pulley groove with the appropriate slot as described in Figure 2 Tighten the set screws in the pulley 8 Reposition the 3 8 16 x 6 bolt C if required to line up with the pulley gr...
Page 10: ...lock bolt and nut F 3 Remove the deck guard G Save the bolts and washers as they will be required in a later step 4 Examine the discharge chute mount bracket on the mower deck see Figure 7 If the hol...
Page 11: ...he 3 4 spring washer B with the cone facing up see insert Figure 10 Install the 3 4 16 hex nut A and torque to 85 90 ft lbs 115 122 Nm Use a 1 wrench on the flats of the blade end of the spindle shaft...
Page 12: ...Install the blower drive belt Refer to Figure 13 for the proper belt routing It may be required to loosen the idler pulley mounting hardware to get the belt past the belt keeps IMPORTANT NOTE The gra...
Page 13: ...measure between 3 3 3 8 7 6 8 6 cm 4 If measurement falls outside of this range you must move the idler pulley B either forward or back to achieve the proper belt tension NOTE If pulley position needs...
Page 14: ...e with the 3 8 16 x 1 bolts C and 3 8 16 nylock flange nuts D 2 Install the mount plate onto the bumper 3 Install the mount spacers E between the adapter plate and mount plate as shown and loosely sec...
Page 15: ...unt frame B using carriage bolts flat washers and nuts C Use two 5 16 18 x 3 4 carriage bolts D in the top two holes and two 5 16 18 x 1 1 4 carriage bolts E in the bottom holes 2 Install the cover la...
Page 16: ...st cover the outlet of the blower 3 Cut the hose to fit properly between the blower and collector At least two bands must cover the inlet of the adapter D Secure with the stationary clamp F 4 Remove t...
Page 17: ...B Note If desired the bags can be lined with 30 gallon trash bags for easy disposal 2 See Figure 20 Set the cover A on top of the bags B and align the hinges C 3 See Figure 21 Install the hinge pins...
Page 18: ...Citation Series Cobalt Series Figure 22 Install Weight Carrier A Weight Carrier B 1 2 20 x 1 1 4 Bolt C 1 2 SAE Washer D 1 2 20 Nylon Lock Nut E Weight F Retaining Pin G Hairpin Clip H 3 8 16 X 1 1 4...
Page 19: ...ower mount and remove the blower from the mower deck 6 Reinstall the discharge chute A Figure 25 torsion spring B 5 16 fender washer C spring spacer D and secure with the supplied quick attach rod E a...
Page 20: ...ratton Power Products Group LLC Copyright 2009 Briggs Stratton Corporation Milwaukee WI USA All rights reserved The Simplicity logo is a trademark of Briggs Stratton Corporation Milwaukee WI USA N o t...