50
– the first modifiable
“Data/value”
is highlighted (e.g. 06)
– turn the
encoder to modify the
“Data/value”
(e.g. from
06 to 12)
– press the
click
encoder to confirm the modification and se-
lect the next
“Data/value”
which will be highlighted (e.g. 36)
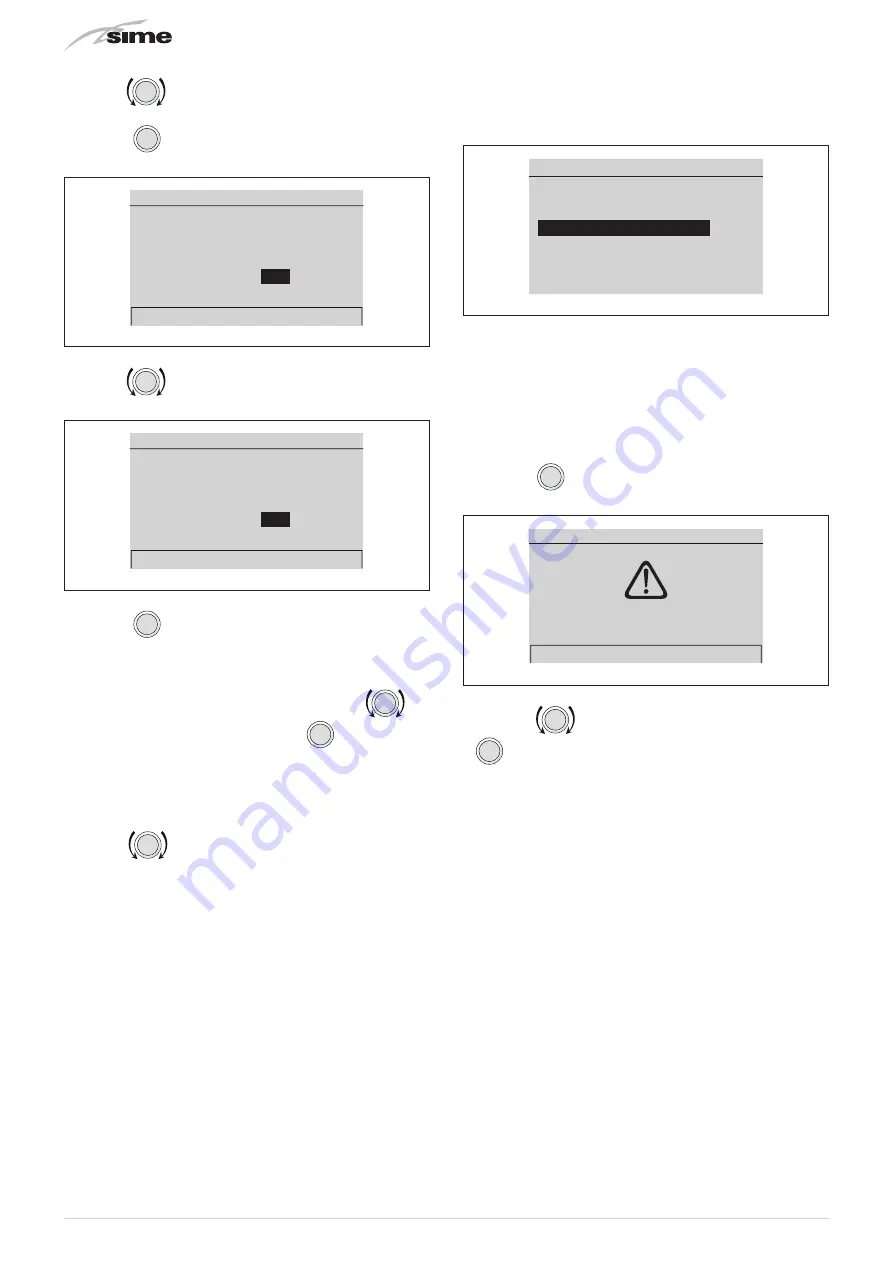
Date and time
Date:
Hour:
01
20
Gen
11
:
2018
DAY
HOUR
MONTH
MINUTE
YEAR
Confirm
Fig. 90
– turn the
encoder to modify the
“Data/value”
(e.g. from
36 to 50)
Date and time
Date:
Hour:
01
20
Gen
50
:
2018
DAY
HOUR
MONTH
MINUTE
YEAR
Confirm
Fig. 91
– press the
click
encoder to confirm the modification and se-
lect the next
“Data/value”
which will be highlighted (e.g. 01)
– continue in this way until all the necessary modifications have
been made
– after all modifications have been made, use the
en-
coder to select
“Confirm”
and press the
click
encoder to go
back to the initial submenu (Date and time).
NOTE
: The user must work in a CIRCULAR manner, meaning AL-
WAYS MOVING FORWARDS, even if a mistake is made.
– turn the
encoder to select another
“Menu”
e.g. “Dis-
play” (Display).
The
“Display menu”
allows the user to adjust:
– display contrast
– duration of the display back-lighting
The operating procedure is as has been described so far.
GENERAL SETTINGS
Language
EN
Date and time
[...]
Display
[...]
Factory settings
[...]
Fig. 92
m
CAUTION
“Factory settings submenu”
It is recommended that the user access this submenu
ONLY to restore the
“Factory settings”
, thereby delet-
ing all settings made by the user.
To proceed:
– press the
click
encoder to access the modifiable area. A
screen appears offering the following options:
Confirm request
Confirm operation
Confirm
Fig. 93
– press the
encoder to select
“Confirm”
and press the
click
encoder to restore the
“Factory settings”
(Factory set-
tings ). After a few seconds, go back to the
“main screen”
.


