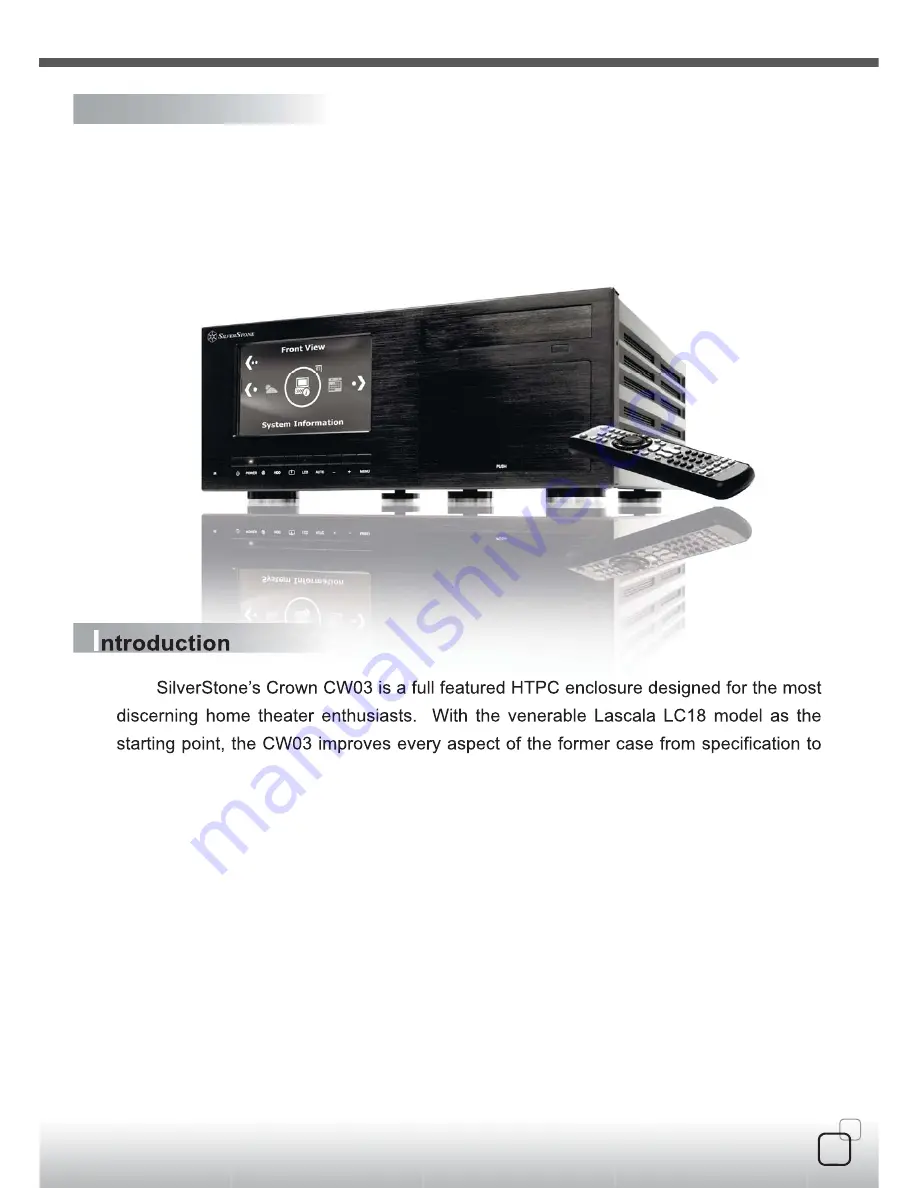
background image

02

P

roduct overview

SilverStone’s Crown CW03 is a full featured HTPC enclosure designed for the most 

discerning home theater enthusiasts.  With the venerable Lascala LC18 model as the 

starting point, the CW03 improves every aspect of the former case from specification to 

user impression.  LC18’s excellent grade-A 7” Hitachi LCD is retained, but additional 

engineering breakthroughs enable CW03’s integrated LCD to now support resolutions 

up to an incredible 1920 x 1200 pixels, a feat never before seen in a screen of its size.  

This specification allows CW03’s to be used in conjunction with any full HD television on 

the market.  Supplementing the LCD is an advanced touch panel capable of digital pen 

function (digital pen support in Vista only) or standard mouse movements.  In addition to 

the primary touchscreen control, a multi-functional remote is included to complete an 

impressive list of media features.  To house all the new technology, an intelligent cooling 

layout is reinforced with thick aluminum frame finished to high-end home theater 

component standards. The styling of CW03 is a blend of classic lines and high-tech 

looks, making it the perfect flagship chassis for SilverStone’s Crown series.

I

ntroduction

CW03

Summary of Contents for CW03

Page 1: ...een of its size This specification allows CW03 s to be used in conjunction with any full HD television on the market Supplementing the LCD is an advanced touch panel capable of digital pen function di...

Page 2: ...03 Remote control CDs...

Page 3: ...CAN CONVERT INTO 3 5 DOCKING BAY System remote MOTHERBOARD STANDS SCREWS SCREWS SCREWS WASHER VIBRATION DAMPENING PAD IR remote to power on off Convert 3pin fan to 4 pin For placing to rack mount cab...

Page 4: ...e screws and the upper optical drive bracket Destornille los tres tornillos y saque la abrazadera del disco ptico superior Loesen Sie die drei Schrauben am oberen Rahmen des optischen Laufwerks Retire...

Page 5: ...equiere Befestigen und sichern Sie die Abstandsbolzen am Motherboardboden wie verlangt Vissez et fixez les plots sur le support de la carte m re selon vos besoins Avvitare e fissare i distanziatori su...

Page 6: ...in zwei verschiedene Richtungen einbauen um die Kuehlung an Ihre verwendeten Komponenten anzupassen Installez votre alimentation comme montr avec les vis fournies L alimentaion peut tre install dans...

Page 7: ...are le viti quindi il pannello e l alloggiamento docking bay da 5 25 come mostrato 5 25 5 25 5 25 11 Place the optical drive and docking bay in correct position of main optical drive bracket and then...

Page 8: ...o nel supporto del disco ottico superiore e fissarlo con le viti incluse 14 Reinstall the upper optical drive bracket into the chassis and secure it Reinstale la abrazadera del disco ptico superior en...

Page 9: ...l cran tactile peut tre plac sur le dessus du panneau frontal La digital pen del touch screen pu essere collocata sul pannello frontale 18 10 Installation Guide Make sure all necessary cables and wir...

Page 10: ...7 1 0 VP P FV 50 75HZ 1920 1200 60HZ MAX 15 PIN MINI D SUB DC IN DC TO HEAD AC 100 240V 50 60H UNIVERSAL 36W MAX 32 F TO 104 F 0 C TO 40 C 10 90 NON CONDENSING POWER SOFT MANUAL DOWN UP AUTO IMAGE AD...

Page 11: ...controller s code version 6 Interface Touch controller s communication interface It can be USB or RS232 7 Display This controller is reporting the mouse point to system display number 8 4 pts calibrat...

Page 12: ...ade touch device to not report any point user must use mouse to return the others to work properly 2 Right click settings Our touch solution can generate right click in two ways I Auto right click If...

Page 13: ...e mouse HID can work on any windows series versions So the touch device is default on the mouse HID mode 3 System tools The search Rs232 device button is used for search our none plug and play RS232 d...

Page 14: ...lation Guide D SUB 15P M M CABLE USB CABLE IR receiver connection 4 PIN DC POWER CABLE FRONT PANEL CONTROL CABLE Touch LCD Hardeare Installation For hardware installation please connect each cables as...

Page 15: ...Extended Desktop 3 Set screen resolution of secondary monitor as 800 600 4 Set refresh rate of secondary monitor as 60Hz After you finish the dual monitor setting as like above please install the iMON...

Page 16: ...de IF Touch LCD s resolution is not 800 600 warning window pops up and advises you to change resolution to 800 600 60Hz 5 Unless secondary display is enabled below warning window will be shown User ca...

Page 17: ...the Feature of FrontView SoundGraph Inc provide FrontView for Touch LCD from Feb of 2007 This new Graphical User Interface is designed for top level HTPC product on the market Various system and medi...

Page 18: ...ol Buttons Playback Pause Stop Next Prev and so on as left 3 When iMEDIAN Media Center or WinAmp plays media files FrontView automatically changes to the Media Display Mode It will show the various me...

Page 19: ...20 D Warranty Information T W Warranty period is region specific please contact your reseller or SilverStone authorized distributor for more information...

Reviews: