end, leaving about 3/8". Insert the wire back into the cowl and
needle valve and tighten the setscrew. You should now have a
neat looking, perfectly aligned needle valve extension.
OPTIONAL:
❑
11) Because of the inverted position of the engine in our Rascal
110, we wanted to make the fueling and de-fueling process as
simple as possible. The installation and use of a fueling valve
completely solves all these issues. To do this on our Rascal 110
models, we installed a Du-Bro #334 Kwik-Fill Fueling Valve (the
#334 valve is for use with glow fuel) onto the firewall in the engine
compartment. DO NOT mount the fueling valve directly to the
fiberglass cowl. Doing so will ultimately cause damage to the
fiberglass.
To make the mounting and
positioning of the fueling valve
easy, we have included a SIG
Fueling Valve Mounting Bracket
part (#SIGSH759) in your kit.
This bracket allows the Du-Bro
valve to be mounted anywhere
on the firewall that is most
convenient for your particular
engine installation. This fueling
system has proven to be
convenient and simple and only
requires the two basic tank fuel
lines to function.
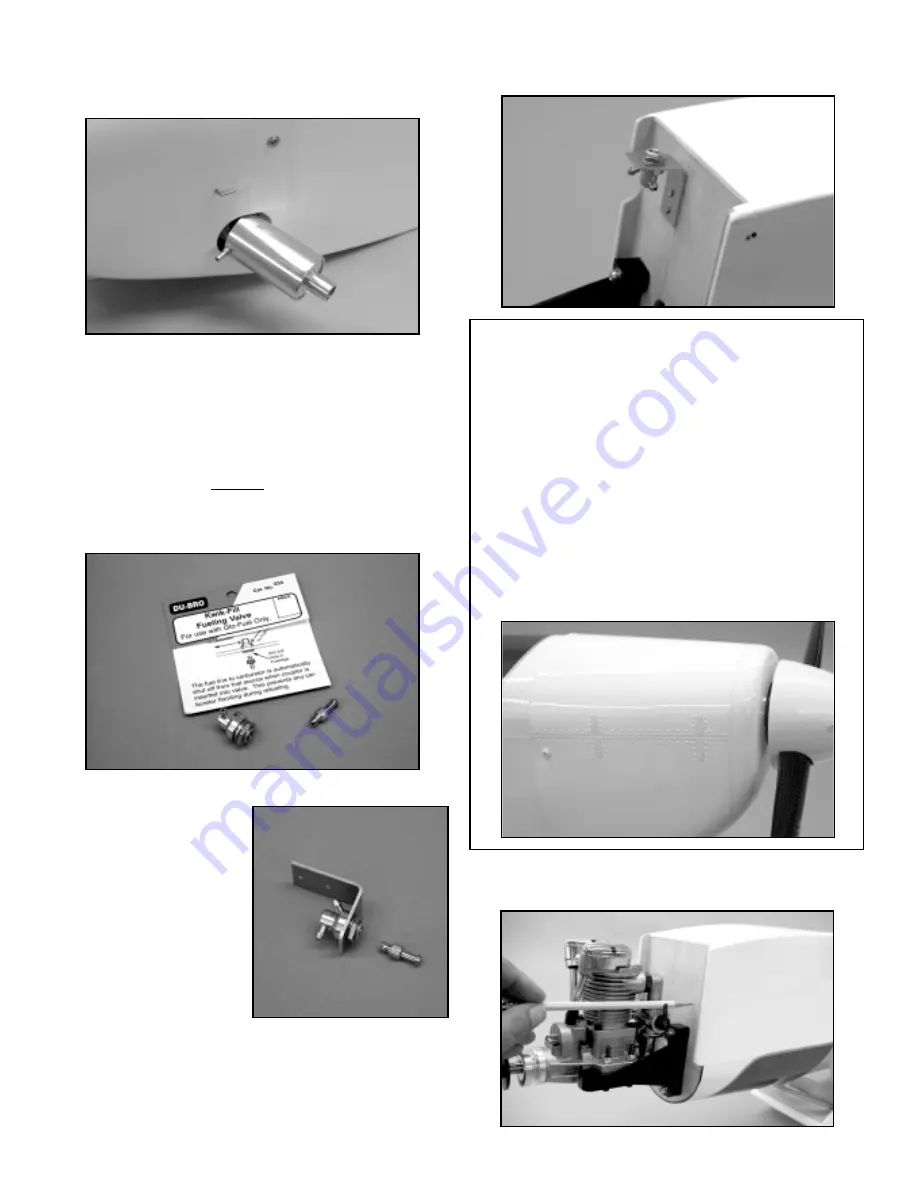
We mounted our fueling valve on the firewall, pointed straight
down through the bottom cowl opening. Be sure to locate the
bracket far enough off center on the firewall to allow your
glow driver to fit onto the glowplug. Mounting the bracket in
this position eliminates the need for another hole in the cowl and
hides it from view.
❑
12) With the engine temporarily back on the mounts, the
required hole for the throttle tube is marked onto the face of the
15
DETAILS, DETAILS.....
We wanted to provide our cowl with a few simple surface details
to make it more believable. We decided to add a few "panel"
lines and some rivets to add the detail we were looking for. To
do this we first carefully wet-sanded the entire cowl with #600
wet/dry sandpaper. After drying the cowl completely, we used
1/16" striping tape to create the panel lines and 1/4" wide
striping tape to fashion the four "latches". We mixed some
5-minute epoxy and used the sharpened end of a dowel to add
the rivets. To do this, lightly dip the dowel into the epoxy and
place a single "dot" of glue in the desired location, repeating the
process for the rest of the rivets.
After these details were added, we painted the cowl and even
the mounting screws, using a good quality, fuel proof white
paint. The paint makes the surface details stand out nicely and
after drying, the cowl is ready to mount.


