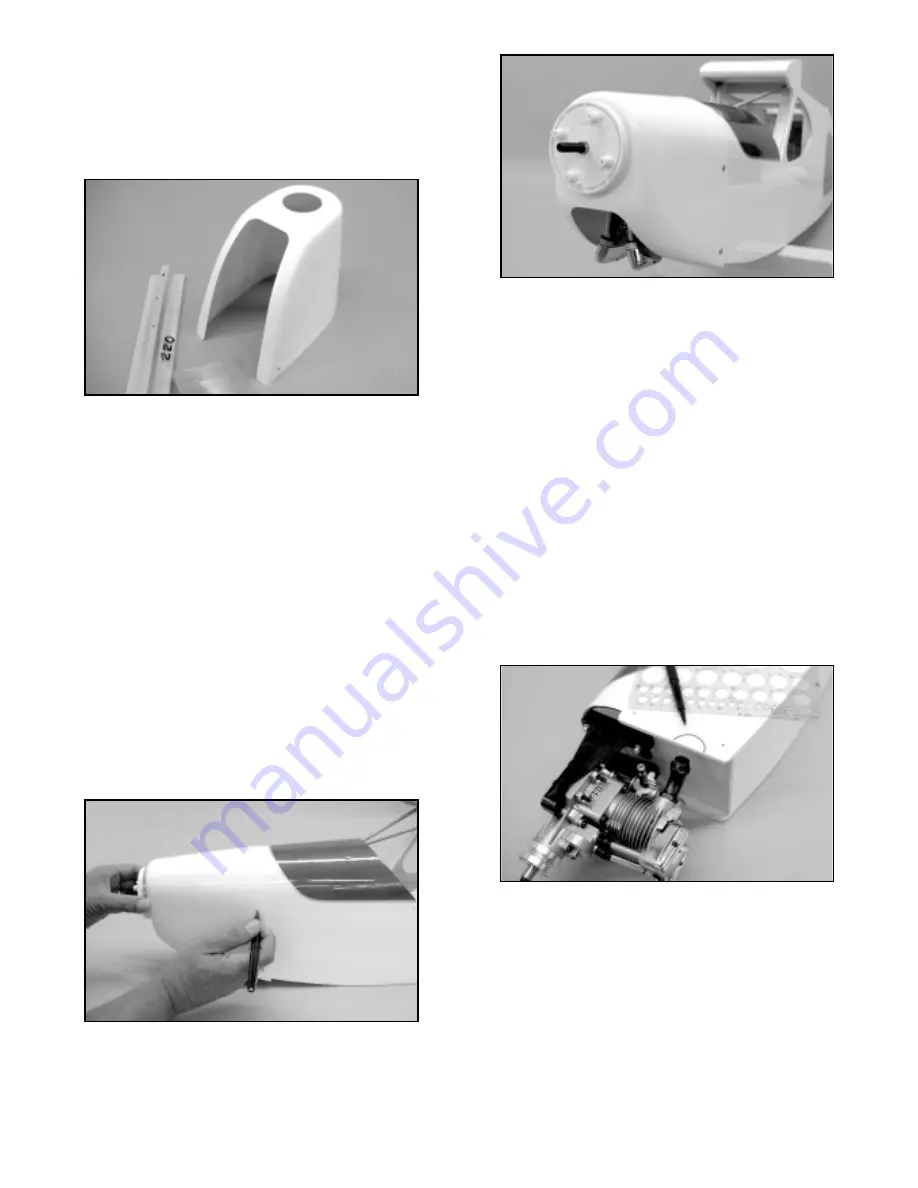
Follow this by using a drum-sanding bit to smooth the edges and
contour the corner radiuses. Be careful to keep the edges as
smooth and uniform as possible, using the lines as a guide. Use
a sanding block with 220-grit paper to sand the straight edges
smooth. Finally, use a piece of 220 sandpaper to lightly sand all of
the edges, making them completely smooth.
Clean the cowl,
removing all dust and wipe off any remaining ink lines with alcohol.
The cowl should now be able to fit over the engine and onto the
front of the fuselage.
❑
7) The cowl can now be mounted to the fuselage. To do this
as accurately as possible, it is helpful to have the spinner
backplate in position on the engine. From the kit contents, locate
the bag containing the Spinner Assembly. Remove the spinner
backplate and the four, molded shaft adapter rings from the
package. The center hole in backplate can be shimmed to fit many
engine prop shafts. However, our Saito 1.50 has a very large shaft
diameter - even larger than the hole in the backplate. This requires
that the hole be opened up with a drill to fit on the shaft. To do this
accurately, we used a drill press. Once the backplate fits onto the
engine, the cowl can be mounted.
Slide the cowl in place over the fuselage and then, place the
backplate onto the engine prop shaft. This gives you good visual
reference for centering the cowl to the spinner.
We suggest
leaving a gap of anywhere from 1/8" - 1/4" between the front of the
cowl and the backplate. Hold the cowl tightly in position and use a
non-permanent marker pen or pointed punch to mark the four
mounting hole locations on the fuselage sides, through the pre-
drilled holes in the cowl. Remove the cowl.
Use a 1/16" dia. bit to drill guide holes into the fuselage, about 1/4"
deep. Use the four #3 x 10mm PWA screws to mount the cowl to
the fuselage.
Do not over-tighten these screws at this time.
Remove the screws and the cowl, for now.
❑
8) The cowl is now prepared to clear the engine muffler. As
mentioned earlier, R/C engine muffler shapes and types are all
different and therefore, each engine/muffler installation tends to be
one of a kind. For example, our Saito 1.50 has a muffler manifold
shape and location that does not allow the muffler to exit the cowl
without interfering with the front of the fuselage. This fact means
that a small part of the front of the fuselage must be relieved to
allow muffler clearance. A flexible manifold tube and a Pitts-style
muffler may work to eliminate this issue but we chose to work with
the stock engine set-up. Here's how we did it.
With the engine in place on the mounts, lay the fuselage on its
side, manifold side up. Rotate the manifold on the engine head to
find the location on the fuselage that will require the least amount
of relief to allow the muffler to be mounted. In our case, this was
the lower, left side. Use a circle guide to determine the diameter
of the muffler (our Saito muffler measured just about 1-1/8" in
diameter). We used a non-permanent marker pen to mark the
fuselage with the approximate exit location for the muffler body,
using the next size up circle guide diameter - 1-1/4". This partial
circle mark becomes the guide for the initial relief of the fuselage
for muffler clearance.
Remove the engine from the motor mounts. Use a hobby knife and
#11 blade to cut away the covering material within the area to be
sanded. We used a scrap length of 1-1/4" dowel (aluminum tubing
or a scrap piece of pipe would also work just as well) and wrapped
it with 80 grit sandpaper. We, then, sanded the required channel,
at the same approximate angle that the muffler would sit on the
engine. Believe it or not, we sanded this relief channel perfectly
the first time! The channel was approximately 1/8" larger in
diameter than the muffler body, which is just about perfect for
clearance. Place the engine, with the manifold and muffler loosely
in place, back on the mounts to check your work.
Make any
adjustments needed to improve the channel. When it looks right,
remove the engine and lightly sand the finished channel with 220
sandpaper.
13


