


•
User can select desired fixture and set the fixture name. Relevant function of each channel can
also be set by using the multi-selector. After your setting, user can select the “
>
” at the top right
corner of the screen, then press the multi-selector to confirm.
•
To change the fixture name, move the cursor to the“
>
” at the second line on the screen, and press
the multi-selector. Then user can use the multi-selector to set relevant characters as desire. After
that, press the multi-selector to confirm your setting.
•
To change the lighting function of desired channel, for example, move the cursor to 01, and press
the multi-selector. Then use the multi-selector to set desired function item. After your setting, press
the multi-selector again to confirm your operation.
•
User can rotate the multi-selector to view the next page:
05 Focus 06 Frost
07 Gobo 08 Gobo rot
09 Inten'ty 10 Iris
11 Lamp 12 Laser
21 Speed CG
23 Speed PT
25 Strobe
27 Tilt Fine
22 Speed P
24 Speed T
26 Tilt
28 Yellow
14 Pan
16 Prism
18 Rot spel
20 Special
13 Magenta
15 Pan fine
17 Reset
19 Shutter
30 --------
32 --------
34 Cyan
36 Frost
29 Zoom
31 -----------------
33 Color
35 Dimmer
If user want to set lighting function of this unit for testing other lighting equipments, you must make
sure the parameters you have set must be complying with the device to be tested.
4.4.2 Play mode
•
In this menu, user can test the fixtures by using the previous library settings. Use the multi-selector
to enter the
Play mode
, LCD-display will show you like below:
>
>
>
<
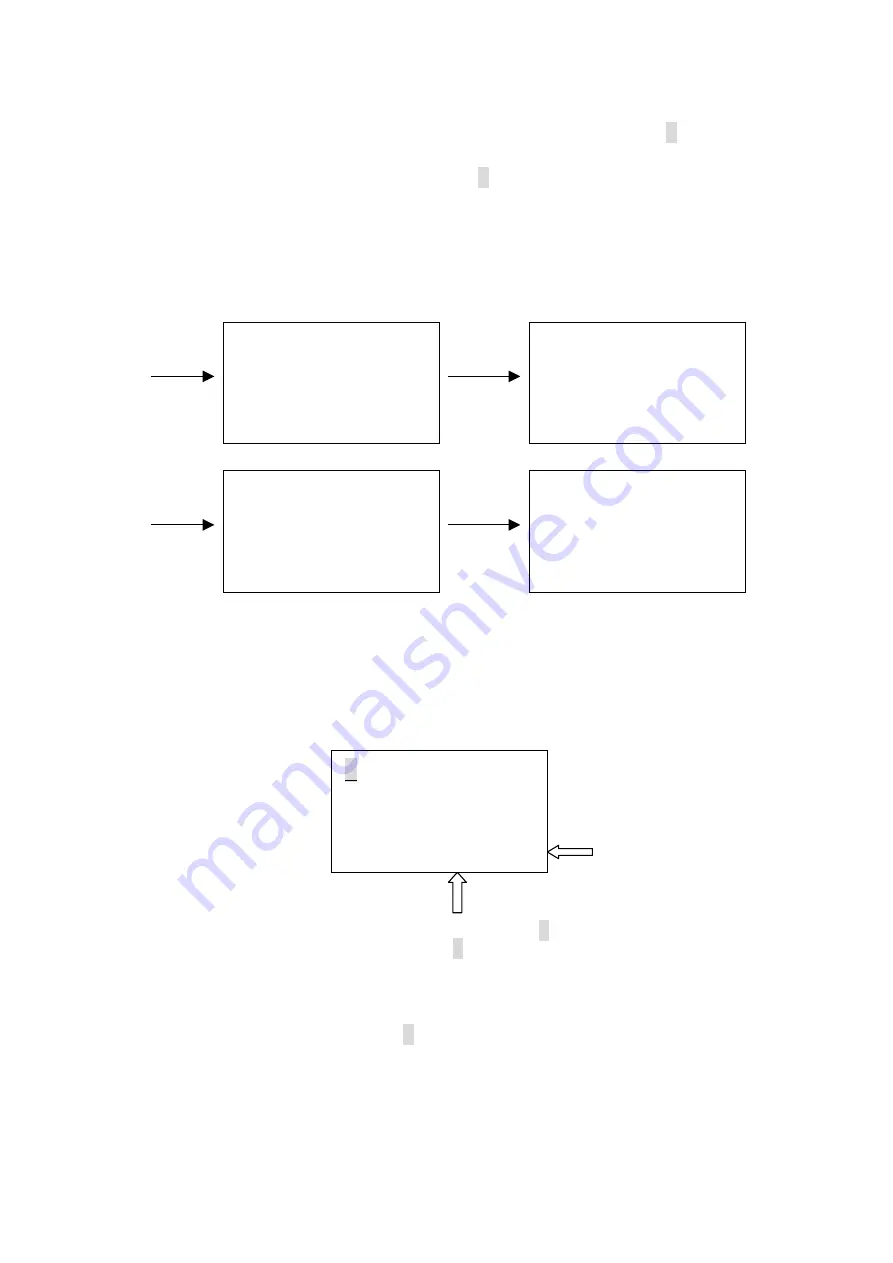
2. Play mode
FX No. : 01 NAME_1
Start address : 001
Func. : Color
>
000
Part 2
Part 1
As the above diagram shows, user can move the cursor to “
>
” ( part 1) to select desired function
item with the multi-selector. Move the cursor to “
>
” ( part 2) to set desired value. The Start address
can be adjusted from 001 to 512. Suppose that the Start address is set as “001”, and the function is
selected as “Pan”, complying with the specific fixture. Then change the level, the fixture arms will
rotate horizontally at your disposal.
Note:
User can move the cursor to the “
>
” at the second line, and use the multi-selector to select
relevant fixtures or to select the
CH-TEST
(channel test)
item. If user have chosen the
CH-TEST
item and have pressed the multi-selector to confirm. The information of “Func. : ch_01 >000>” will
appear at the fourth line of the screen. That means relevant channels (up to 36 channels) and
channel values can be set as user’s desire.
10


