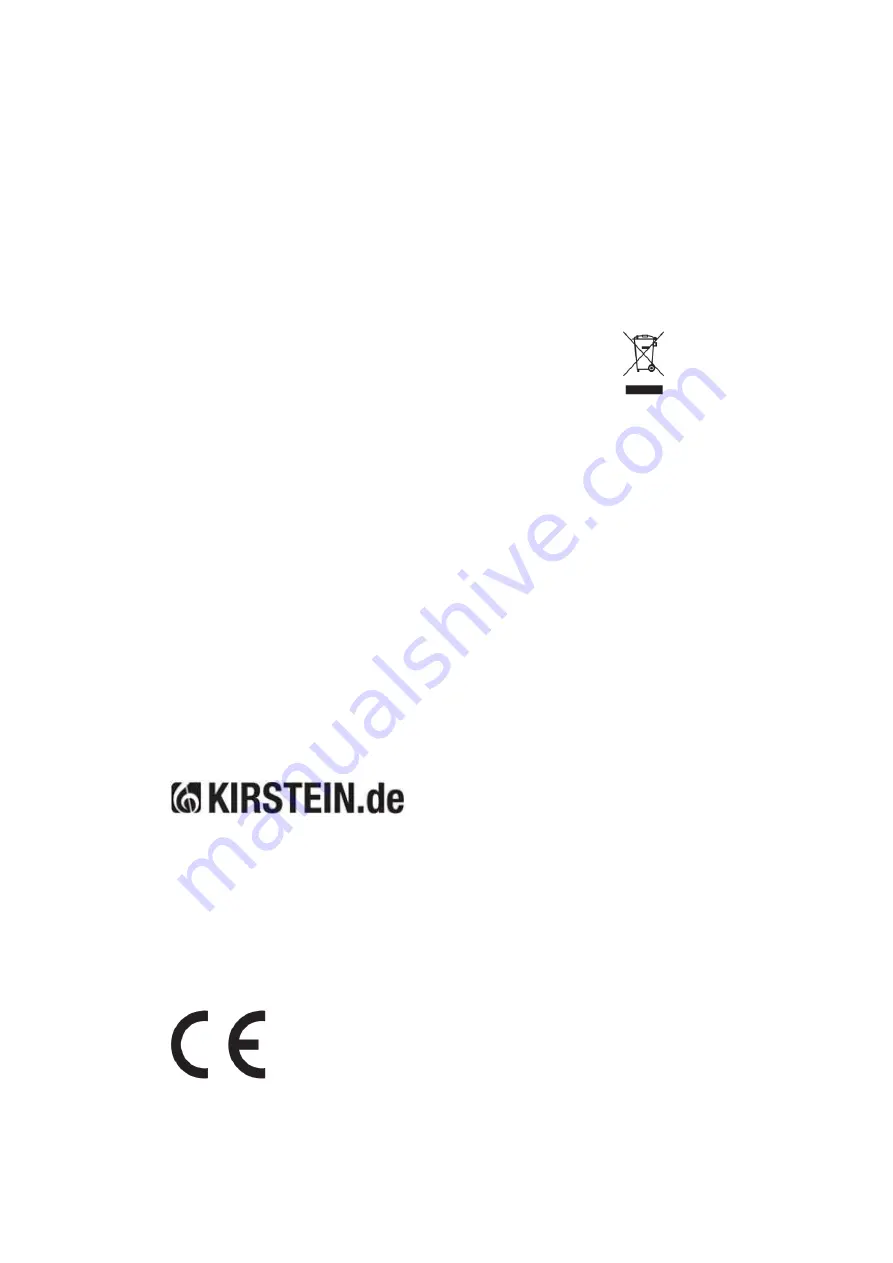
Showlite HDO-16 User Manual Download Page 31

31 


WEEE declaration  

(Waste of Electrical and Electronic Equipment) 


Your product has been designed and manufactured with high quality materials and components that 
are recyclable and can be reused. 
This symbol means that electrical and electronic devices must be disposed of separately from 
household waste at the end of their useful life. 
Please dispose of this device at your local municipal collection point or at the recycling center. 
Please help preserve the environment we live in. 


Technical changes and changes in appearance are reserved. 
All information corresponds to the status at the time of printing. 
Musikhaus Kirstein GmbH assumes no liability for the correctness and completeness of the 
descriptions, illustrations and information contained therein. 
Shown colors and specifications may differ slightly from the product. 
Musikhaus Kirstein GmbH - Products are only available through authorized dealers. 
Distributors and dealers are not authorized representatives of Musikhaus Kirstein GmbH and have no 
authorization to bind Musikhaus Kirstein GmbH legally in any way, be it expressly or through coherent 
action. 


Musikhaus Kirstein GmbH 

Bernbeurener Str. 11 

86956 Schongau 

– Germany 

Telefon/Phone: 0049-8861-909494-0  

Telefax/Fax:      0049-8861-909494-19 


Summary of Contents for HDO-16

Page 1: ...HDO 16 User Manual Version 07 2020 ...

Page 2: ...nal word identifies hazards that without precautions could result in serious injury The signal word NOTE indicates general precautions that should be observed when handling the product Images and screen images in this manual may differ slightly from the actual product s appearance as long as it does not adversely affect the technical characteristics and safety of the product All personal phrasing ...

Page 3: ...ian repair it Before cleaning the product you should switch it off and disconnect it from the power supply Always place the product on a flat stable surface to ensure a secure stand Use the product not in a damp or wet environment Do not place vessels that are filled with liquids e g vases glasses or bottles on the product Do not place small objects on top of it that could slip in e g hairpins sew...

Page 4: ... strong electromagnetic interference In this case simply reset the product to resume normal operation by following the operating instructions If the function still cannot be continued without any problems use the product in a different location Place Do not subject the product to the following conditions to avoid warping discoloration or major damage Direct sunlight extreme temperature or humidity...

Page 5: ...top of it that could slip in such as hairpins sewing pins or coins Do not place lit candles on the product Precautions To avoid damaging the device do not place it in places with high temperatures or dust do not place it near an air conditioner and avoid direct sunlight Do not place the instrument near other electrical devices to avoid interference Do not use force when handling the device and do ...

Page 6: ...etting up the controller 12 2 1 2 Reset DMX Controller 12 2 1 3 Addressing DMX devices 13 2 1 4 Copy DMX device settings 13 2 2 Functionality 14 2 2 1 Manual mode 14 2 2 2 Calling up scenes or chases 14 2 3 COLOR MODE 15 2 3 1 Starting COLOR MODE 15 2 3 2 Switching from RGB to RGBW 15 2 3 3 Color Mode Operation 16 2 4 Strobe effect in Color Mode 18 2 4 1 Activating Strobe Effect 18 2 4 2 Deactivat...

Page 7: ... Chase Copy a scene bank into a chase 23 3 2 5 Editing a chase copying a scene into a chase 23 3 2 6 Editing a chase inserting a scene step into a chase 24 3 2 7 Deleting a scene in a chase 24 3 2 8 Deleting a Chase 25 3 2 9 Deleting all chases 25 3 3 Playback 25 3 3 1 Activate sound mode 25 3 3 2 Starting Auto Mode 26 4 Using two controllers at the same time 27 4 1 Connecting two controllers 27 5...

Page 8: ... Six chases can contain up to 240 steps consisting of the stored scenes in any order Chases can be recalled automatically or manually by music On the interface you will find various programming tools such as 16 universal channel controllers access scanner and scene buttons as well as an LED display for easier navigation of controls and menu functions 1 1 Product overview front ...

Page 9: ... in banks or chases 11 Tap Display Button Sets the chases speed by tapping and toggles the display between DMX values 0 255 and DMX percent 0 100 12 Blackout button Sets the shutter or dimmer value of all lights to 0 which causes all DMX devices to go to the OFF state 13 ADD button is used to confirm the recording saving process 14 Auto Del button Used to activate the Auto mode and as a delete fun...

Page 10: ...ut connector Connection for the DMX output signal 22 DMX input connector Connection for the DMX input signal 23 DC Input Connection Connection for the power supply unit 24 USB Lamp connector USB connector for a USB LED lamp 25 power switch Switches the controller on and off ...

Page 11: ...scenes that have been saved one after the other Scanner refers to a lighting device with a pan and tilt mirror However with the HDO 16 Controller it can be used to control any DMX 512 compatible device as a generic device Stand Alone refers to the ability of a device to operate independently of an external controller and normally in sync with music thanks to a built in microphone Fade sliders are ...

Page 12: ...described in the corresponding manual of your DMX equipment For a brief introduction to DMX refer to the DMX Basics section in the appendix of this manual 2 1 2 Reset DMX Controller Warning This resets the controller to the factory settings All programs and settings are deleted Action 1 Switch off the unit 2 Press and hold BANK UP and AUTO DEL 3 Turn on the power while holding down BANK UP and AUT...

Page 13: ...8 12 177 1 5 6 8 For instructions on DMX addressing refer to the manual for your particular device The table above refers to a binary configurable 9 dip switch standard fixture 2 1 4 Copy DMX device settings To save time you can copy the settings of one scanner button to another scanner button Example Copying the settings from scanner 1 to scanner 2 1 Press and hold the SCANNER button you want to ...

Page 14: ...lling up scenes or chases This instruction assumes that you have already recorded scenes and chases on the controller Otherwise skip this section and continue with the Programming section Playing the scene 1 Select one of the 30 banks with the BANK UP DOWN buttons 2 Select a SCENE button 1 8 to display 3 Move the sliders to change the scene setting 4 Press the selected SCENE button 1 8 again to en...

Page 15: ...R MODE button for about 3 seconds to switch from SCANNER MODE to COLOR MODE 2 3 2 Switching from RGB to RGBW Press and hold the TAP DISPLAY button then press the COLOR MODE button to switch between RGB and RGBW The display shows the current setting RGB R68 or RGBW R68U ...

Page 16: ...s 193 see next page 16 Color sliders are available with 9 colors for each slider black red orange yellow green blue dark blue purple white When Color Mode is activated you can use the Speed slider as a master dimmer and adjust the brightness for all 16 Color sliders at the same time ...

Page 17: ... 5 G 210 R 211 B 211 7 G 212 W 212 B 213 R 213 R 214 6 G 214 8 G 215 B 215 B 216 W 216 R 217 R 217 9 G 218 7 G 218 B 219 B 219 R 220 W 220 10 G 221 R 221 B 222 8 G 222 R 223 B 223 11 G 224 W 224 B 225 R 225 R 226 9 G 226 12 G 227 B 227 B 228 W 228 R 229 R 229 13 G 230 10 G 230 B 231 B 231 R 232 W 232 14 G 233 R 233 B 234 11 G 234 R 235 B 235 15 G 236 W 236 B 237 R 237 R 238 12 G 238 16 G 239 B 239...

Page 18: ...e strobe effect in color mode must be activated You can adjust the speed of the strobe effect by tapping the TAP DISPLAY button twice briefly 2 The strobe effect in color mode must be activated You can adjust the tempo of the strobe effect by holding down the TAP DISPLAY button and then adjusting the tempo of the strobe with the FADE TIME fader 2 5 RGB and RGBW Color Mode Programming Programming o...

Page 19: ... to enter either Scanner Mode or Color Mode 3 Create an illumination by adjusting the sliders of the respective scanner 4 Select another BANK 01 30 if necessary 5 Press and hold the ADD button while pressing the desired SCENES button to save the scene 6 Repeat steps 3 to 5 if necessary Up to 8 scenes can be stored in one scene bank 7 To exit the programming mode press and hold the PROGRAM button C...

Page 20: ...flashes 2 Use the BANK UP DOWN buttons to select a different scene bank if necessary 3 Select the desired SCANNER MODE or COLOR MODE scene 4 Change the desired setting using the sliders 5 Press and hold the ADD button and press the desired SCENE button to save the data Note Deactivate Blackout if the LED is on 3 1 4 Copying a scene 1 Press and hold the PROGRAM button to enter the programming mode ...

Page 21: ...the copy operation All LEDs will flash once to confirm Note All 8 scenes are copied in one scene bank 3 1 6 Deleting a scene 1 Press and hold the PROGRAM button to enter the programming mode 2 Use the BANK UP DOWN buttons to select the desired scene bank in which the scene to be deleted is located 3 Press and hold the AUTO DEL 4 And press the desired SCENE button to delete this scene All LEDs will...

Page 22: ...an contain 240 scenes as steps The term steps describes scenes which are arranged one after another within a chase 1 Press and hold the PROGRAM button until the LED flashes 2 Press the desired CHASE 1 6 button 3 If necessary change the BANK to select the correct scene 4 Select the desired SCENE to insert 5 Press the ADD button to insert 6 Repeat steps 3 to 5 to add more steps to the chase Up to 24...

Page 23: ...button 3 Use the BANK UP DOWN buttons to select the desired scene bank to be copied 4 Press the MUSIC BANK COPY button to start copying 5 Press the ADD button to insert the scene bank into the chase All LEDs will flash to confirm 3 2 5 Editing a chase copying a scene into a chase 1 Press and hold the PROGRAM button to enter the programming mode 2 Press the desired CHASE button 3 Use the BANK UP DO...

Page 24: ...tons 7 Press the SCENE button for the desired scene 8 Press the ADD button to insert the scene as a step All LEDs will flash to confirm Note To insert a scene between steps 05 and 06 navigate with the BANK buttons until the display shows STEPO5 3 2 7 Deleting a scene in a chase 1 Press and hold the PROGRAM button to enter the programming mode 2 Press the CHASE button under which you want to delete...

Page 25: ...old the BANK DOWN button and the AUTO DEL button at the same time and turn on the controller 3 All LEDs will flash briefly to confirm 3 3 Playback 3 3 1 Activate sound mode 1 Press the MUSIC BANK COPY button until the MUSIC LED lights up 2 Use the BANK UP DOWN buttons to select the desired scene BANK for the sound mode 3 Alternatively select one or more CHASE buttons 1 6 to run them in the selecte...

Page 26: ... the BANK UP DOWN buttons 4 Alternatively select one or more CHASE buttons 1 6 to run them in the selected order 5 Adjust the speed with the SPEED slider and the fade time with the FADE TIME slider Note In Auto mode scenes and chases are triggered by the speed and fade times set by the controller depending on how the sliders are set Several selected chases are repeated and executed in the original...

Page 27: ...ext scene setting and then use the two MASTER sliders to switch between the light settings of the two controllers You can also view the light settings of both controllers at the same time by moving both MASTER sliders up at the same time 4 1 Connecting two controllers Connect the DMX input of the first controller whose DMX output is connected to the lighting system to the DMX output of the second ...

Page 28: ...he same thing In other words the devices are switched together and all react in exactly the same way DMX devices receive data via a serial daisy chain In a daisy chain connection the DATA OUT of one device is connected to the DATA IN of the next device The order in which the devices are connected is not important and does not affect how a controller communicates with each device Use an order that ...

Page 29: ...29 5 3 DMX Dipswitch Quick Overview ...

Page 30: ...30 6 Product specifications DMX output 3 pin XLR female DMX input Link 3 pin XLR male Protocol DMX 512 USITT Weight 3 0 kg Dimensions 482 X175 X76 mm Power supply unit DC 9V 12V 500mA min ...

Page 31: ...rance are reserved All information corresponds to the status at the time of printing Musikhaus Kirstein GmbH assumes no liability for the correctness and completeness of the descriptions illustrations and information contained therein Shown colors and specifications may differ slightly from the product Musikhaus Kirstein GmbH Products are only available through authorized dealers Distributors and ...

Reviews: