31
5.3.3.
Manual Align
Align
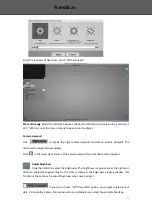
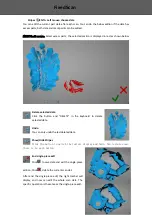
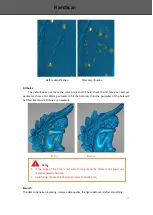
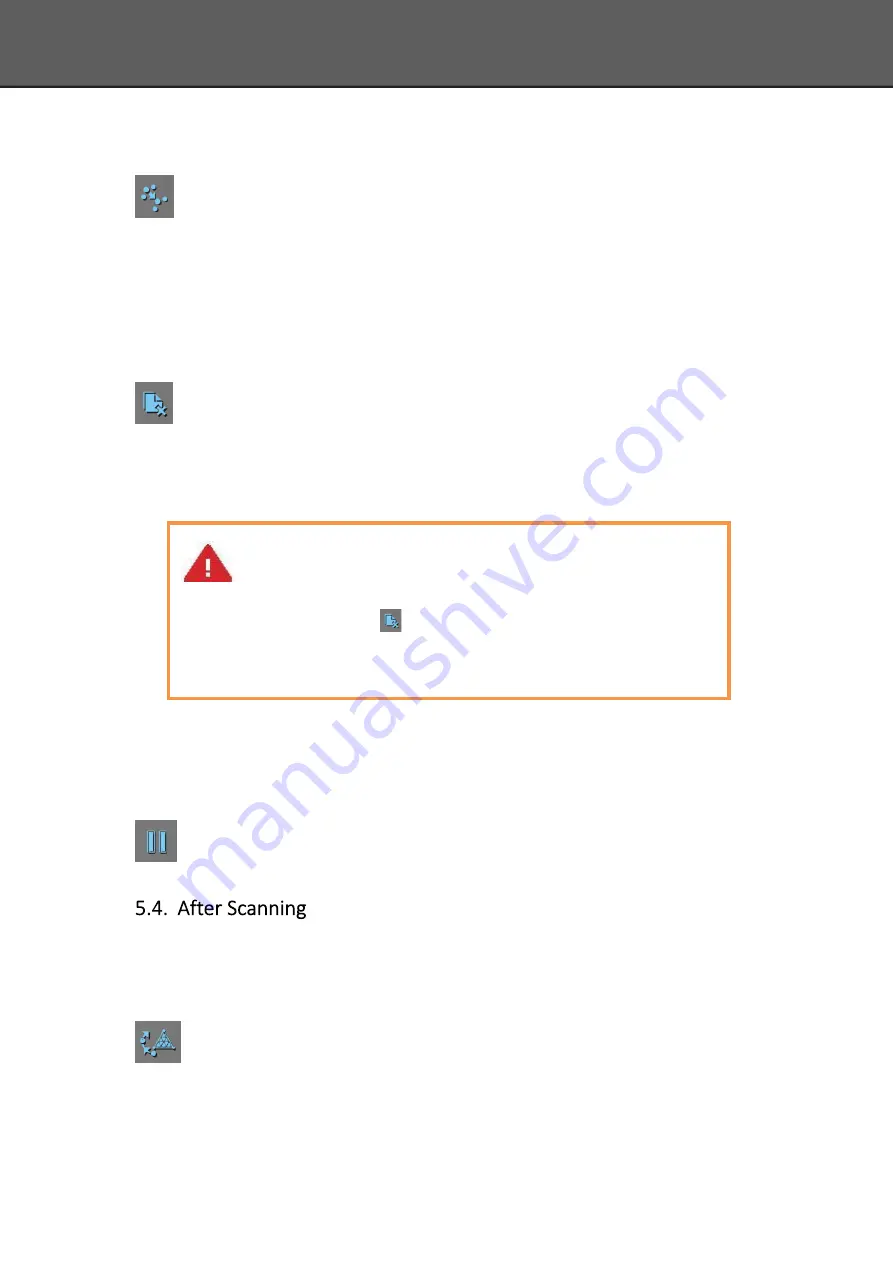
If automatic alignment failed during scanning, you can use manual align. Click the button
to open Manual Align view port on the left side of the software. Keep SHIFT down, and click left
mouse button to select at least 3 non-collinear corresponding points in the 3D preview windows
for Manual align, As shown on the right.
5.3.4.
Delete Current Data
Delete the Current Data
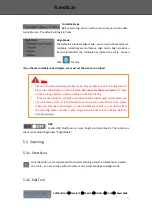
If you are not satisfied with current scanning data, or there is not enough overlapping
region for registration, click the button to delete current data and then change the position of the
scanner or the object to scan again.
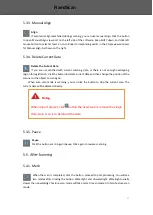
When auto scan mode is scanning, you can click the button to stop the current scan. The
current data will be deleted directly.
5.3.5.
Pause
Pause
Click the button, scanning will pause; Click again to resume scanning.
5.4.1.
Mesh
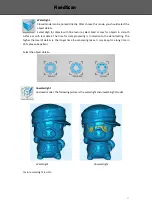
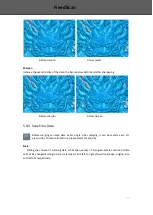
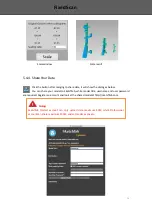
When the scan is completed, click the botton, proceed to post-processing. You will see
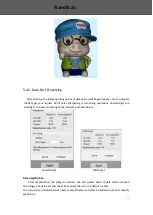
two modes after clicking the button: Watertight and Unwatertight. Watertight usually
slower than unwatertigt.
Texture scan mode will take more time compared to Non-Texture scan
mode.
Note
:
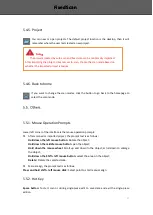
When import project, click
button the fixed scan is remove the single
data; Auto scan is to delete all the data.
Fixed
Scan
Summary of Contents for EinScan-SP
Page 1: ...EinScan SP Desktop 3D Scanner User Manual ...
Page 4: ...3 1 ...
Page 8: ...7 2 ...
Page 14: ...13 3 ...
Page 17: ...16 First Scan ...
Page 26: ...25 5 ...
Page 41: ...40 6 ...
Page 43: ...42 7 ...
Page 45: ...44 8 ...

