SHINING 3D - EinScan-Pro series - User Manual - June 2019
92
9.2.
Calibration
9.2.1.
Normal Calibration
In order to ensure the matching between the texture and the 3D data, calibration
should be performed when the texture camera is plugged in.
Calibration steps with Texture camera plugged.
Use the front side (black) of the calibration board for texture camera calibration. In
the calibration interface, run the Calibration with the normal method (see “camera
calibration”). The LED rings of EinScan and the texture camera will blink
synchronously.
If the calibration keeps failing, check whether the texture camera is well locked in
position.
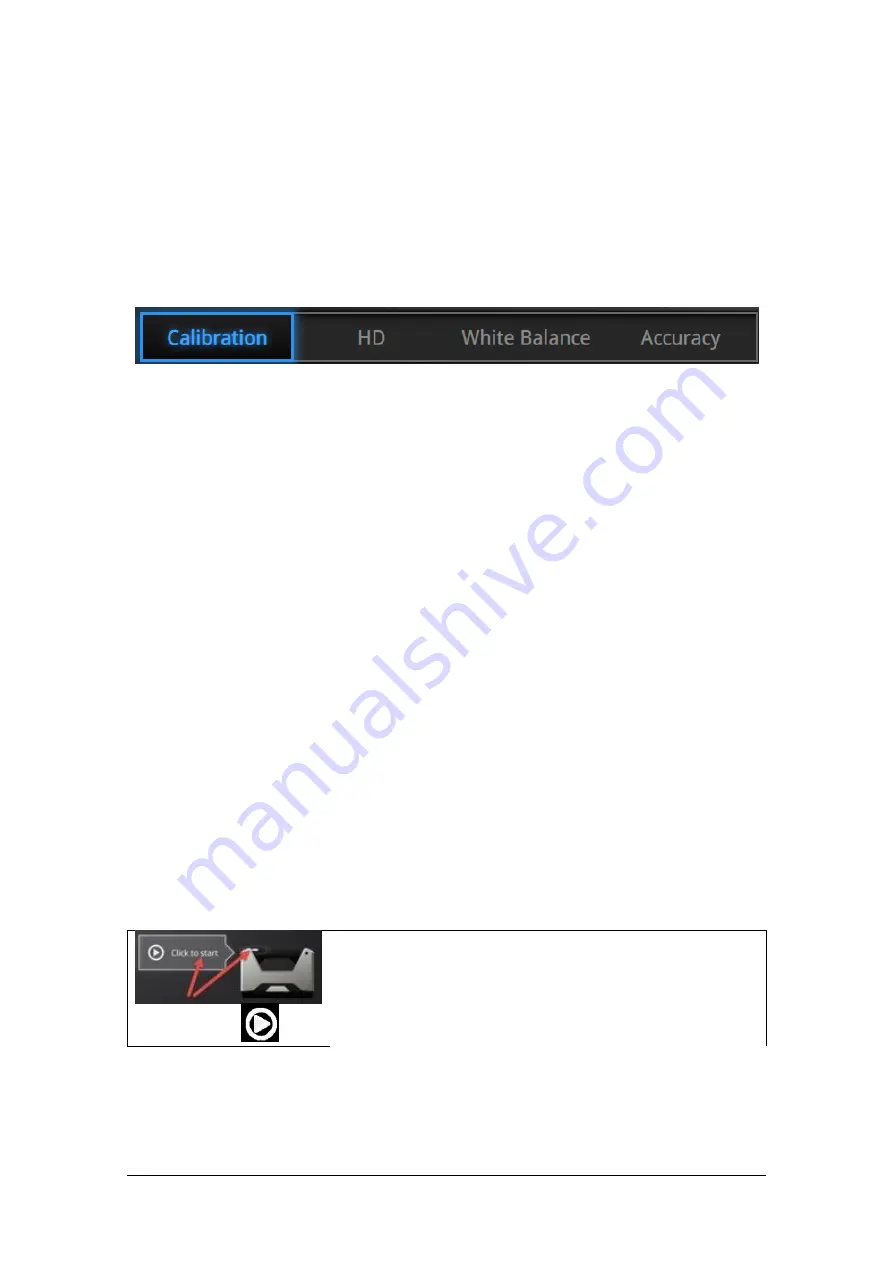
HD calibration can be skipped if the scanner is already calibrated. (full calibration is
recommended).
After HD calibration, White Balance is suggested.
If the texture is misaligned to the 3d data during the scan, check whether the camera
is well locked, and redo the calibration.
9.2.2.
White Balance
To capture an accurate color texture, White Balance calibration should be done every
time when you plug the texture camera, or when the lighting environment is
changed. The White balance can be done separately without running the full
calibration.
Click Start in the software or press the Play button on the
scanner to start the calibration
or press
On the White side of the calibration board, under the same working lighting
environment. Click Start or Press Play, move up and down until you find the optimal
distance position. Stay still. While LED and white light are projected
Summary of Contents for EinScan Pro
Page 17: ...SHINING 3D EinScan Pro series User Manual June 2019 17 EXScan Pro on the start menu ...
Page 30: ...SHINING 3D EinScan Pro series User Manual June 2019 30 Add on is required for this function ...
Page 41: ...SHINING 3D EinScan Pro series User Manual June 2019 41 4 4 Scan Workflow ...
Page 52: ...SHINING 3D EinScan Pro series User Manual June 2019 52 Browse to load a GMF ...


