EinScan HX User Manual
60
Click
Confirm
to apply the “Smooth” setting.
Click
Cancel
to quit and go back to the original data.
Multiple operations on “Smooth”, the result will not be added. It will always operate on the
original data.
3.7.4 Remove Small Floating Parts
Remove small floating parts in the scan data.
From 0 to 100% where 100% is the size of the largest mesh island. Smaller islands will be removed.
0 means no operation, 100 is the maximum. The maximum value is the square of the diagonal length
of the floating part/10, MAX=(L/10)².
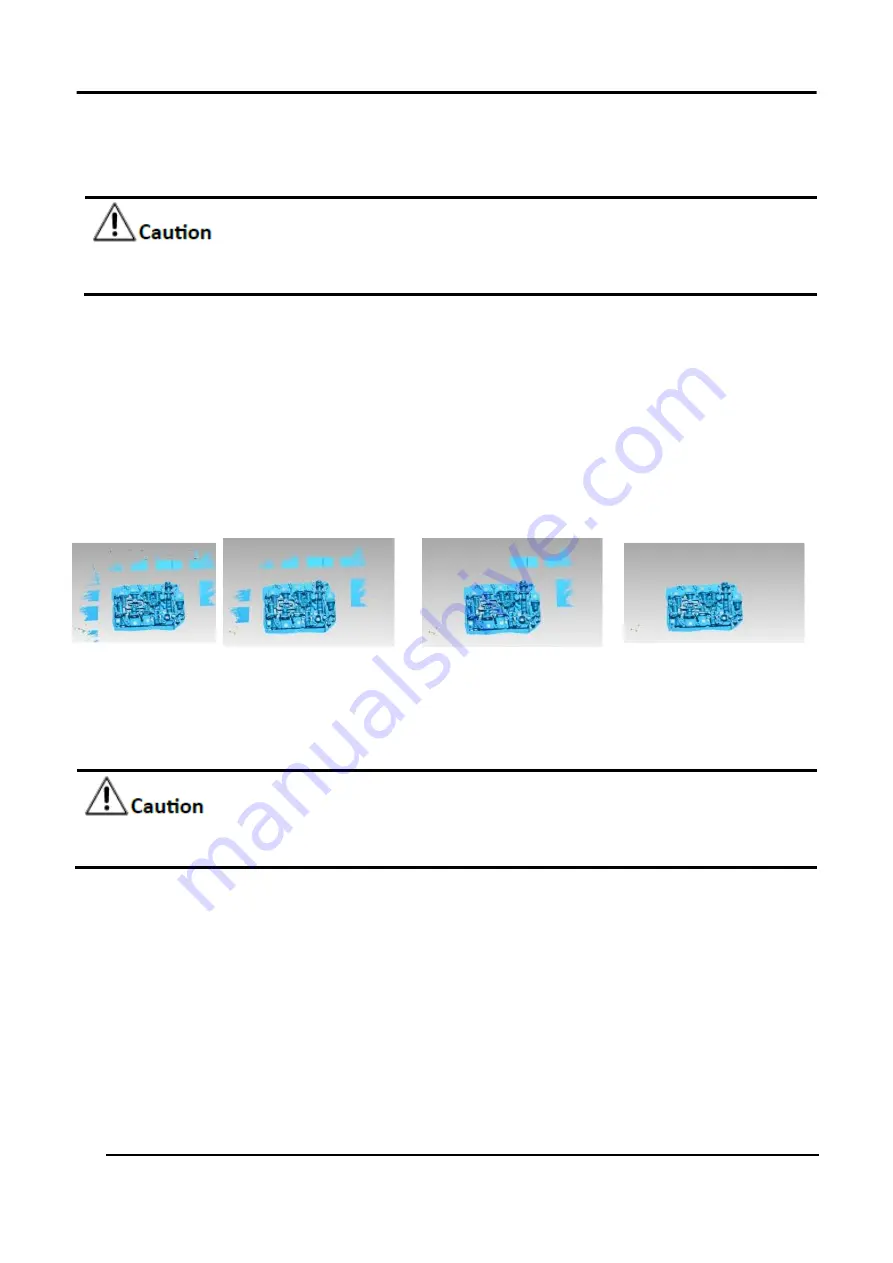
Diagram of removing floating parts shows as below:
Original
Remove floating part-10 Remove floating part-50 Remove floating part-100
Figure 3-47 Remove Small Floating Parts
Click
Apply
to remove floating part, preview the result of current settings.
Click
Confirm
to remove floating part.
Click
Cancel
to quit and go back to the original data.
Multiple operations on “Remove floating part”, the result will not be added. It will always operate
on the original data.
3.7.5 Fill Holes
Due to the loss of point cloud data in some areas, holes may occur after the 3D scanned model is
meshed, resulting in incomplete models. Holes can be filled through the hole mending operation:
Auto Hole Filling and Manual Hole Filling.
Each mode realizes the hole mending according to the curvature of the area around the hole. Types
of tangent and plane are also available to be chosen for hole filling. When there are multiple holes to
be mended, automatic hole mending method is recommended.
Summary of Contents for EinScan HX
Page 25: ...EinScan HX User Manual 24 Figure 3 12 Different Ways of Sticking Markers ...
Page 27: ...EinScan HX User Manual 26 3 2 3 Workflow ...
Page 41: ...EinScan HX User Manual 40 Table 3 9 Preview Too bright X Good ...
Page 54: ...EinScan HX User Manual 53 Figure 3 39 Manual Marker Alignment ...
Page 57: ...EinScan HX User Manual 56 4 Click Apply to mesh ...
Page 83: ...EinScan HX User Manual 82 ...


