48
Menu operation
n
Page
41
6
6
6
6
6
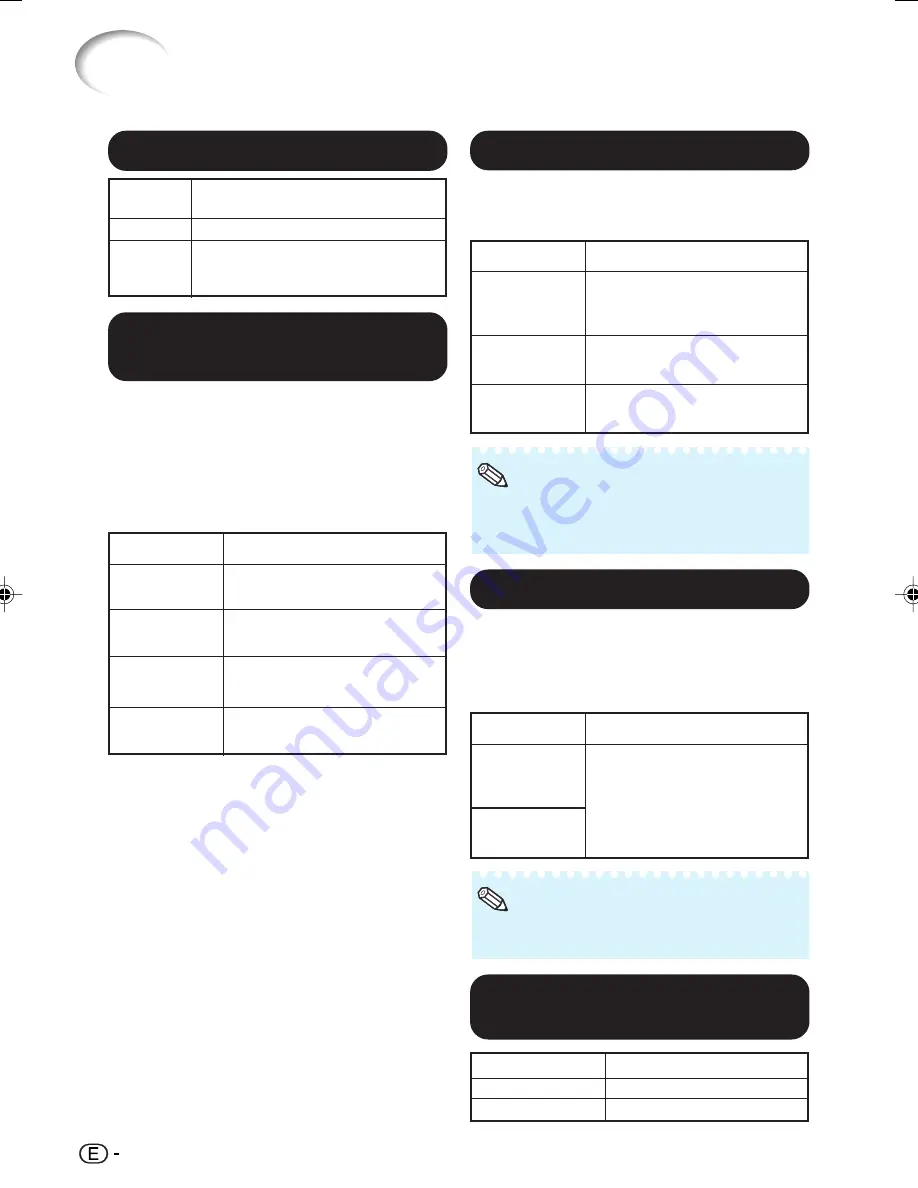
Signal Type Setting
Using the “Options” Menu (Continued)
This function allows you to select the input sig-
nal type (RGB or Component) for INPUT 5 or
INPUT 6.
Selectable items
Auto
RGB
Component
Description
Automatically selects the
appropriate input signal
between RGB and Component.
Set when RGB signals are
received.
Set when component signals
are received.
5
5
5
5
5
Setting the Video
System
This function can only be set in INPUT 3 or
INPUT 4.
The video input system mode is factory preset
to “Auto”;however, a clear picture from the con-
nected audio-visual equipment may not be re-
ceived, depending on the video signal difference.
In that case, switch the video signal.
Selectable items
PAL
SECAM
NTSC4.43
NTSC3.58
Description
When connected to PAL video
equipment.
When connected to SECAM
video equipment.
When reproducing NTSC
signals in PAL video equipment.
When connected to NTSC video
equipment.
4
4
4
4
4
Setting On-screen Display
Selectable
items
On
Off
Description
All On-screen Displays are displayed.
INPUT/FREEZE/AUTO SYNC/RESIZE/
PICTURE MODE/IRIS are not
displayed.
• You can also select “Signal Type” using
g
RGB/COMP. on the remote control (INPUT 5
or INPUT 6).
Note
8
8
8
8
8
Selecting the Background
Image
Selectable items
Blue
None
Description
Blue screen
— (Black screen)
7
7
7
7
7
Selecting the HDMI Setting
When there is an HDMI-capable device con-
nected to INPUT 6, an optimum picture may not
be displayed if the device’s output signal type
and the projector’s input signal type do not match.
If this should occur, switch the HDMI Setting.
Selectable items
Standard
Enhanced
Description
When the black levels of the
image show banding or appear
faded, select the option that
results in the best picture
quality. (In most circumstances,
“Standard” should be selected.)
• The HDMI Setting can be selected only when
INPUT 6 is selected.
Note
XV-Z3000_US_EN_k
06.2.3, 10:07 AM
48


